I started building about 3 weeks ago. I've been going very slowly, mostly due to first build nerves.
Here's some pictures.
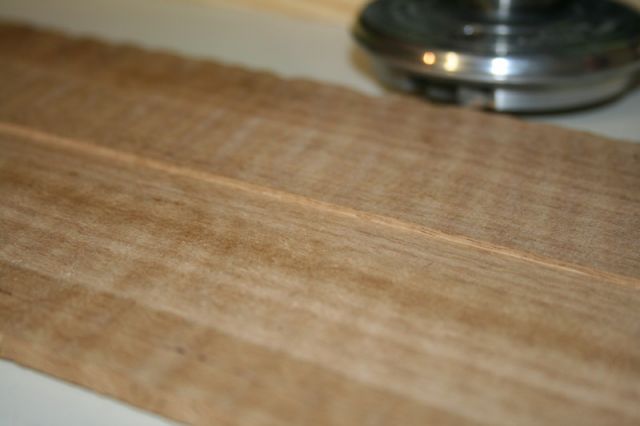
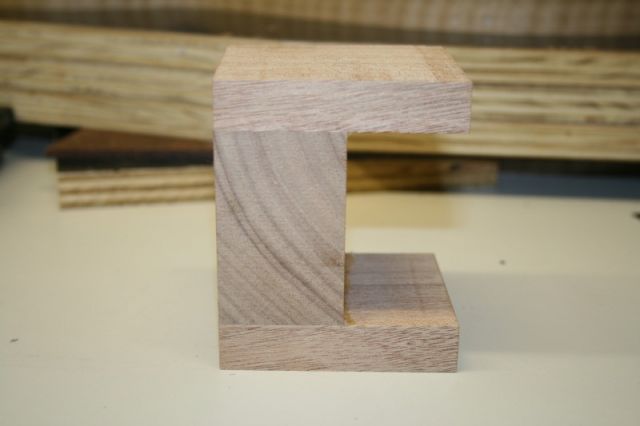
This is my shooting board. It's got an aluminium straight edge under the wood, to make sure I get a nice straight joint.

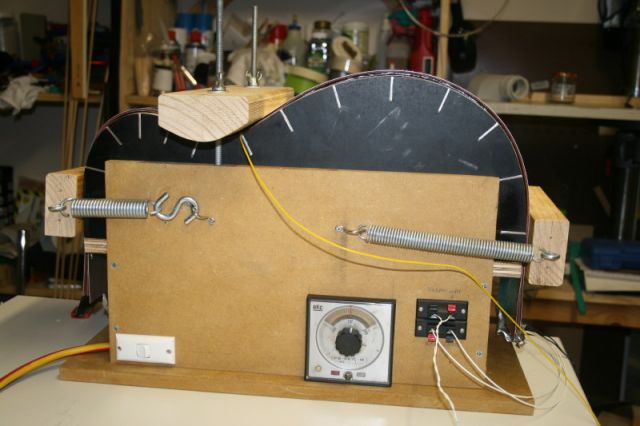
This is my first "glue" pot. You can see one knob of the power controller I made for it (which happily worked well for hide glue as well!). I've since got an Avent baby bottle warmer off ebay, and it's excellent for the hide glue.

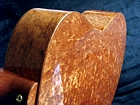
Here's the top glued together. It's King Billy that I got off Tim Spittle. I think that's a nice amount of squeeze out. It hasn't fallen apart yet, so I think my joint is a good one.

Thicknessing the top. You can see my three books in this shot. Cumpiano, Kinkead, and Jim Williams. I'm mostly following the Kinkead plans for an OM style guitar. I'll be modifying the Kinkead plans with some of the ideas I've got off this forum and the OLF. I've also got most of John Mayes DVD's. They're all getting a workout for each stage of my build, another reason I'm going so slowly.

The thickness gauge that I quickly knocked up.

Talk about a stressful moment! Cutting into my nicely joined and thicknessed top.

Homemade circle cutter.

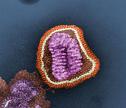
This is the end result of my two attempts at making a rosette. It's not too bad, but it you look closely you can see some glue filled gaps around the edges (looks OK in this picture though). I only had thin Blackwood veneer to use in here. I thought it would work out OK before I started, but it didn't. Next time I want to find something a little thicker, say 1.5 to 2mm thick. Any suggestions about where to get stuff like that?

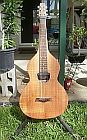
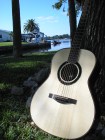
And here's my top with rosette installed, sound hole cut out (100mm dia.), an thicknessed to an average of 2.65mm. Sounds nice when I tap it. And it feels flexible but not floppy to me, but considering it's only my first I really don't know if it's good or not. I think it'll work out OK.

I need to store my top until the RH falls to a decent level. We had a day and a half of 60% on Thursday and Friday. The lowest it's been for weeks. But with the recent rain it's back up to 80%. Bracing the top will have to wait. So, I'm going to make a side profile and hopefully joint the back and sides this afternoon. Now that I'm back at work
[/img]