The idea comes from John Bogdonavish's book, and I thought it was a much better method that the one I had been using.
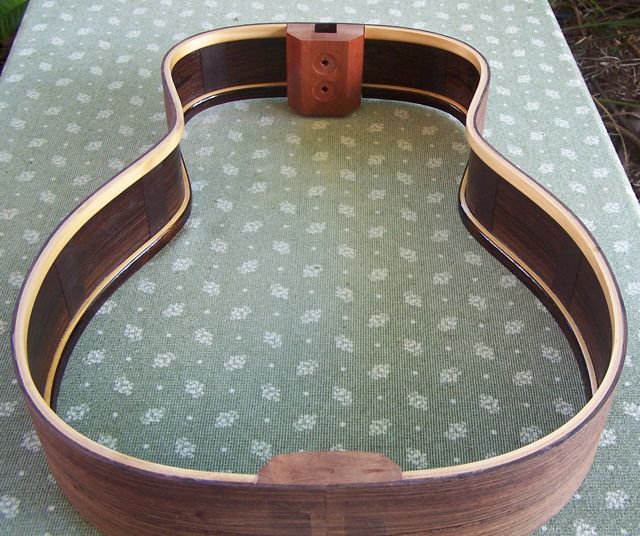
19mm MDF cut the same as your body mold. It's then lined with some sort of gasket material that will be the approximate thickness of you're sides. He calls for cork, but living up here in Cairns, it's impossible to find. so I used some high density foam packing material. I've got a heap of it, so it was cheap. It's just glued in place with some spray adhesive.
The male part of the mold is made smaller by the amount of the size of linings you wish to use. I found a washer that had the size I wanted, so ran it around the mold with a pencil to mark the size. Cut and sand to suit.
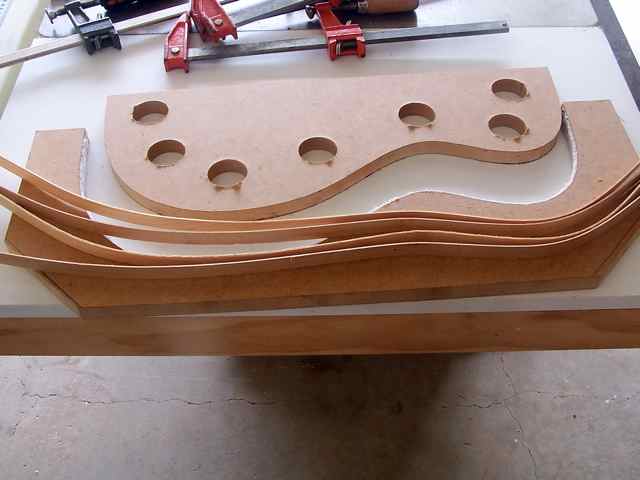
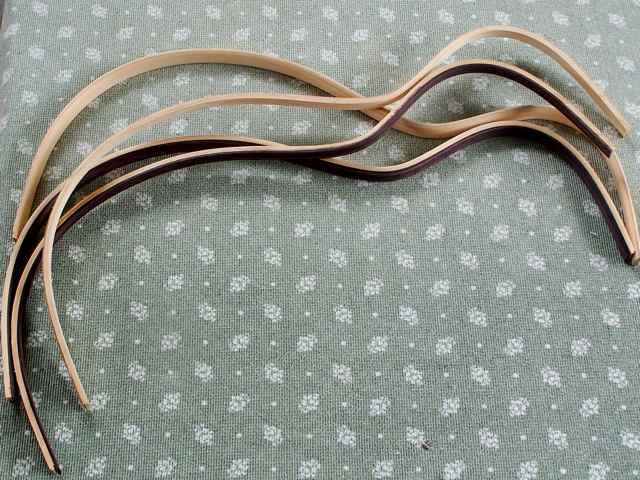
Rip your strips, run through drum sander, and then apply glue. Clamp with a little pressure, gradually increasing pressure all around until you get good squeeze out.
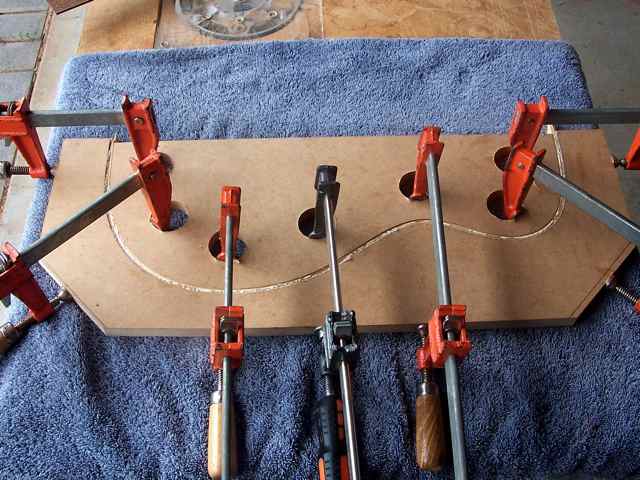
Let dry for 4 hours, then run them over a round over bit, Clean up with sandpaper by hand and your set to install.