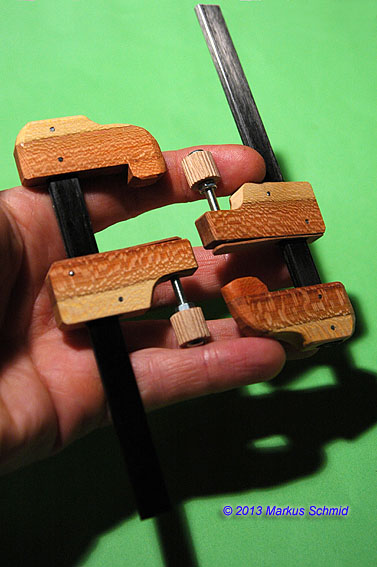
Wood: jaws:plum; screw knob: beech; the flexible lining: pear
Bar: CF neck rod 1/8" x 3/8", its glossy surface is the reason why I am reluctant to use them as advertised
Screws: M3
Pins: 1.5 mm nails
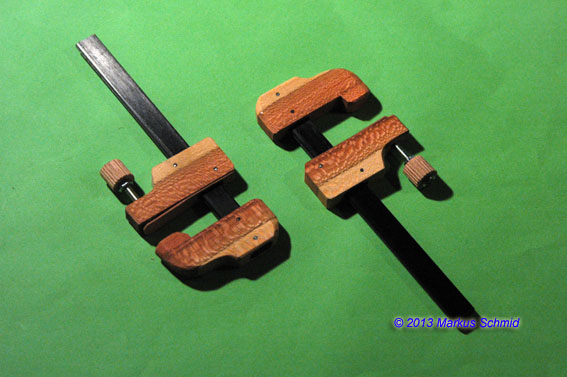
Some time ago I have showed a similar clamp, only slightly larger. I usually make such them when I need some more, but never in advance because being not a prophet, most of them would be of the wrong size and thus never get used.
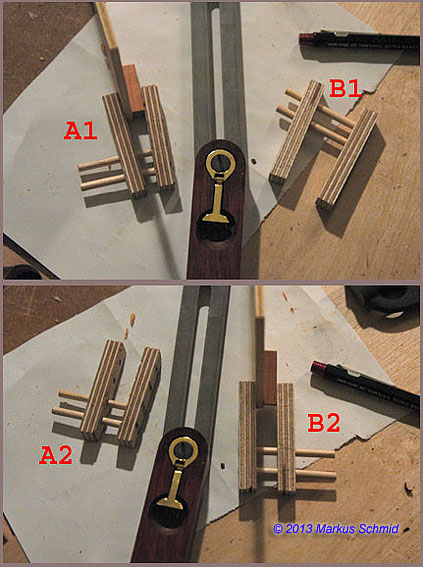
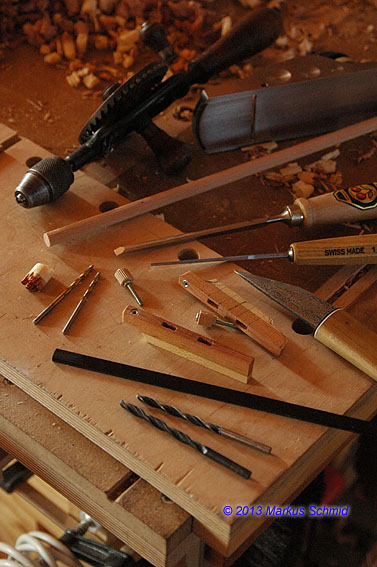
When arranging the picture I actually was surprised how many tools had been necessary.
These are almost all tools (forgot to show the handsaw) I needed to make these two clamps:
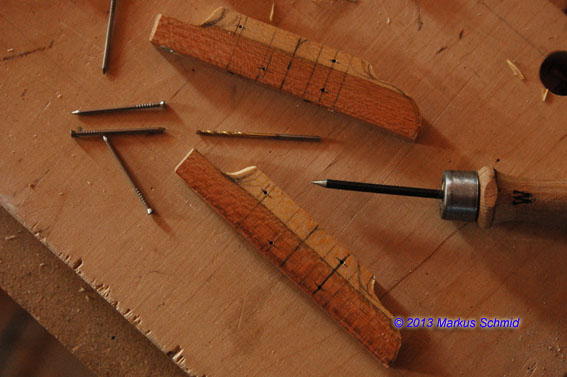
At this stage the upper and lower jaws are still one single piece of wood which makes it easier to work on.
I could have cut out the shape with a jig saw but was too lazy to reach for it and I carved the shape of the jaw tips with a knife. The nails in the picture above were then used as cross pins to connect, respectively guide the jaws to/along the CF bar.
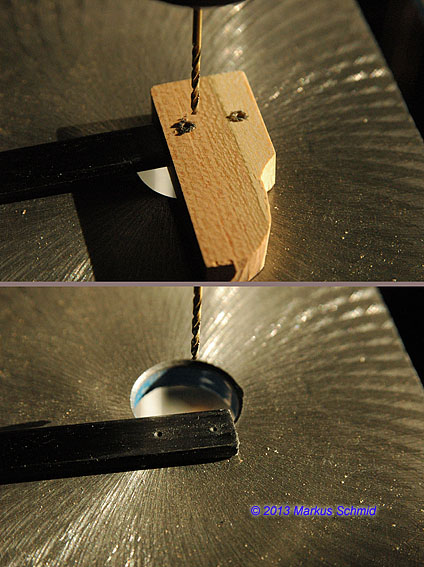
Pre-drilling for the cross pins:
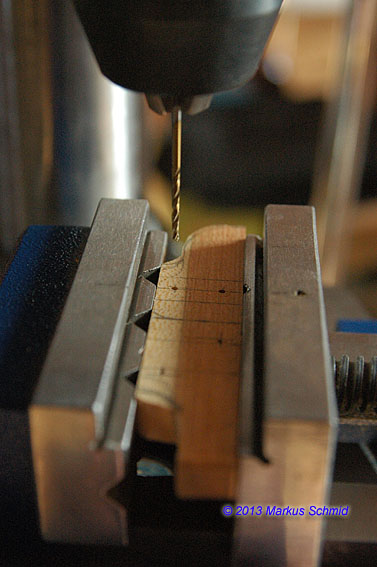
The exact position for the pins of the sliding jaw is crucial, or the jaw will not stay in a right angle to the bar. The safe solution is to drill for a "too tight fit" (the sliding jaw would point away from the fixed jaw), and then file down the pin diameter (only the part that shows in the slot) with a square needle file.
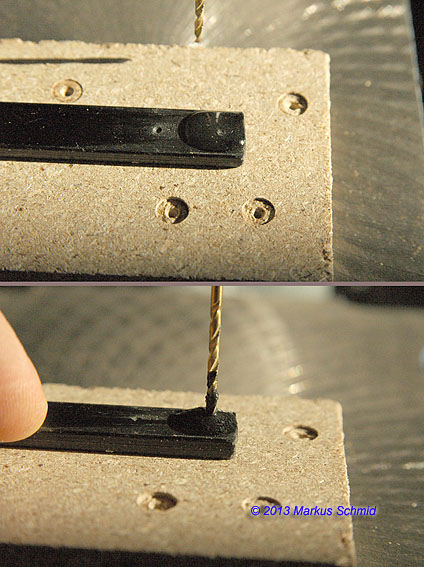
Of course it is also important that only the pins (of the sliding jaw) make contact t the bar, but not the narrow face of the slot in the jaw.
When cutting carbon fiber stuff I put a drop of water on the workpiece to avoid the nasty CF dust to get airborne. when done I clean up the mess with a paper towel and bind the remaining still wet CF dust with some glue.
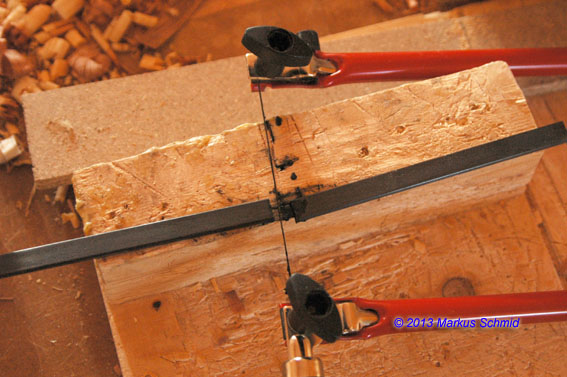
First I just mark the CF rod with the drill (dry) and then drill the holes wet:
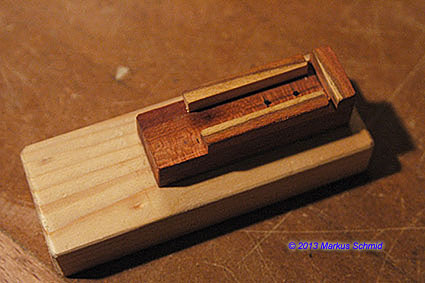
Then I cut/filed the pins to length and mounted the clamps.
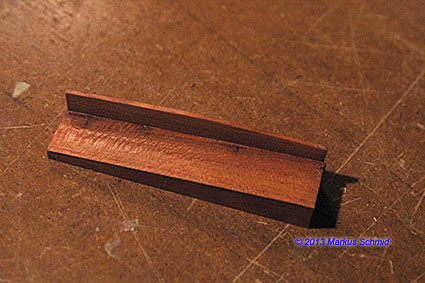
The last step was to glue on a flexible lining of laminated pear veneer (glued up two 0.8 mm veneer strips and then planed this down to 0.6 mm)
Thanks for looking.