I fretted a board today with LMI's EVO gold fret wire and the process I use is much like Bob showed in his earlier tutorial (thanks Bob) but with a nifty tool added. Mike Ziegler over at Luthierforum posted this yesterday which is his take on a similar idea.
http://www.luthierforum.com/index.php?s ... c=5639&hl=
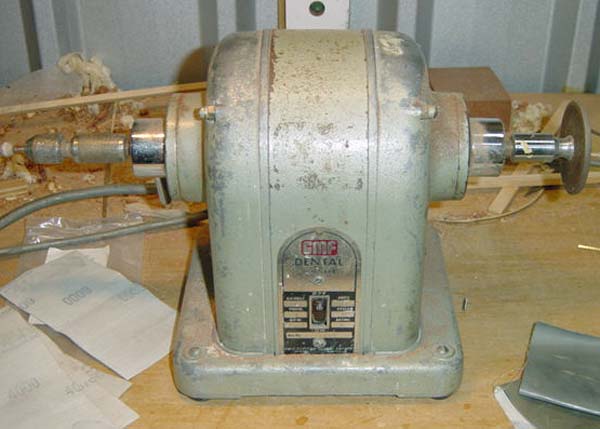
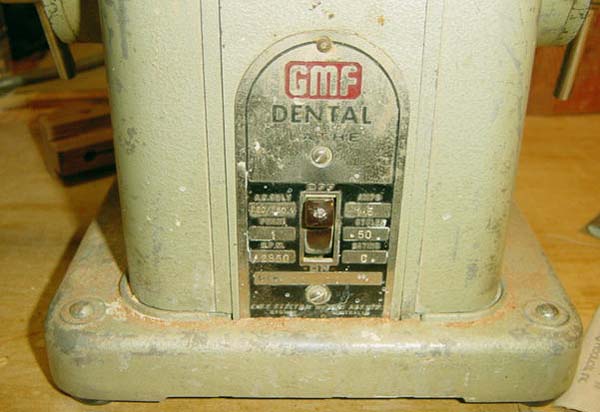
My method also incorporates the use of dental tools. A couple of years back, I picked up an old GMF dental lathe complete with quick release morse tapper shaft ends, one end being fitted with a small chuck for abrasive stones and what not (maybe a flexi drive?), and the other with a rubberised ceramic wheels. Best part is I got this tool for $25, but if you want one you will need to fight off the lapidary guys as they are popular for polishing stones.
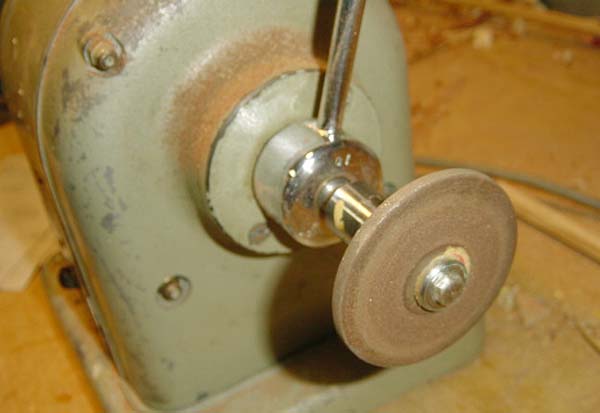
I think the rubberised ceramic wheel that I have is the same compound that Mike showed in his thread but at around 100mm when new, this is just a lot bigger version.
The GMF dental lathe, which is very old school and well built, is wisper quite, so much so that I done most of this work in my shed at 3am this morning without disturbing the neighbors. So, using this sweet tool, (I am sure you could just as easy spin one of these 1/4" bore rubberised ceramic disk in a drill or Foredom but it would be noisier) this post will attempt to explain how I dress fret ends.
As Mike, and Allen suggest, LMI's EVO Gold Wire is much harder than standard nickle, sort of mid way between nickle and stainless if you like. So being harder it is naturally enough harder to work. The upside is that this is good for fret wear and as it is a gold coloured alloy, it looks great as well. If you are not aware, this EVO wire is not plated, it is actually a gold coloured alloy.
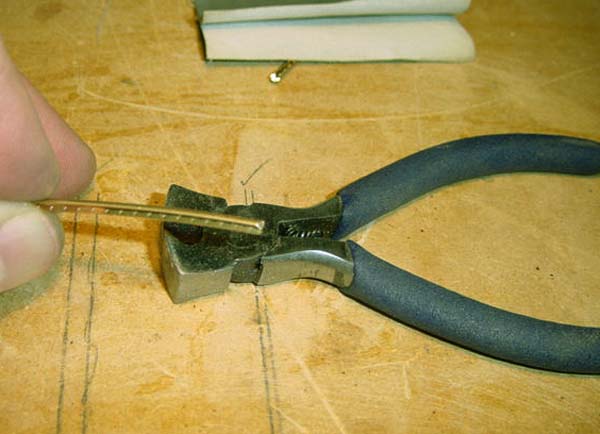
Anyhow, for cutting this wire you have 2 choices, first you can use a really expensive set of cutters and whilst this should be fine, you do run the risk of damaging a good tool because when you need to squeeze hard to make a cut, the jaws could chip when they suddenly clash against each other when the wire gives. The other alternative is to face grind a $2.00 set of Chinese made cutters and ignore the damage, I choose the later.
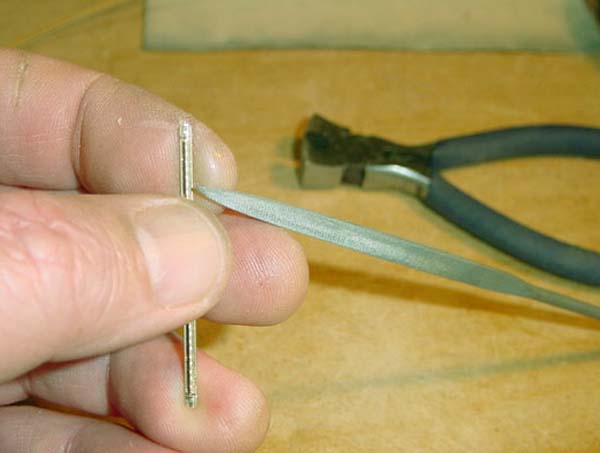
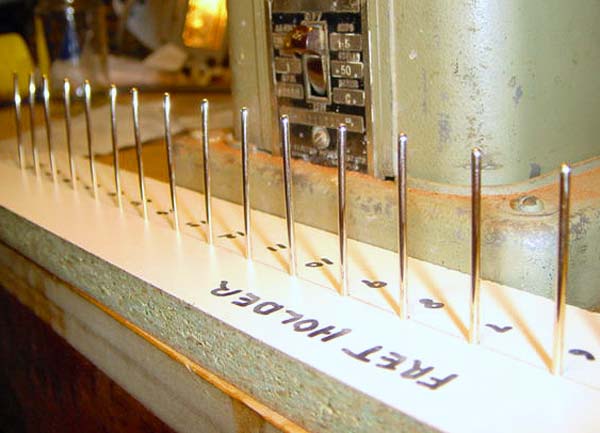
So, once again please excuse my old 3meg Sony Cybershot images but tis all I have. Here is the wire cut to length, I like to go just a tad longer than required.
Next, as these frets will go into a bound freatboard, I cut the tang from one end of the fret using some Stewmac fret tang nippers.
Again I take a touch more tang than is needed so that the end can be dressed back so it will be clean and polished just in from the edge of the binding.
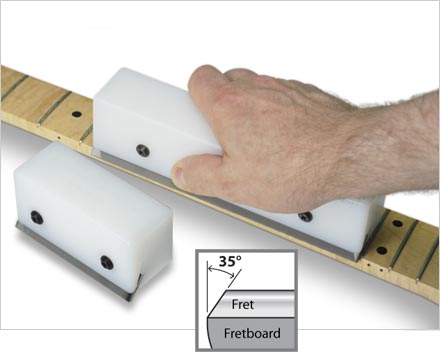
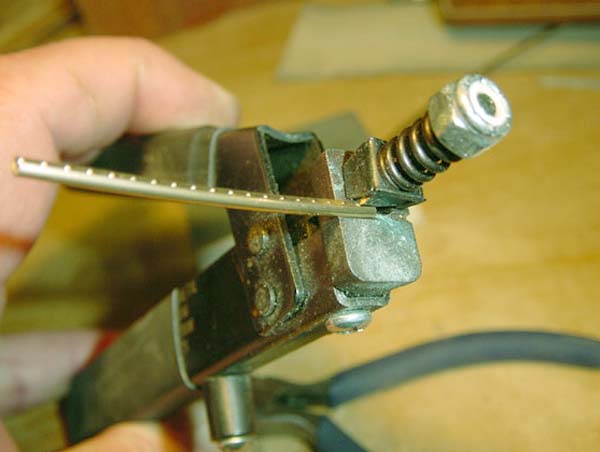
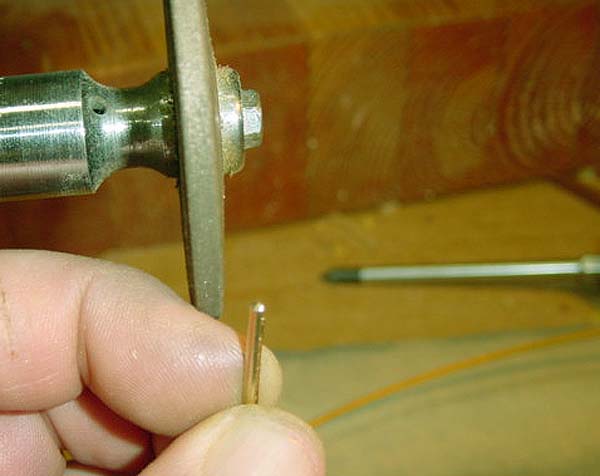
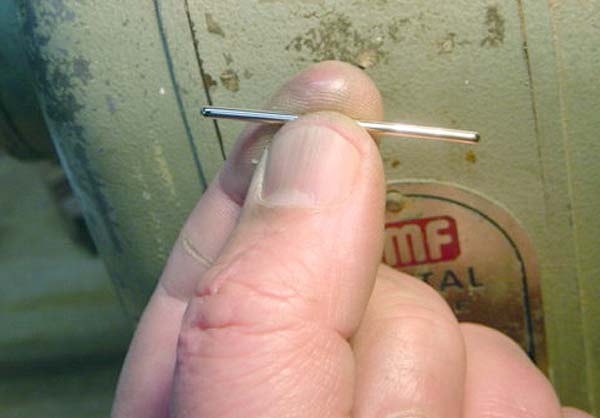
Now this tangless end is put to the abrasive wheel and ground back shaped with a curve so it will sit just inboard of the outer edge of the binding when the tang, working as an index, registers against the inside edge of the binding when resting in the fret slot, this will come in handy later for positioning for the press or hammer. I do this shaping by holding the wire 'tang side up', this gives a clean finish to the underside of the fret end.
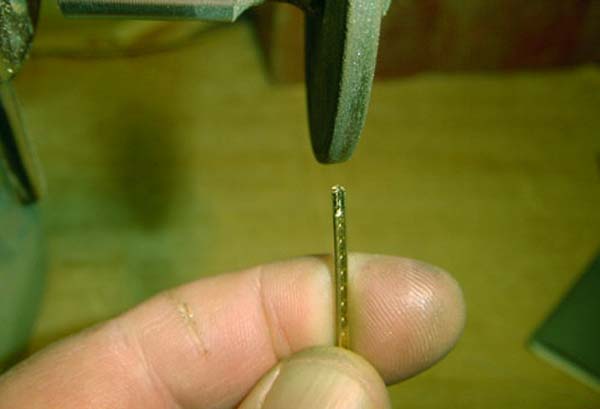
Then the fret is flipped over and a bevel is formed on the upper end by rolling the fret end over the edge of the wheel. This entire grinding takes but a few seconds as the ceramic wheel cuts smooth and clean.
With this end done I put the nipped tang in the slot registering as described above and flush cut the other end to length. I then repeat the grinding process on the freshly cut end first cutting the tang back so it is just a tad shorter than the fret slot. I then use a needle file to clean and level the area where the tang was removed from each end. This makes sure that the ends will sit flush with the board and will decrease the chance of the ends 'springing' later on down the track.
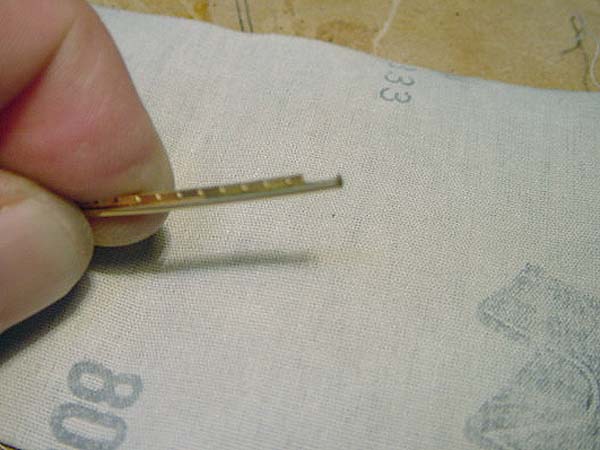
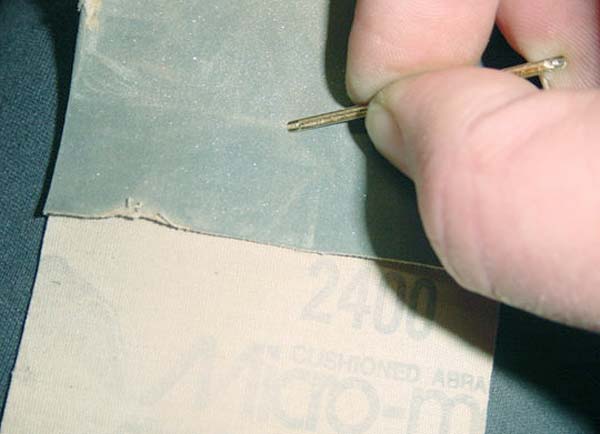
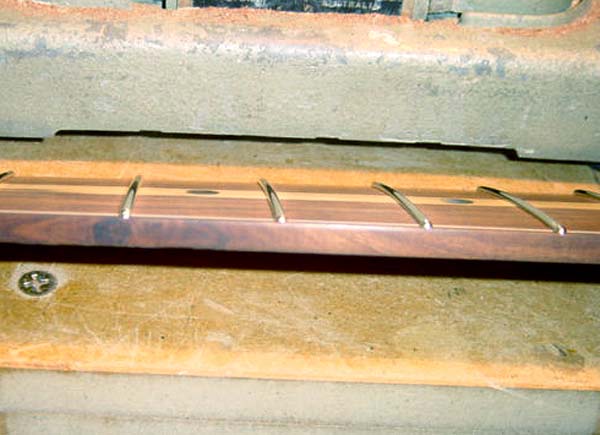
Next I fold over some 2400 Micromesh cloth onto my leg and shape in the bevel on each end of the fret to form a ball end. This only takes a few rolling wipes with the cloth on a soft surface, hence the leg, and your done. I just work one side, then the other then the centre and that is all that is needed.
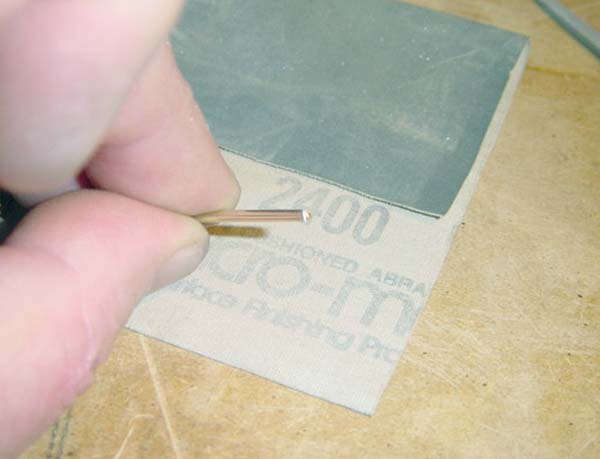
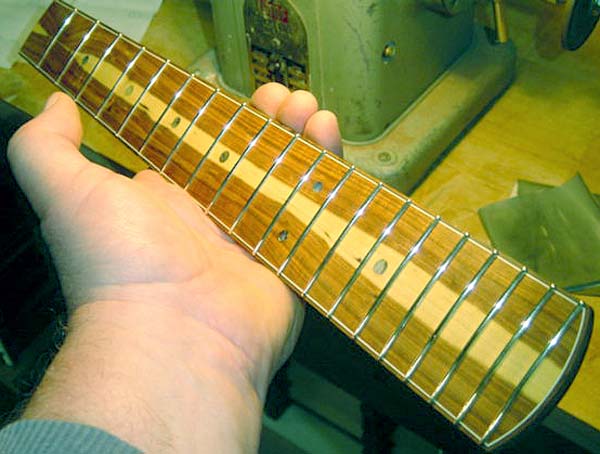
Now I work through the grits up to 12000 and they come up schweet. They do loose their gold colour a little when freshly worked but as they oxidise a little it shall return.
Cheers all
Kim