
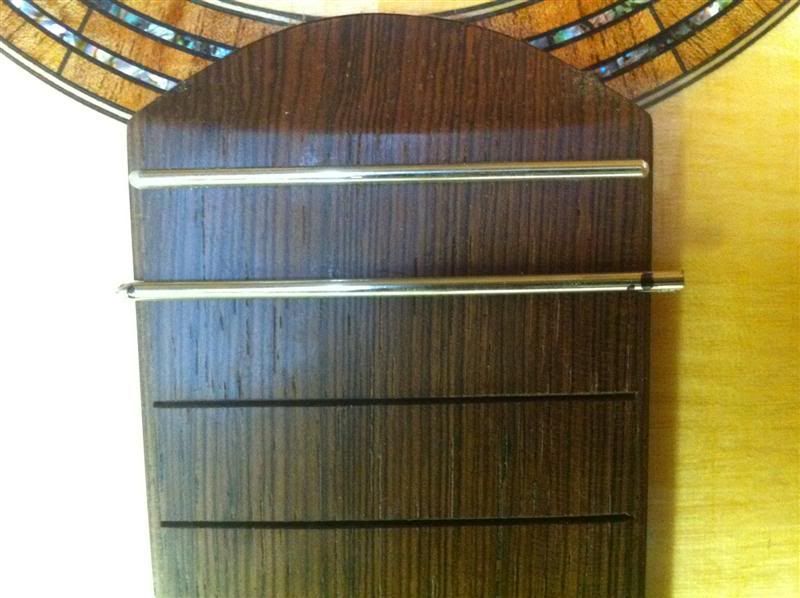
So, this is the first time I tried semi-hemisperical fret ends. Never seen a tutorial on this and wasn’t going to pay $25 to Sylvan Wells to see his method, so I came up with my own way. Actually, I’ve had this idea in my head for a couple years now, just never tried it.
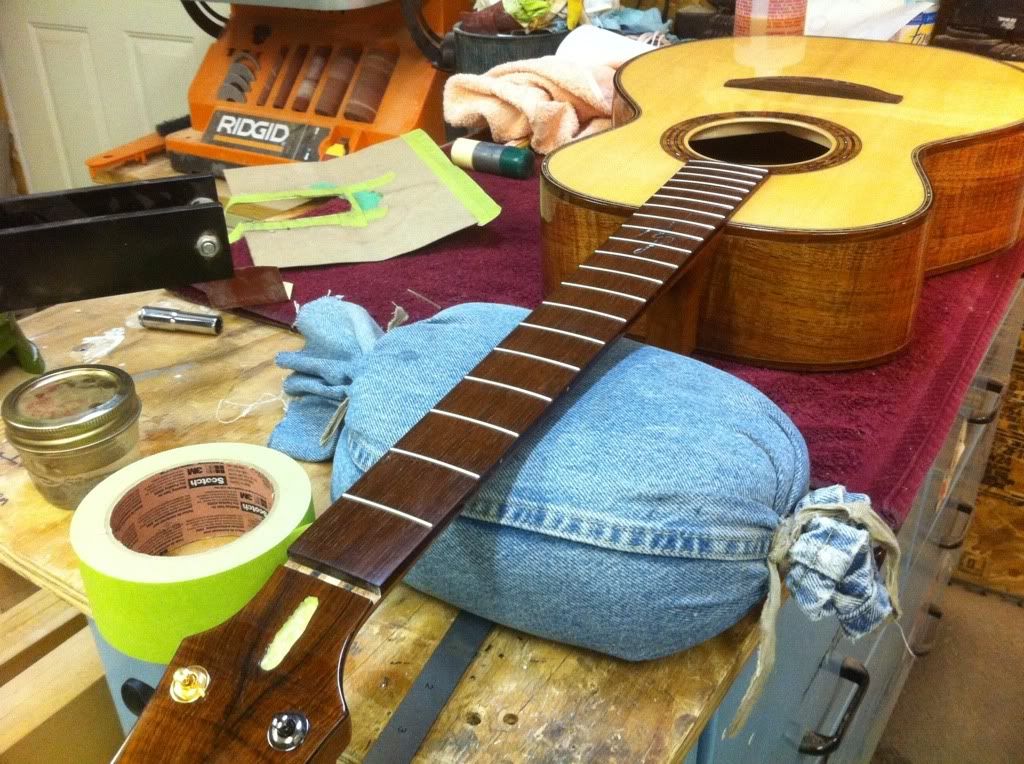
I ensure that the fretboard is level before fretting (one reason for waiting till it’s attached to the body) and in this case, I had no sanding to do, sweet!
Ok, so I protect the upper bout area of the guitar and rest the neck on a bag of sand I have.
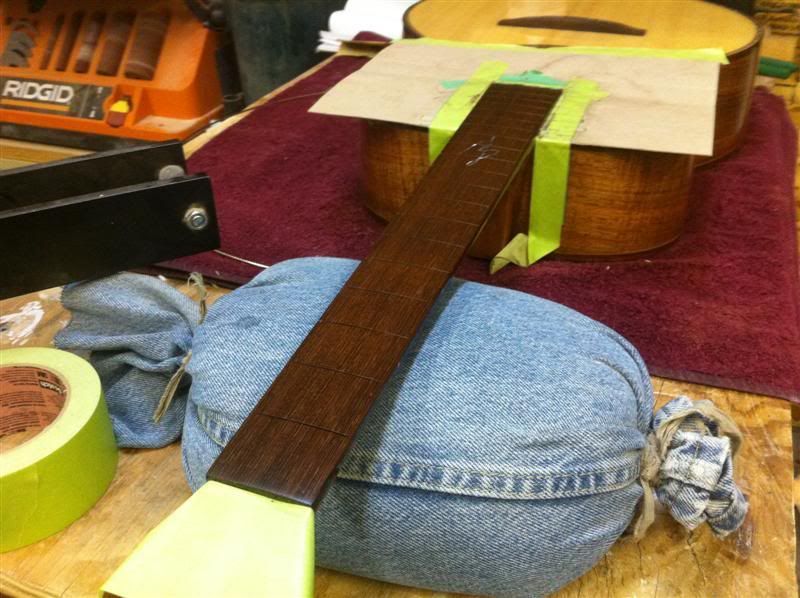
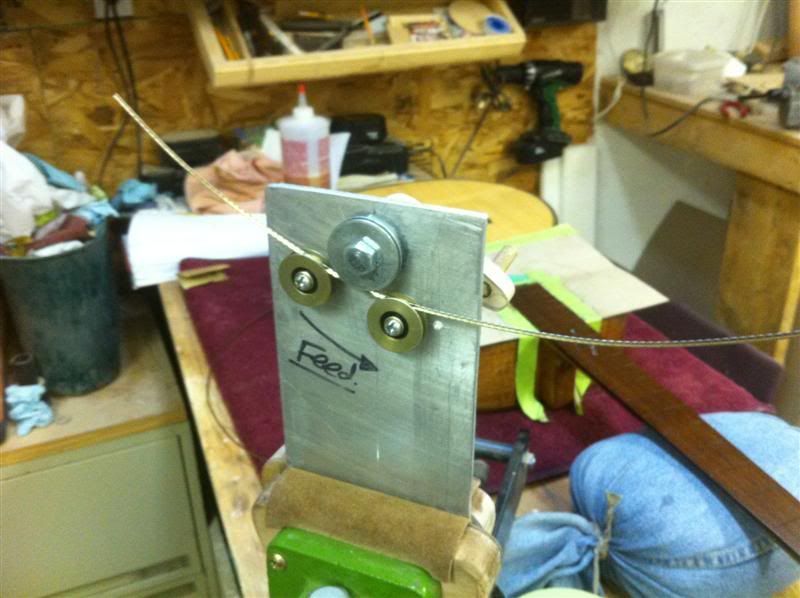
I then radius my fretwire, homemade radius thing too (of course)
I then pre-cut my fretwire for each fret and put it in a holder (no picture sorry).
I started at the soundhole end of the fretboard incase I cut one of the frets to short, I can use it on the next one up
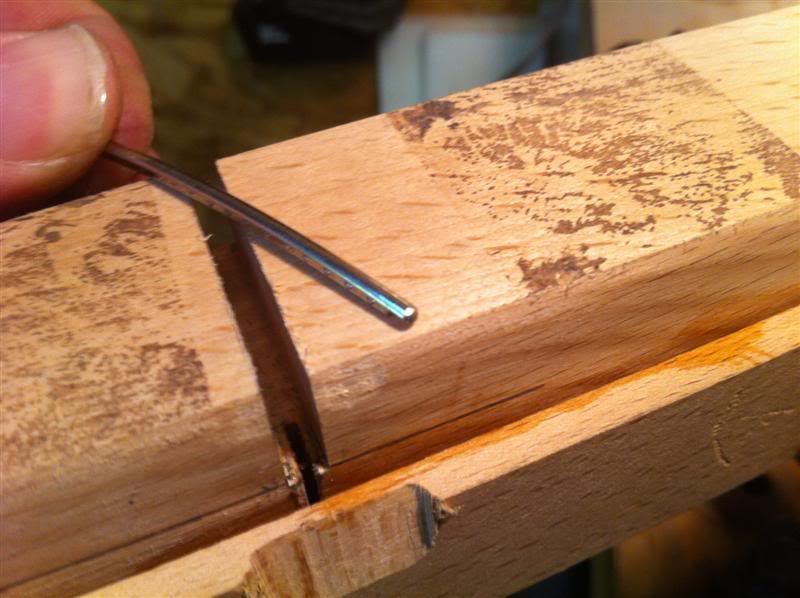
First thing I do is undercut the fretwire for the binding. I have the Stew Mack fret tang nipper and It works perfect for me.
I then held the fret in the slot and marked the edge of the fretboard on the fret with a sharpie I chiseled to a fine point (I need one of those fine point sharpies in the shop).
Then I take it to the jig I made
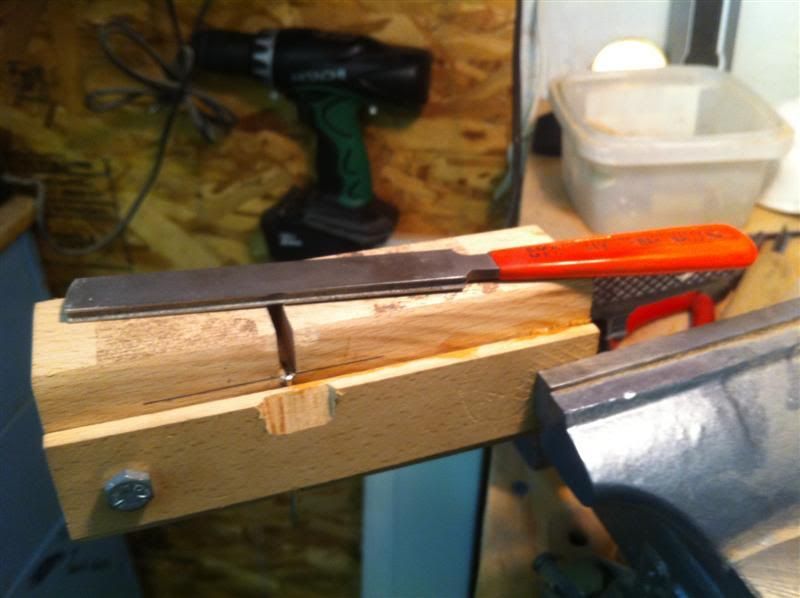
It’s a block of hardwood, with a grove cut for the fret tang and a channel for a fret file. The holding face is also radiused to about 10" so the fretwire doesn't bend back straight/flat. Here’s a bunch of pictures.
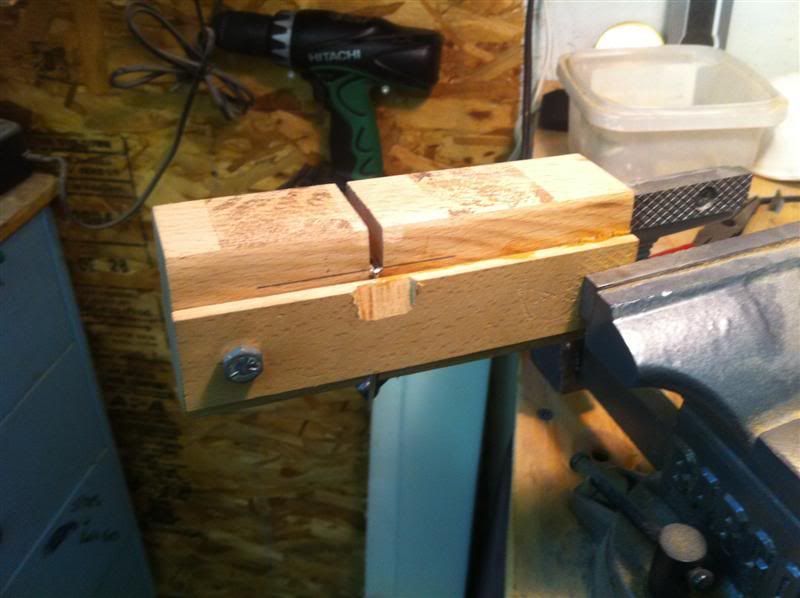
The thin board along the front is shimmed 0.020” (veneer) on the end held in the vise. This allows the fret to slide up into the groove and then holds the fret tight with the screw on the left.
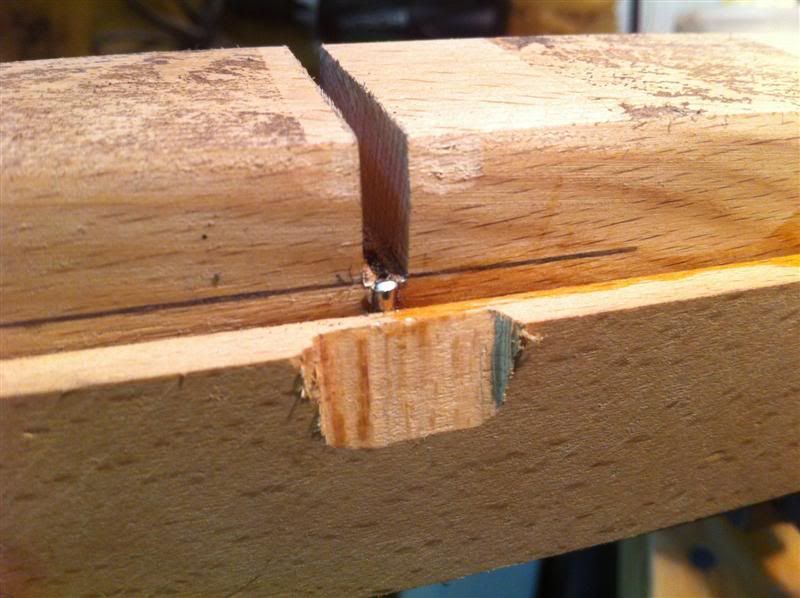
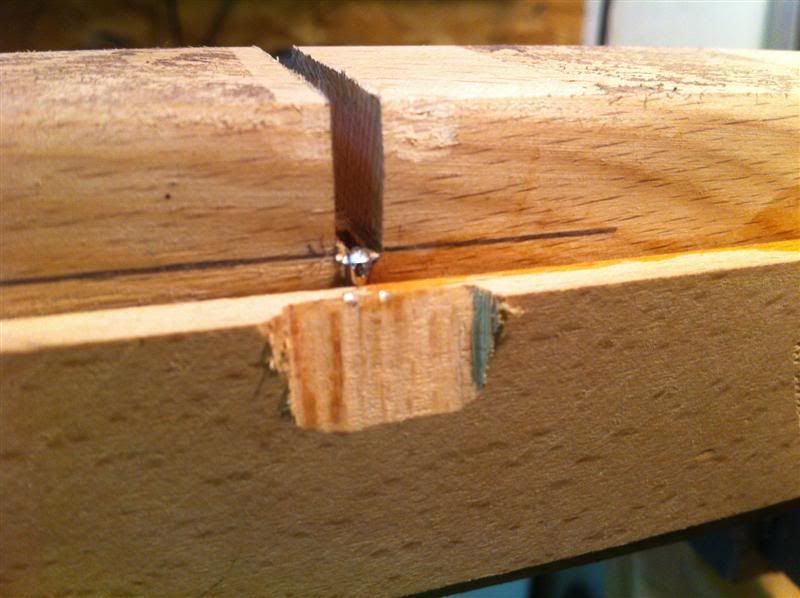
I’ve made a pencil mark where the fret needs to be ground round (this was done by trial and error to get the location right), so I align the sharpie mark to the pencil mark.
I then run the fret file over the fret to round it, also tilting the fret file down to get a curve to the top of the fret end.
I then pull the fret out and do a quick little touch up with the file free hand to make it look round and even.
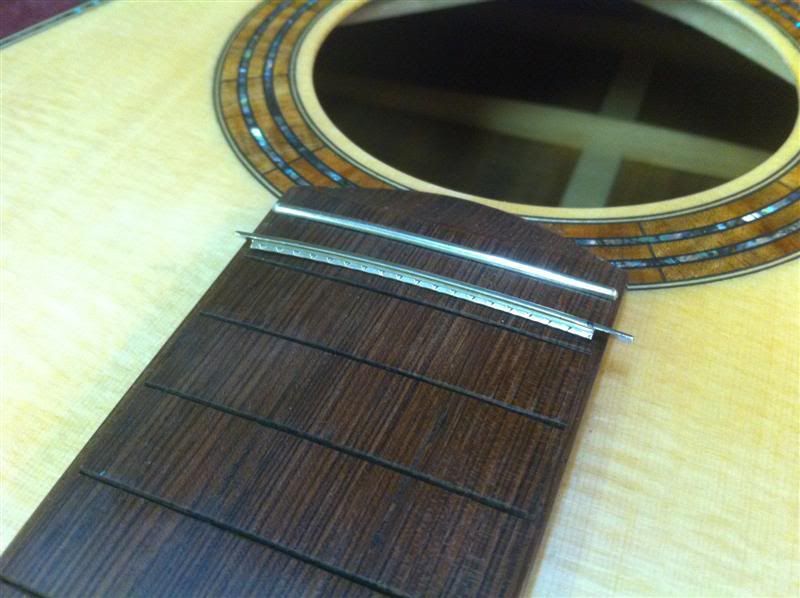
Then I check it on the fretboard to make sure the other end is marked right, then I repeat for the other end. I’ll sneak up on it, checking it on the fretboard to make sure it looks right. I only want a couple 0.001” offset from the edge of the fretboard. If it looks like it’s offset too much, I’ll save it for the next slot. Then I hammer them in and move on to the next one.
Once they are all done, I check the board for level and as has been the case in many of my last boards, there is a slight back bow from fretting (about 1/64”). I don’t mind this as I know the neck will pull forward with the strings so I don’t need to level the frets.
That's it. Give it a shot, you'll love the results.