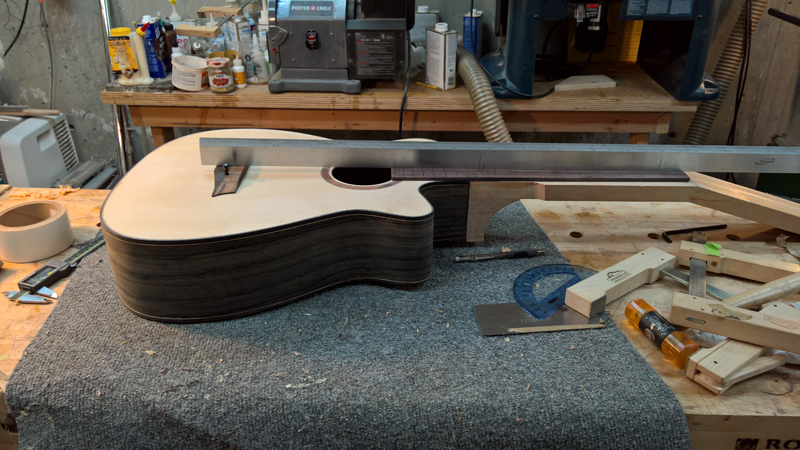
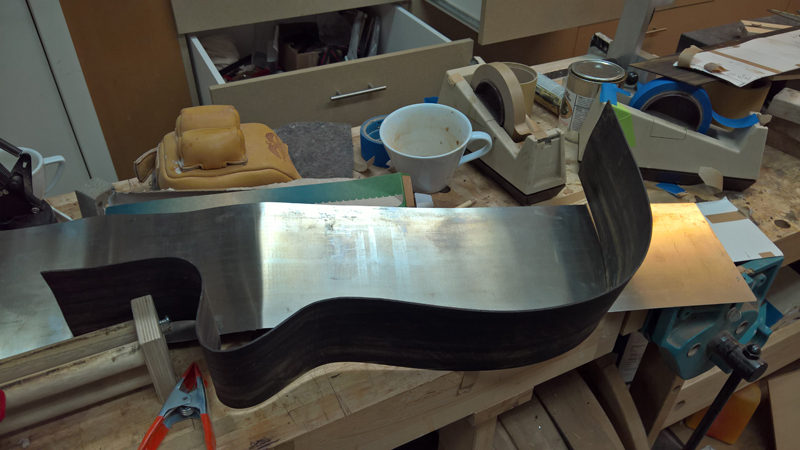
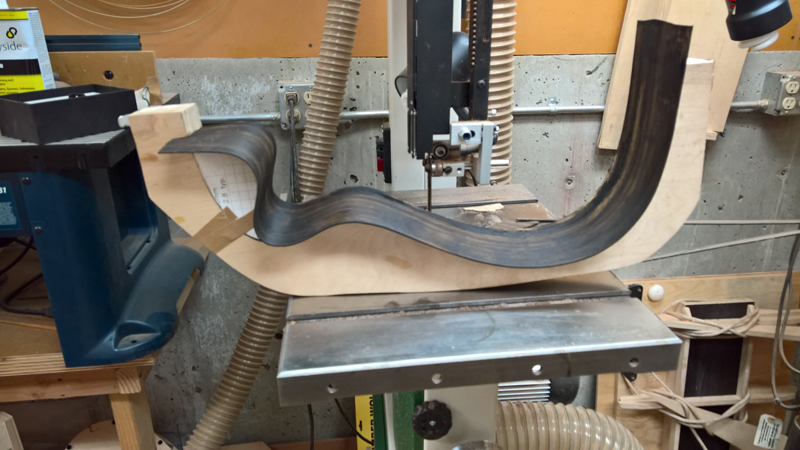
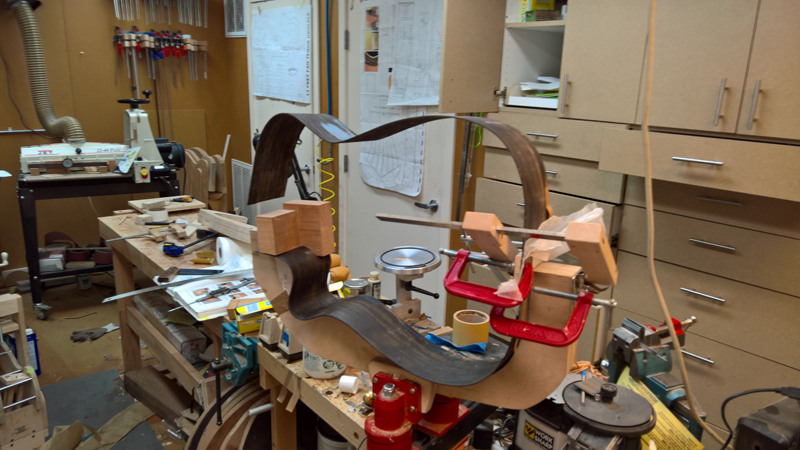
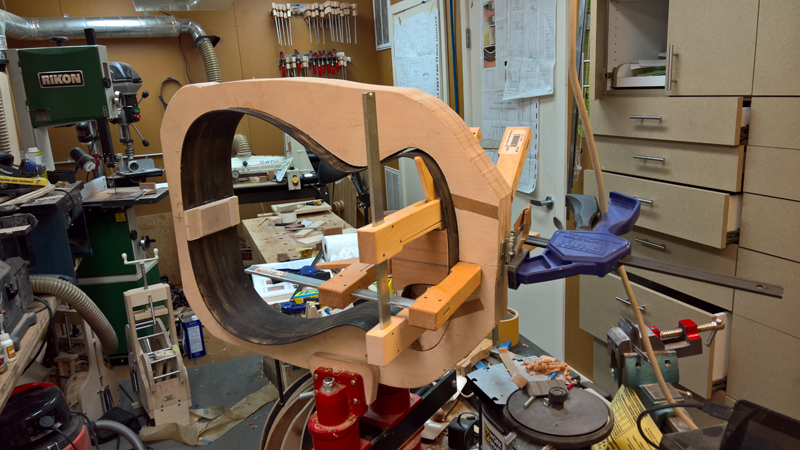
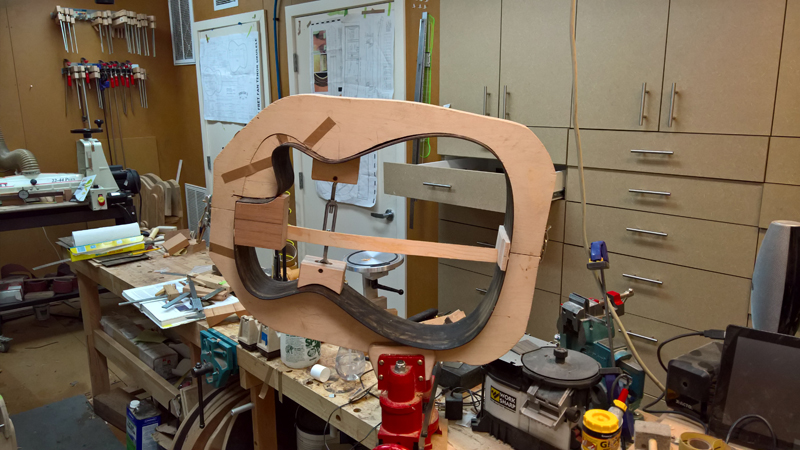
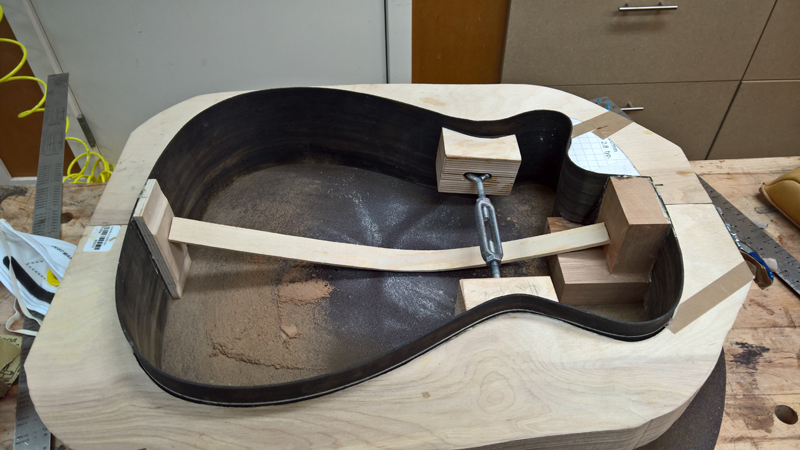
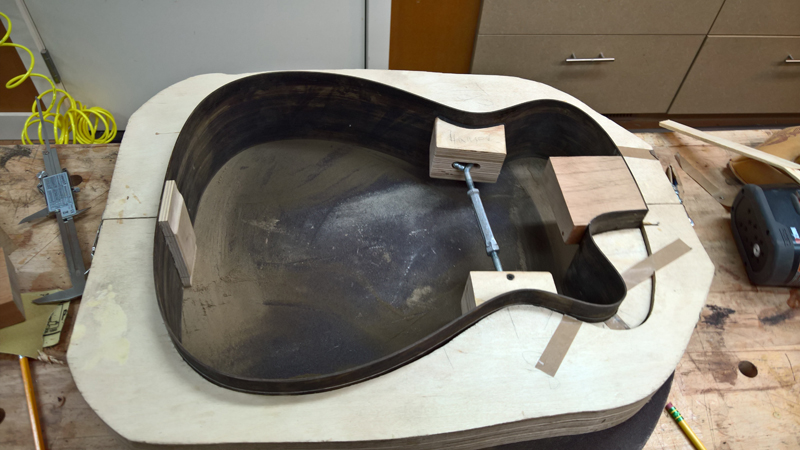
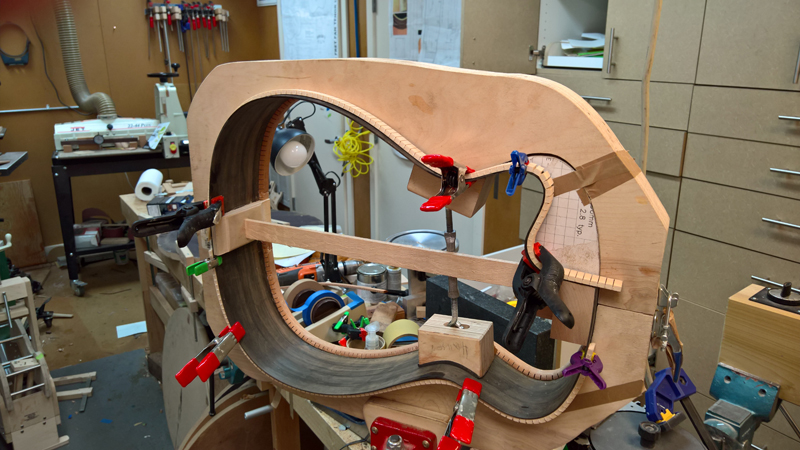
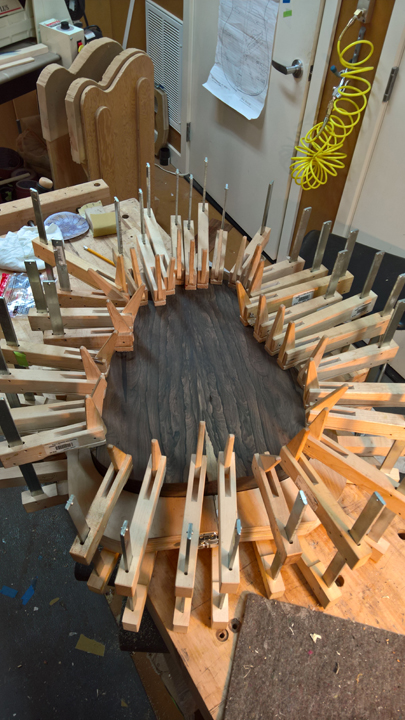
Thanks guys sorry it has been a bit. After a couple of weeks of touring around japan, I have started to make progress again.
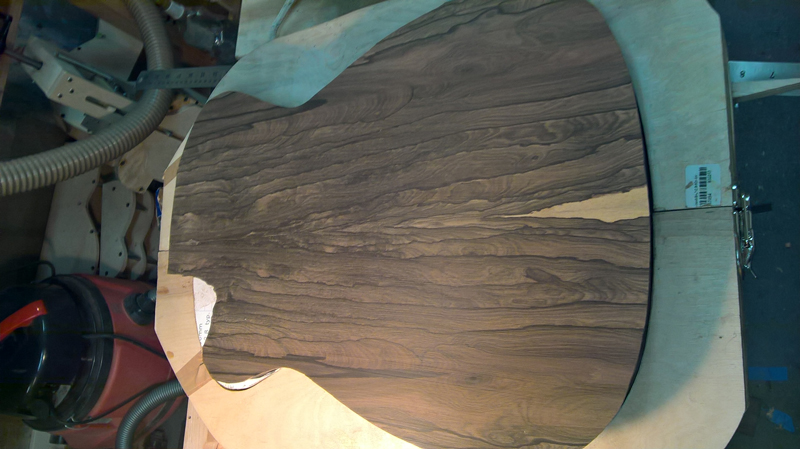
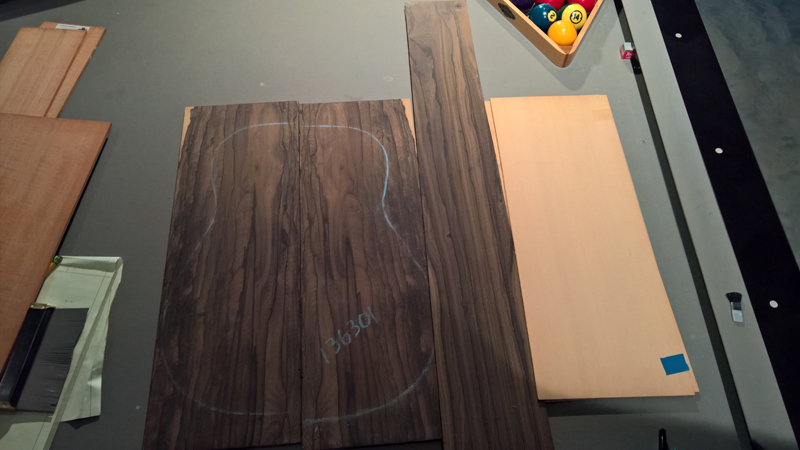
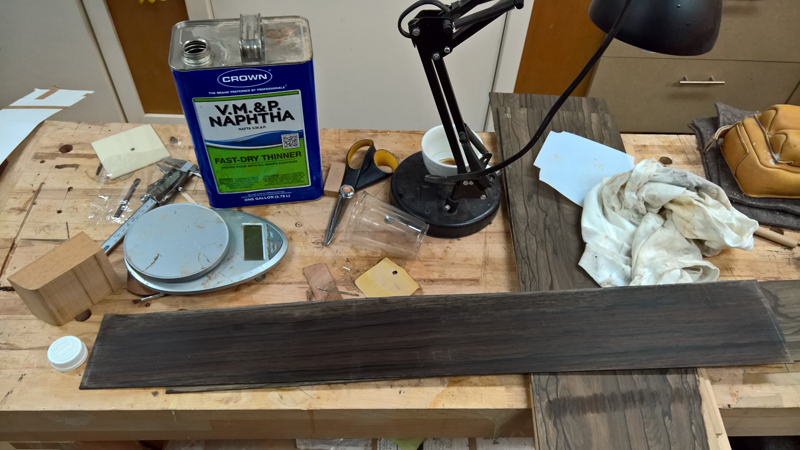
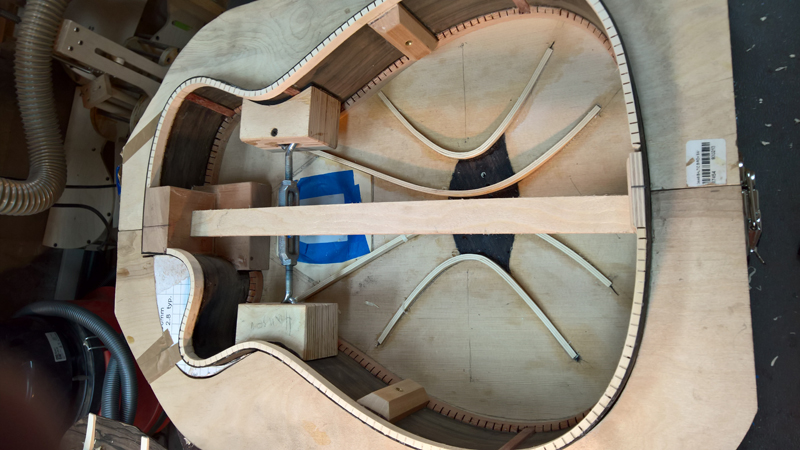
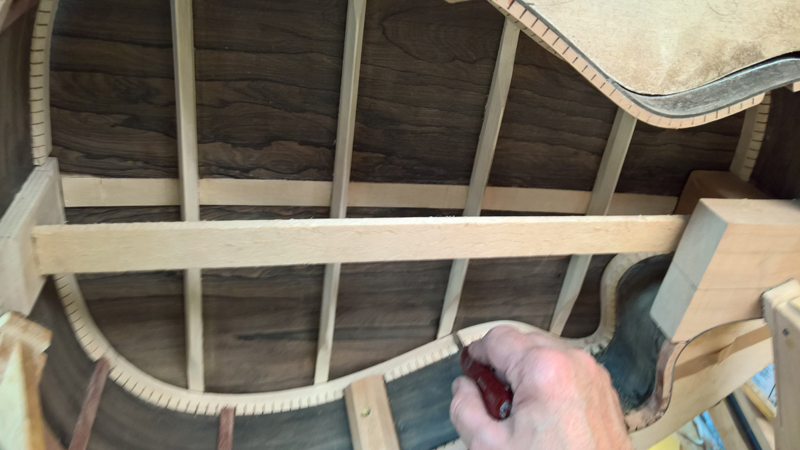
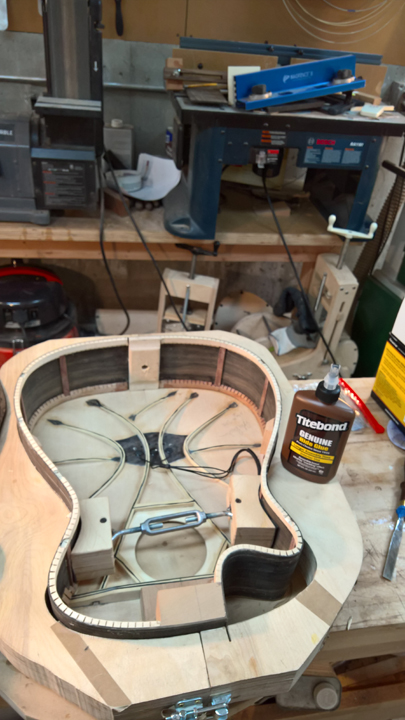
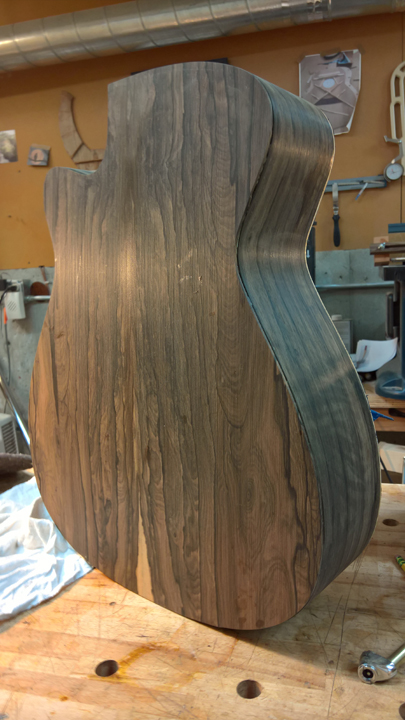
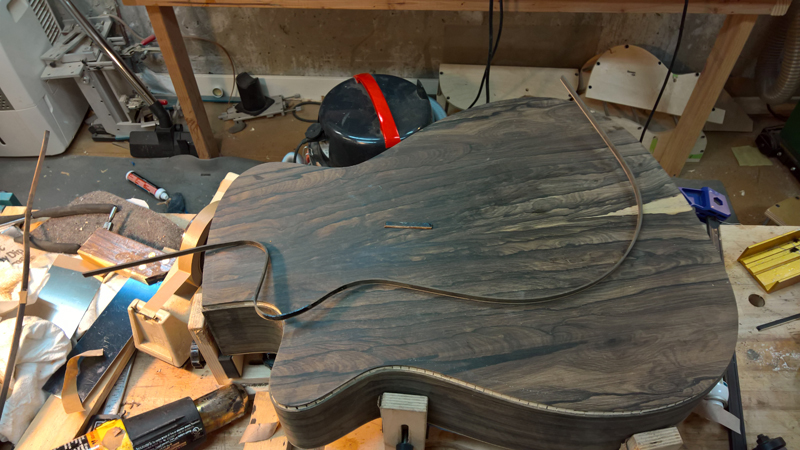
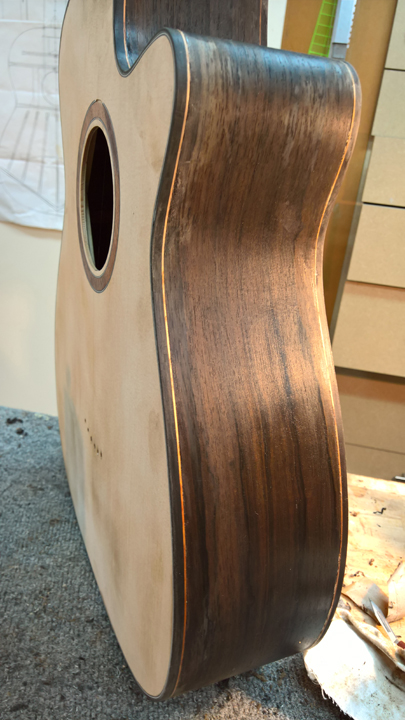
With the rims completed I turned my attention to the back and the top. The back wood is really a bit too dense to have an active back so I made it with four lateral braces.
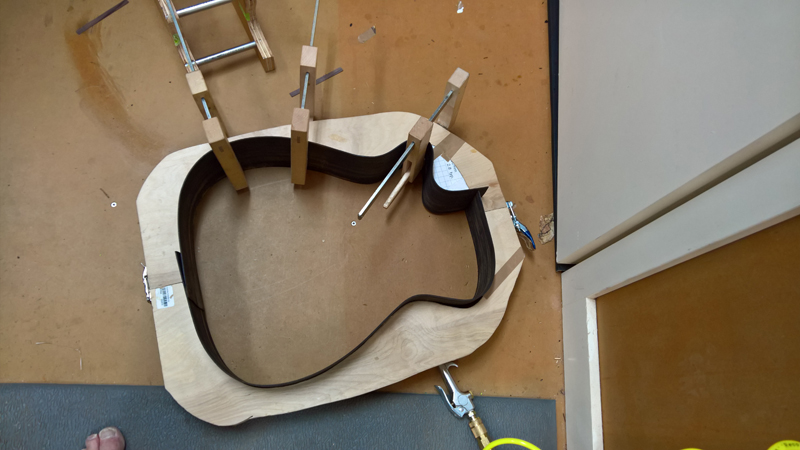
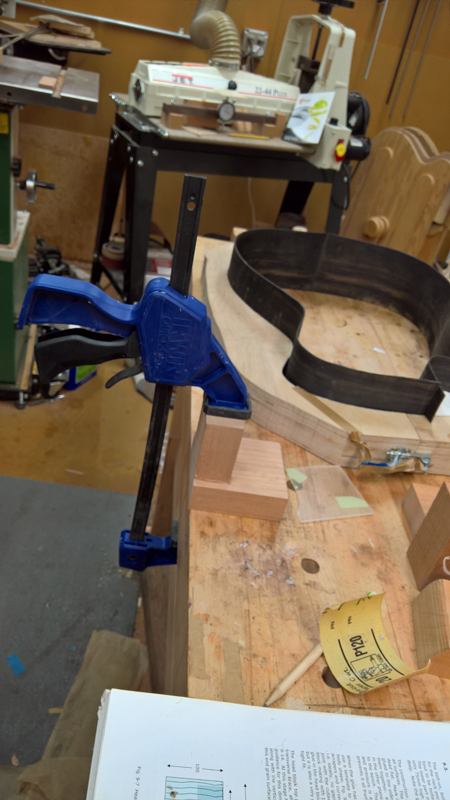
Having built a series of jigs for my falcate guitars and fine tuning them making and shaping the braces is turning out to go a bit smoother than in the past.
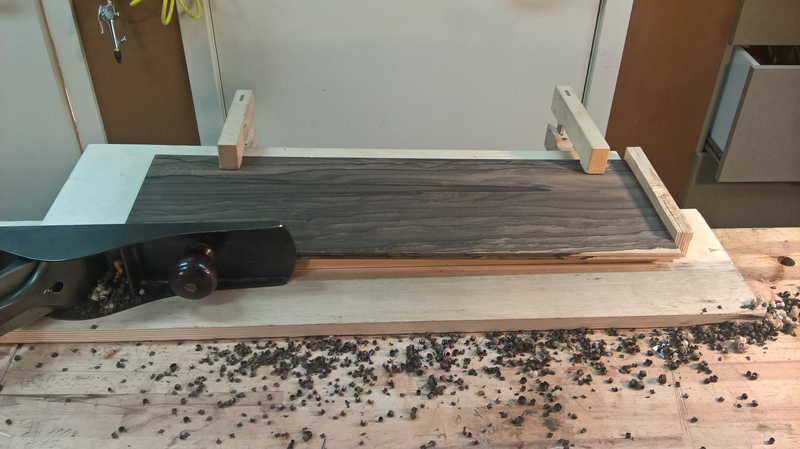
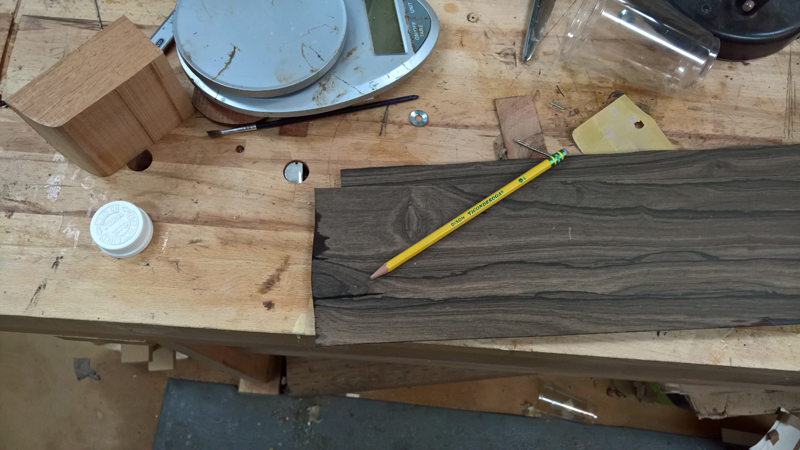
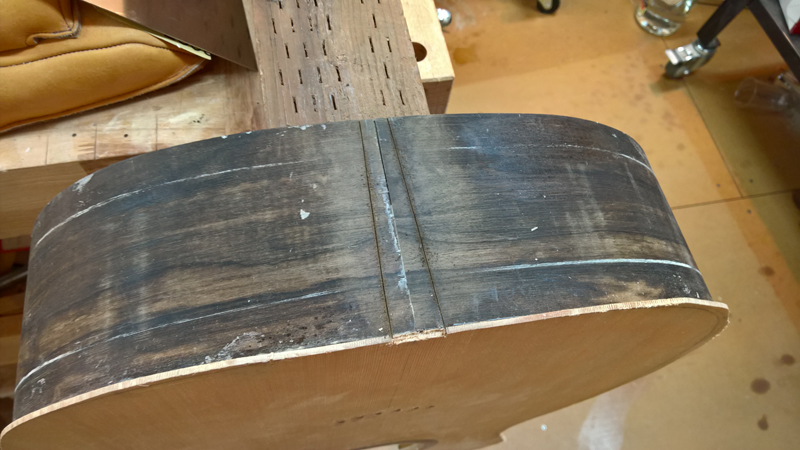
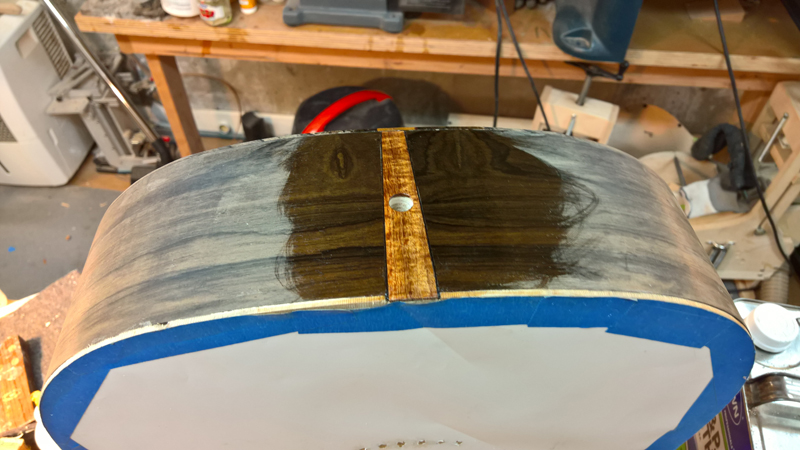
First off I joined, profiled and glued the center reinforcment strip to the back
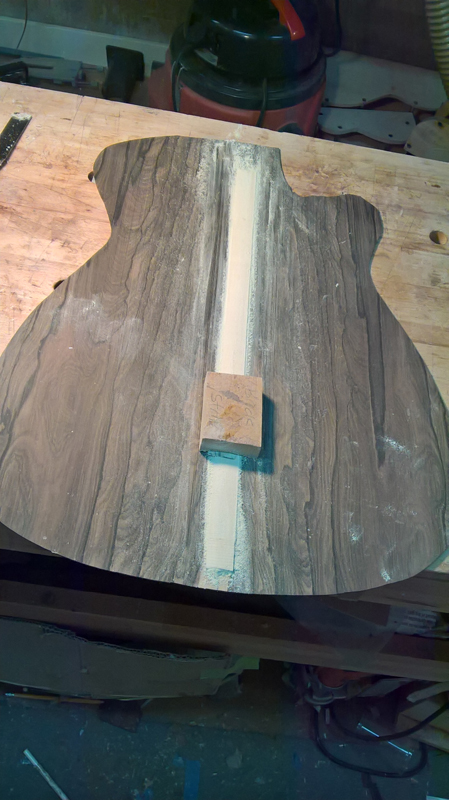
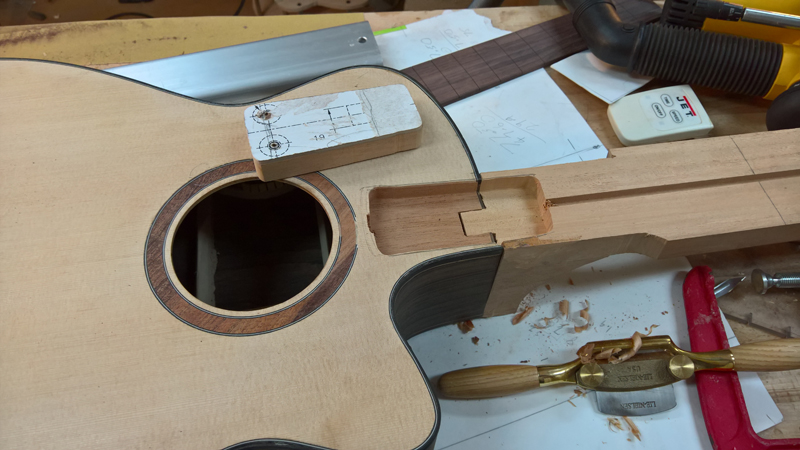
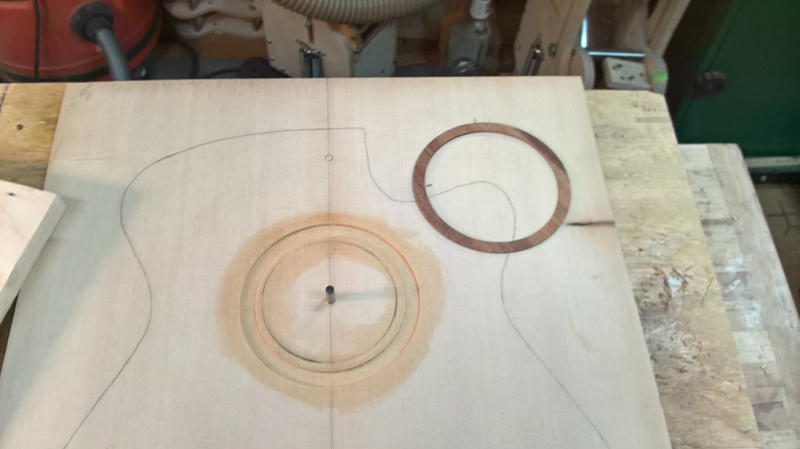
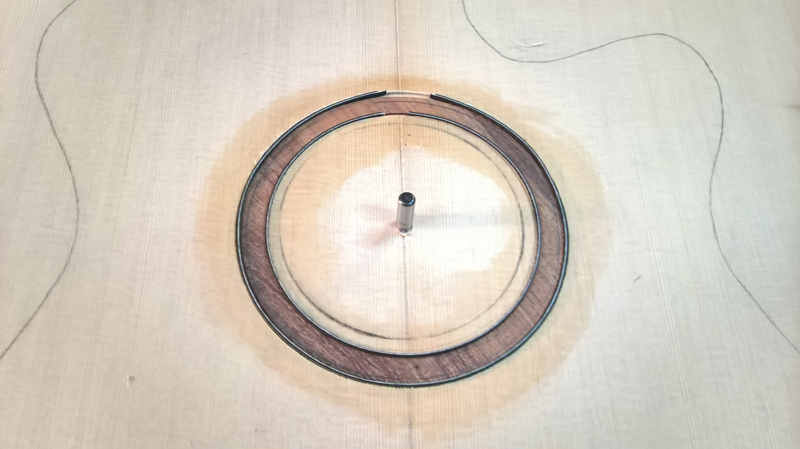
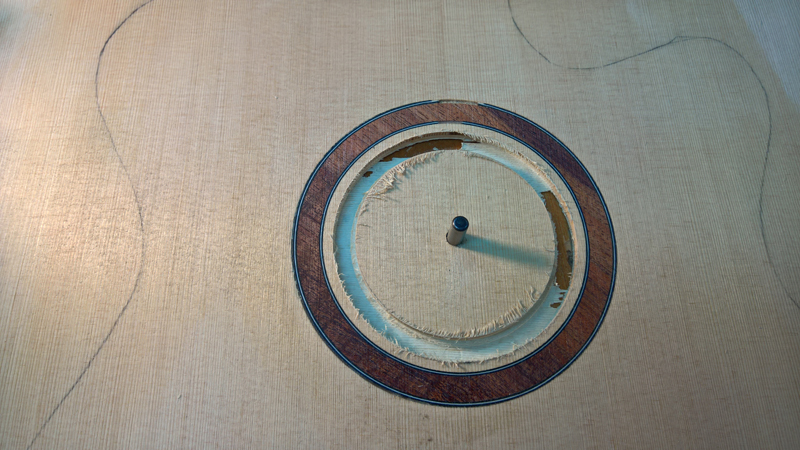
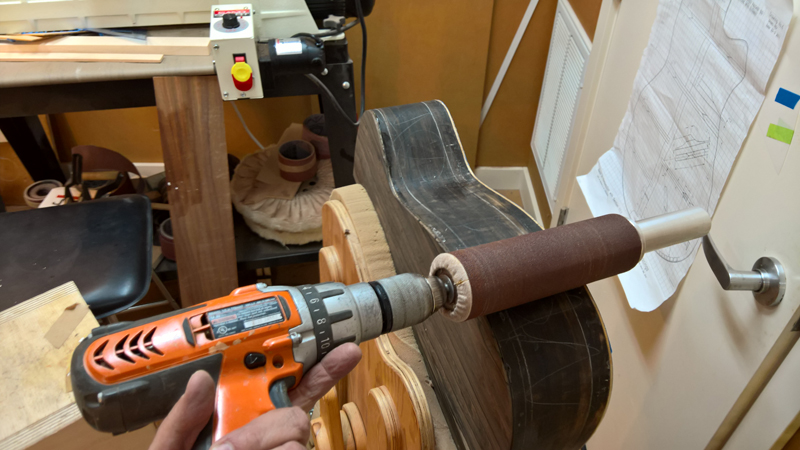
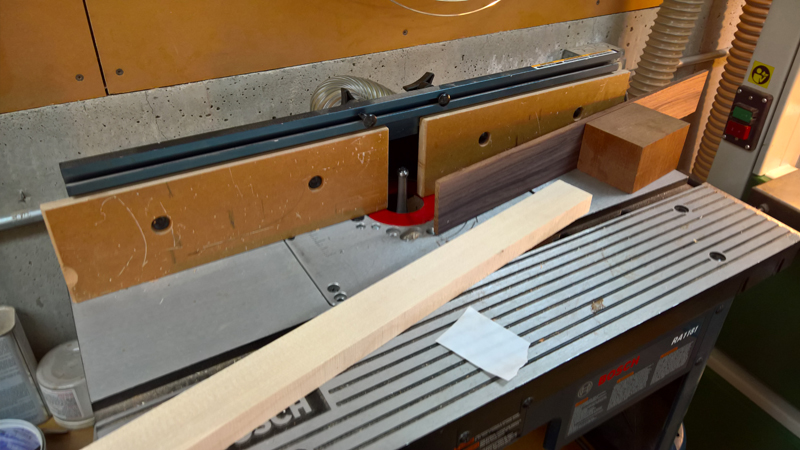
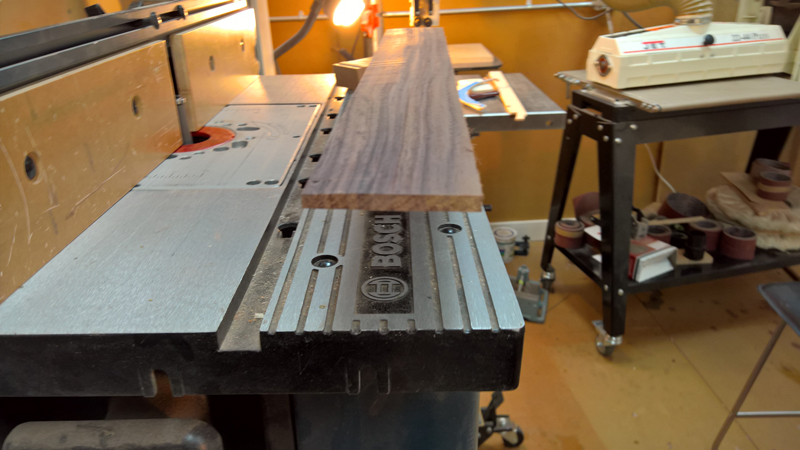
I jointed the top and and installed the rosette. On the rosette I start with a router bit the same size as the purfling strip I use. I route a channel for the inside purfling strip and without changing the router I route the same cut into my wood rosette blank. I then do the same for the outside purfling line. I then route out the waste between the two channels on the top. Now I have a ring routed perfectly for the ring and the purflings.
I run the rosette wood blank upside down through my belt sanded to the ring drops out. Now I have a ring the exact thickness for the channel I routed in the top. Here are some pictures to make it clear.
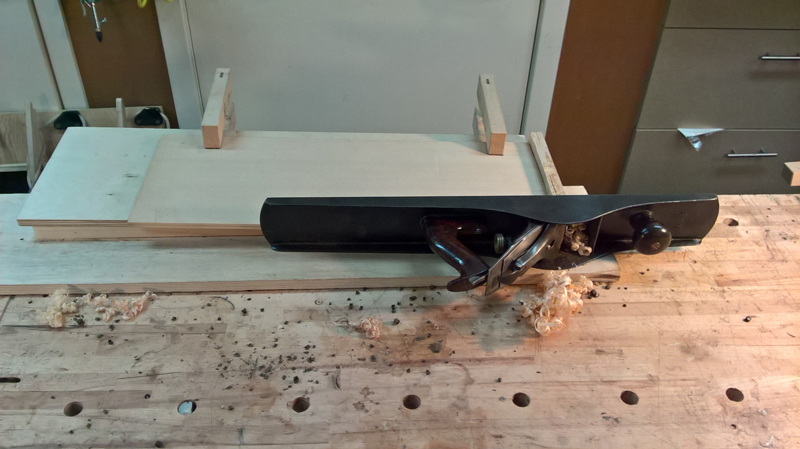

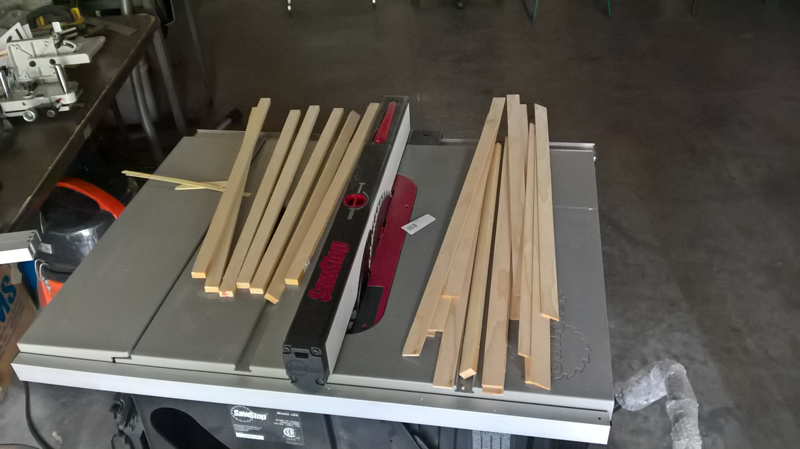
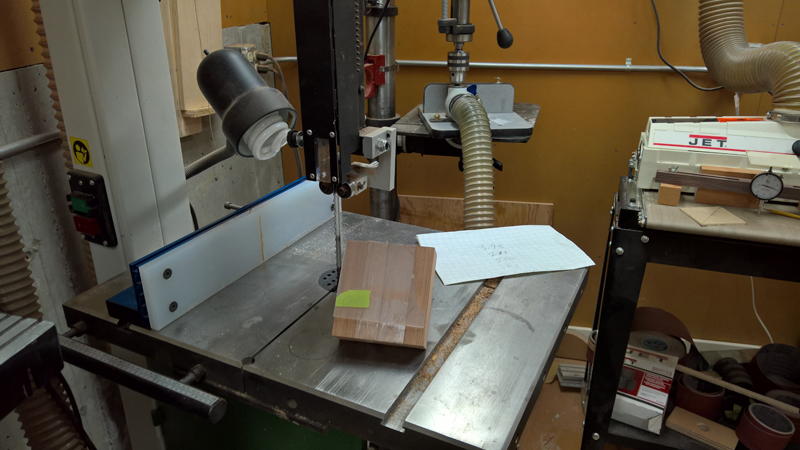
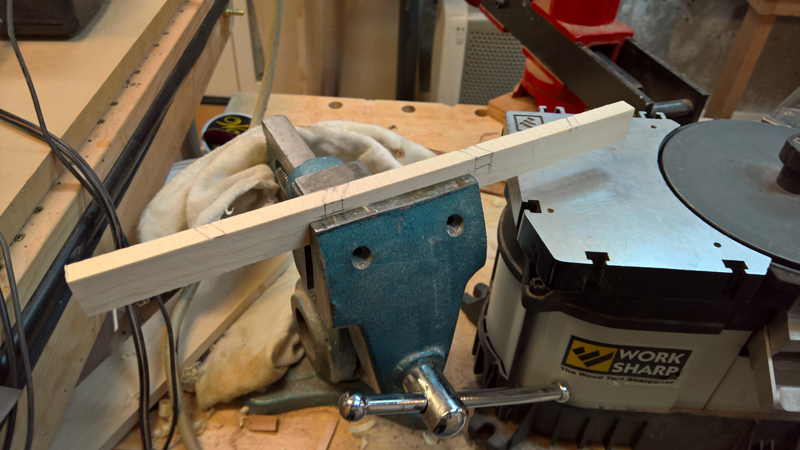
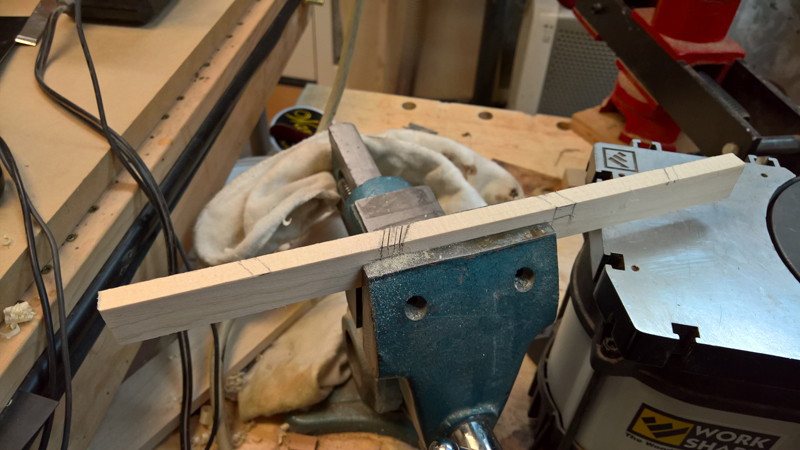
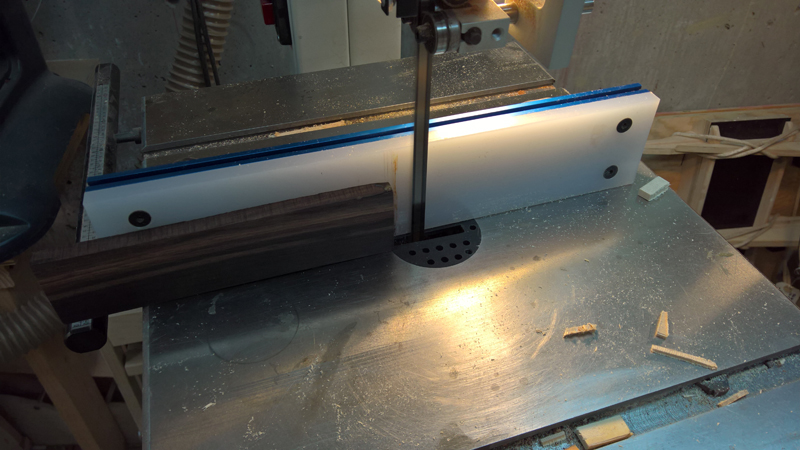
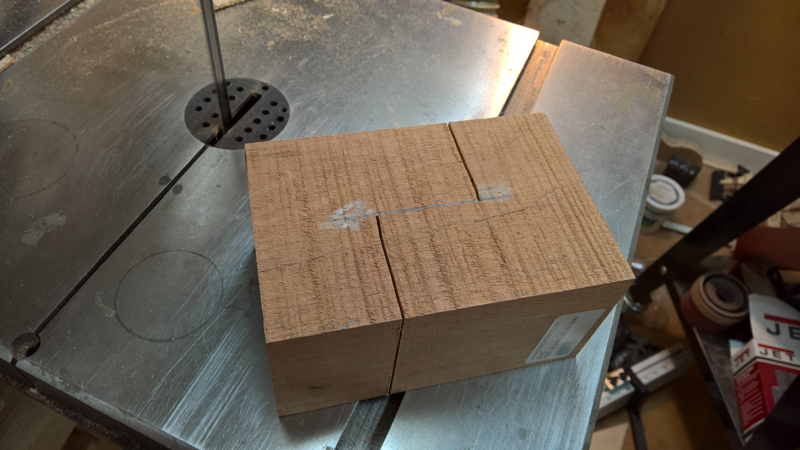
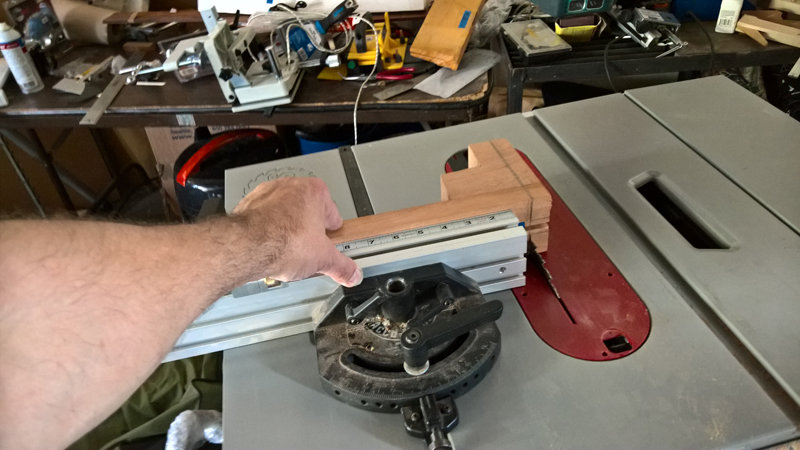
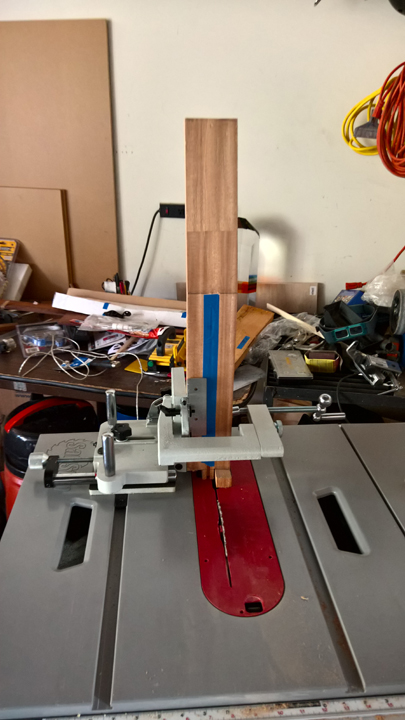
I do not use my table saw very often so when I pulled it out to rip the back braces and the lamination strips for the falcate braces I made a bunch of them. I have a nice blade on the saw and get close to a planed cut. I cut them very close to the final size.
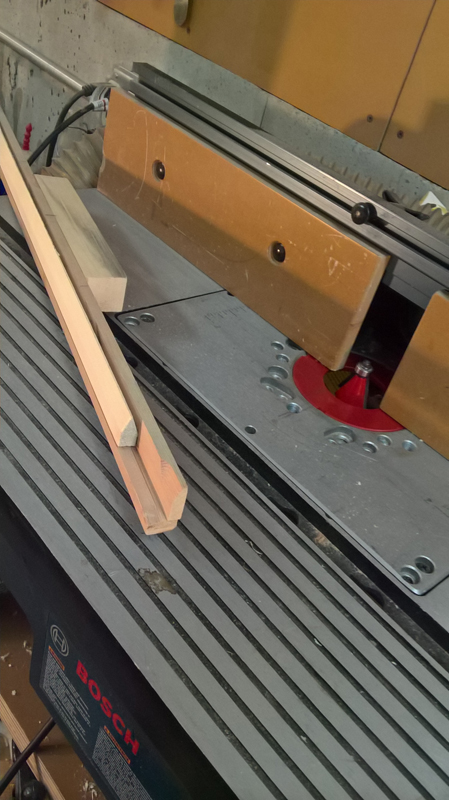
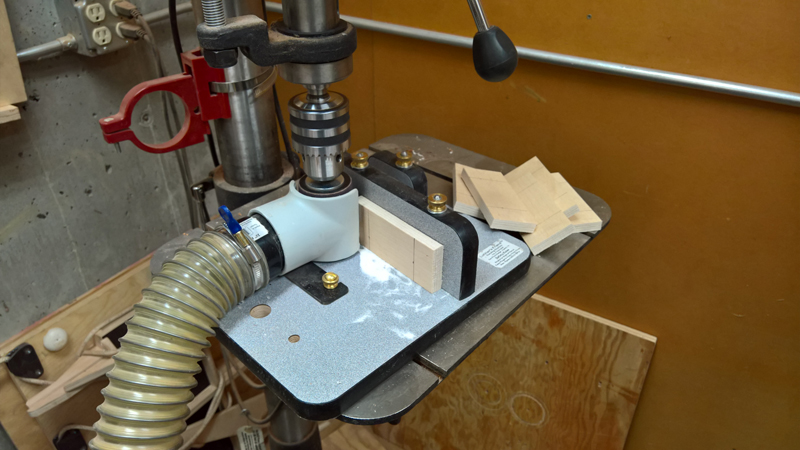
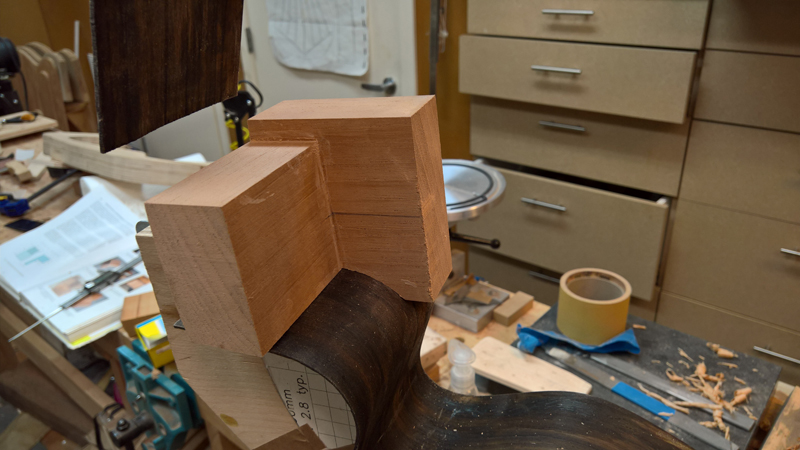
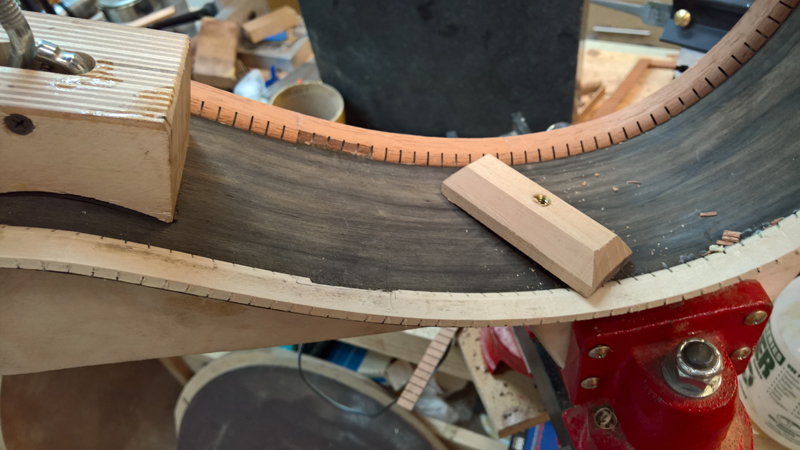
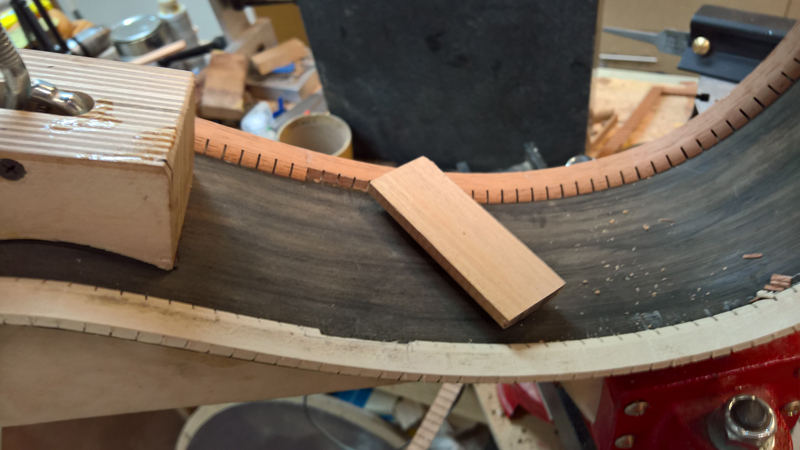
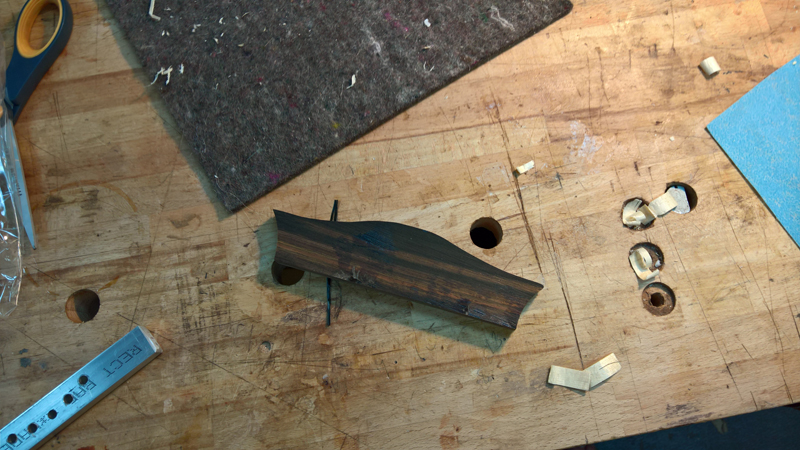
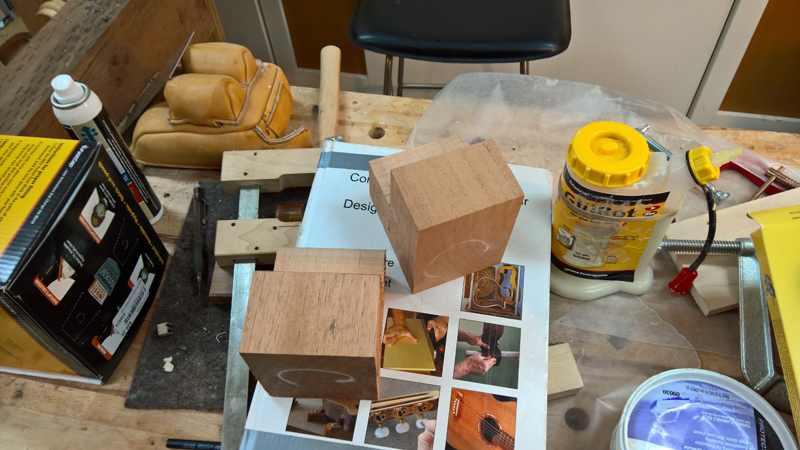
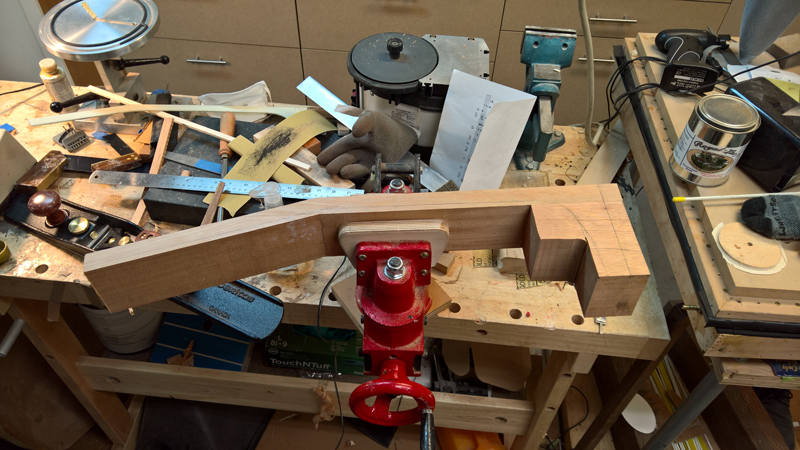
I use this jig and a 27.5 degree router bit do make the back bridges gabled house shaped
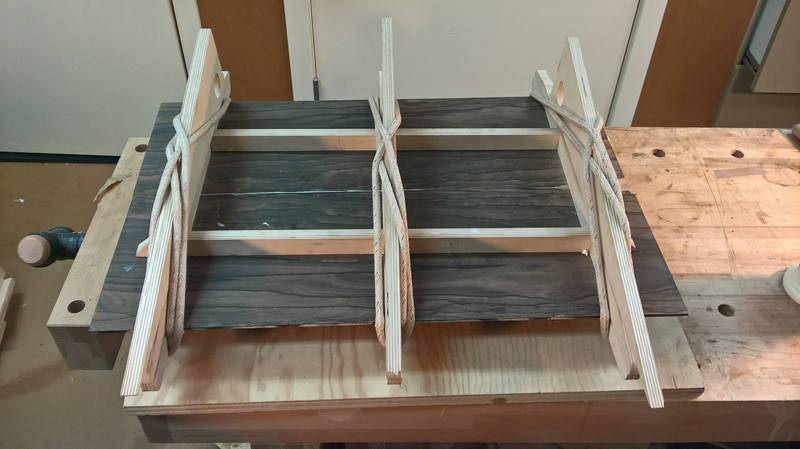
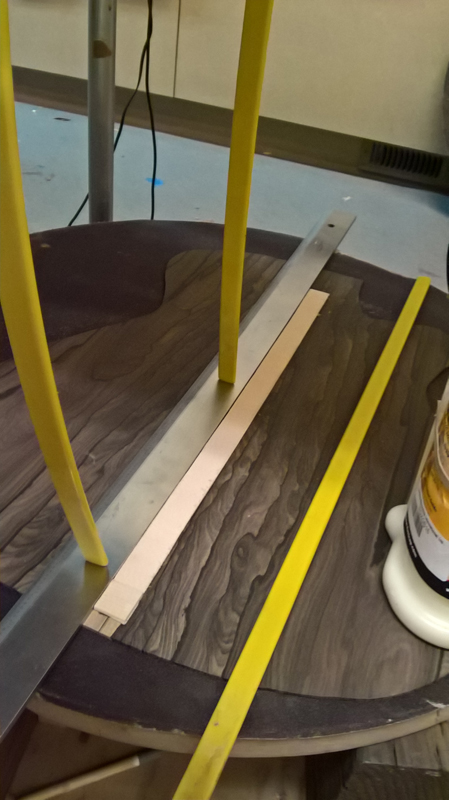
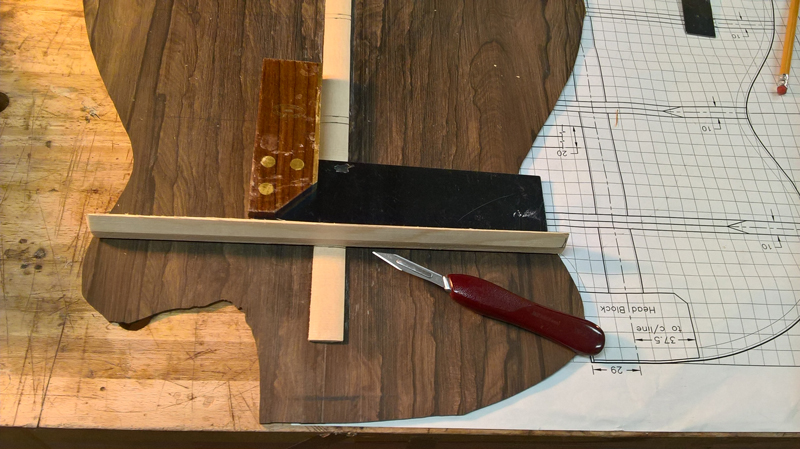
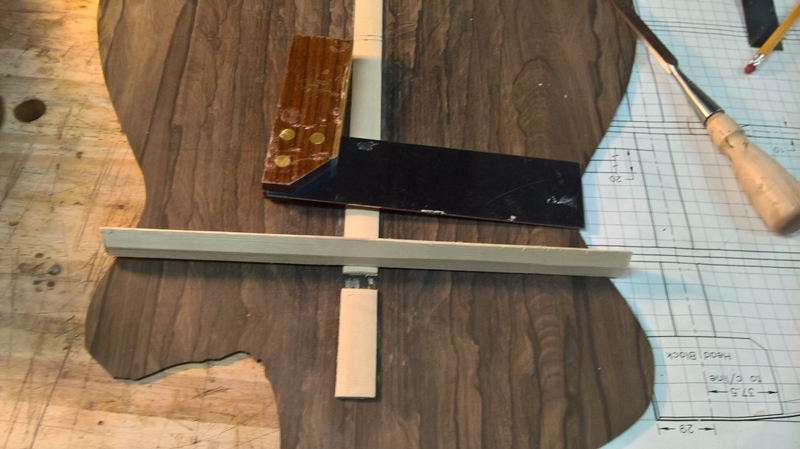
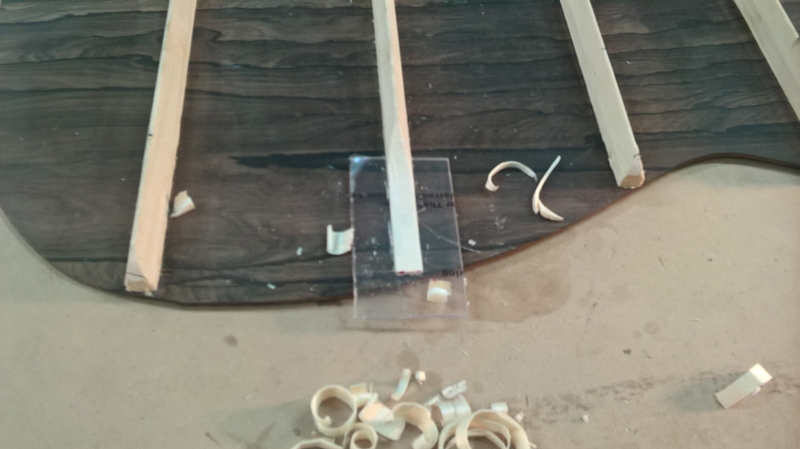
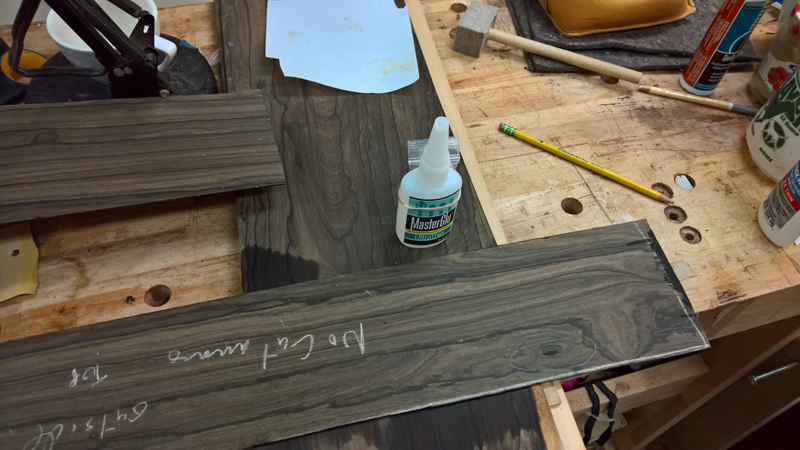
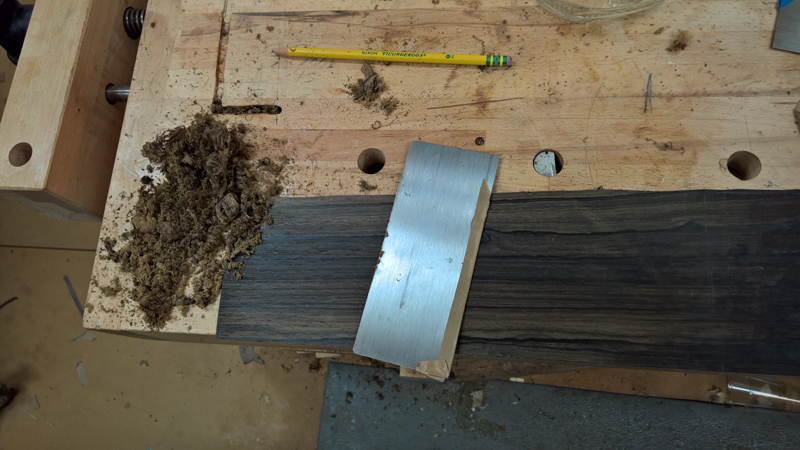
I laid out the back braces and use a square and the brace as a template to first score and then chisel out the rebates for the braces.
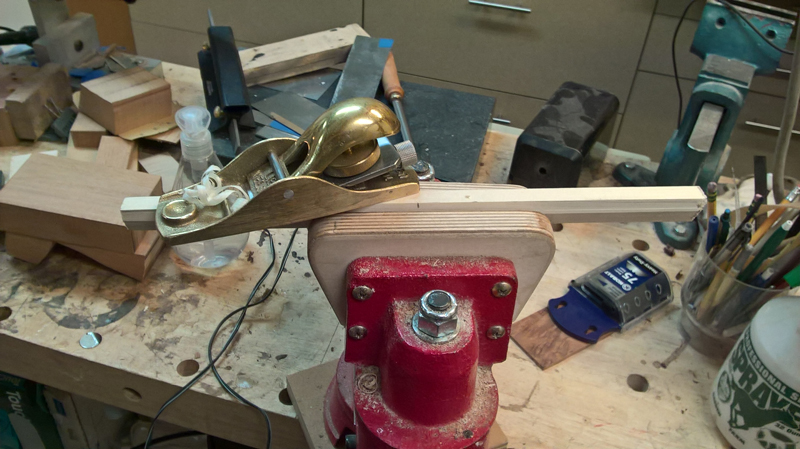
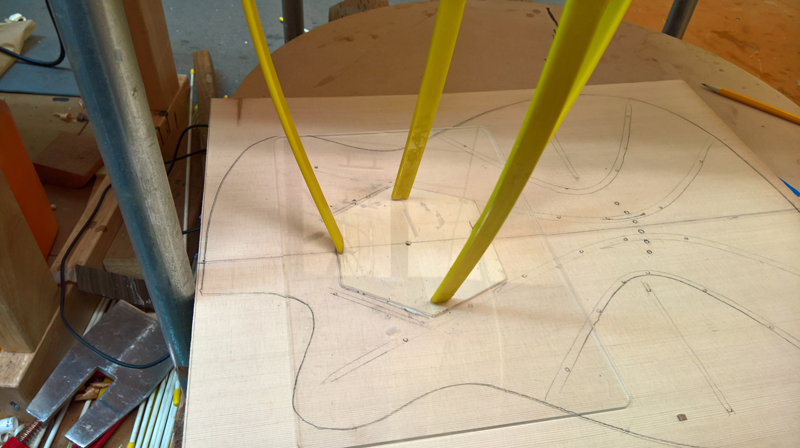
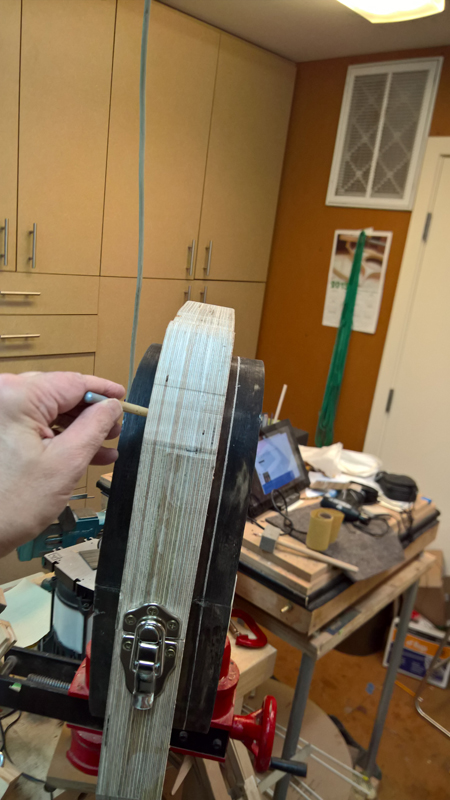
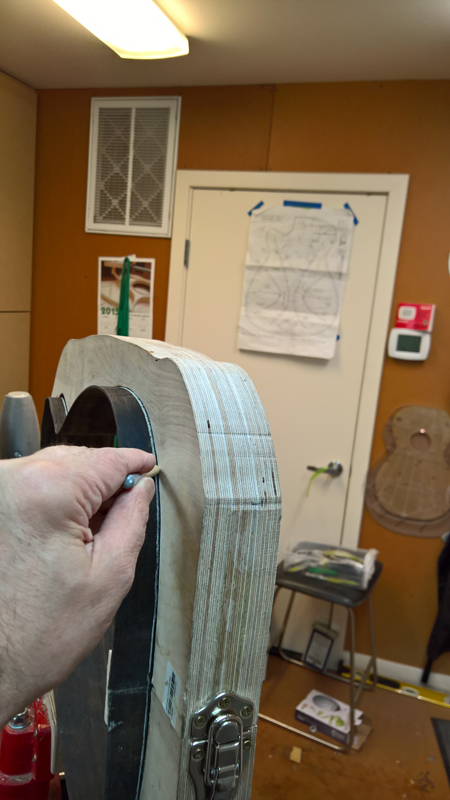
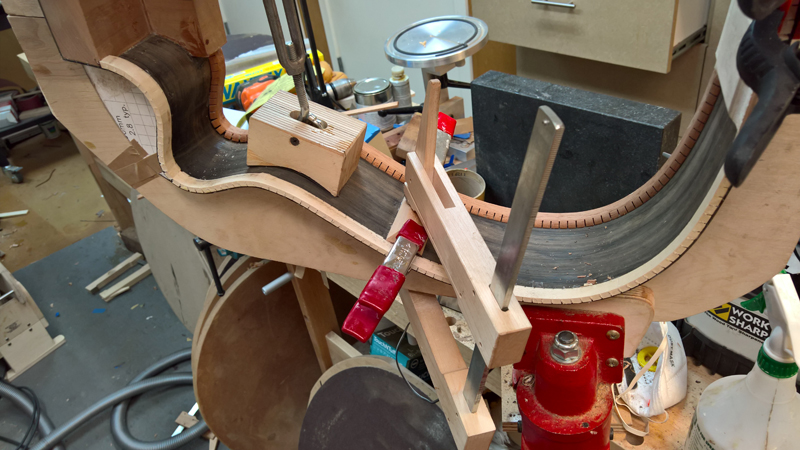
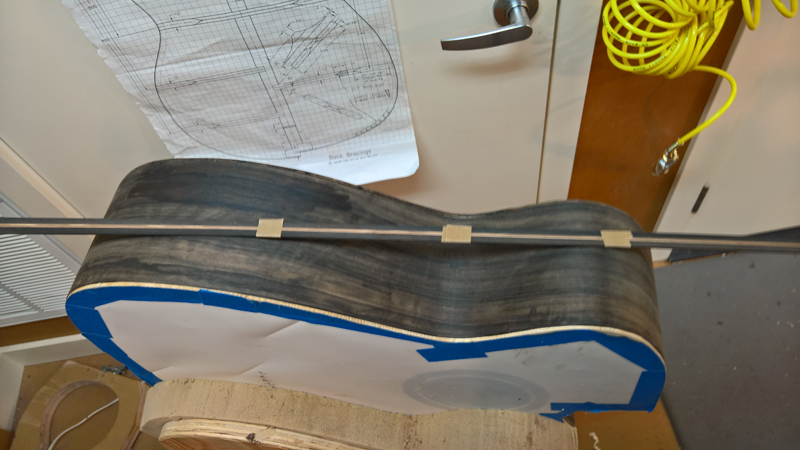
I mark out the bottom radius (15'), plane them close and then use this LMI jig to finish the radius on the back braces.

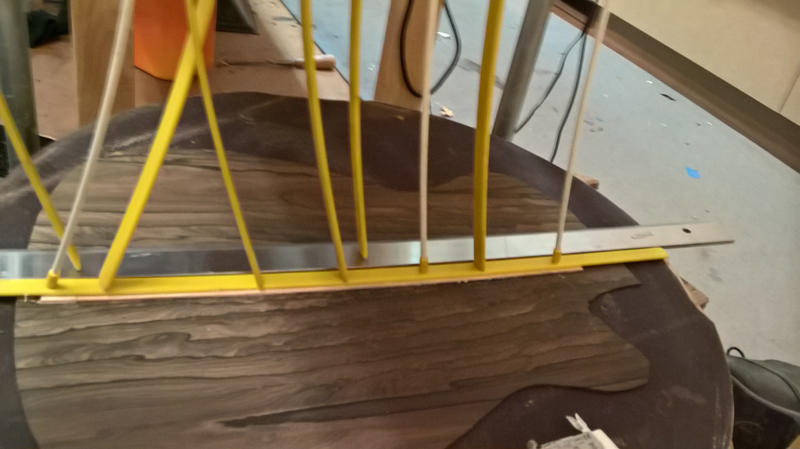
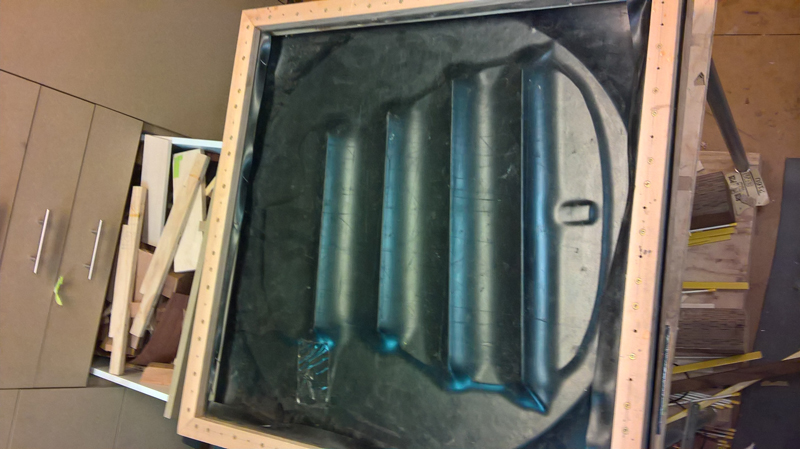
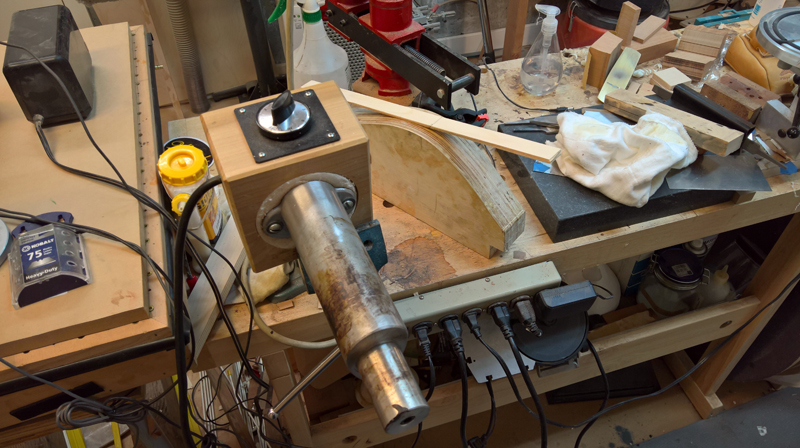
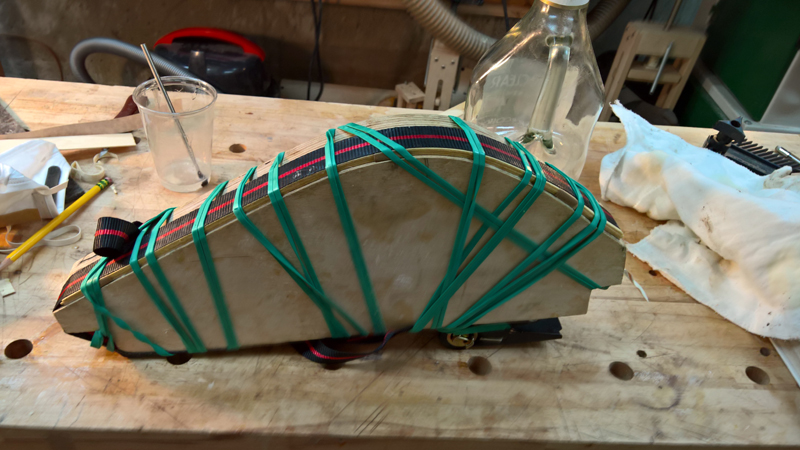
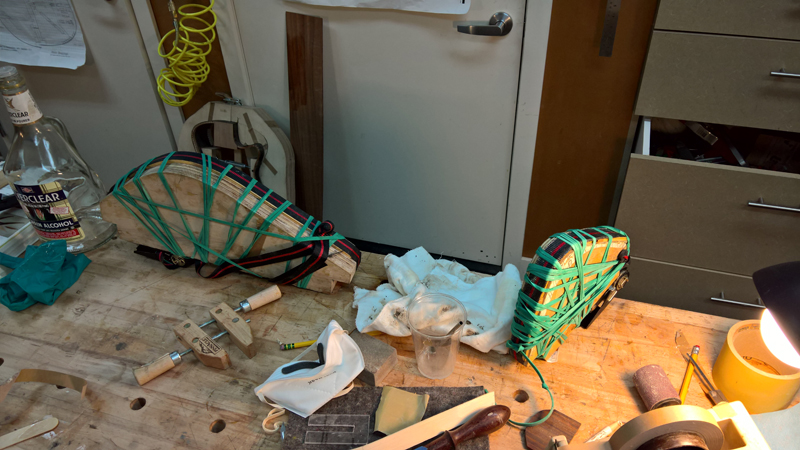
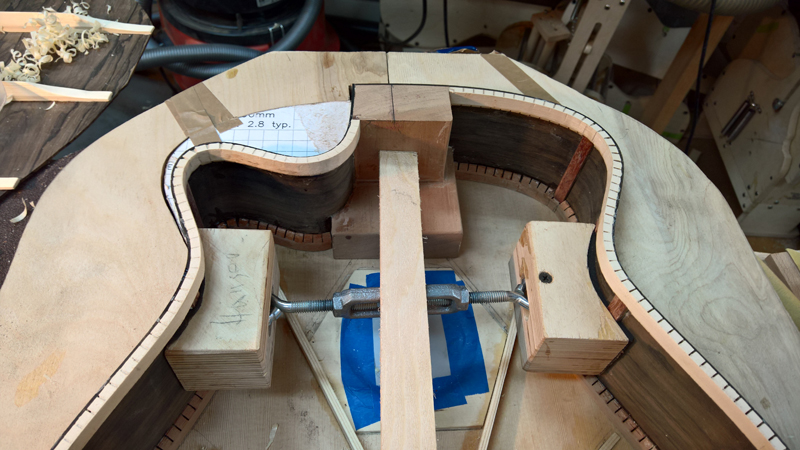
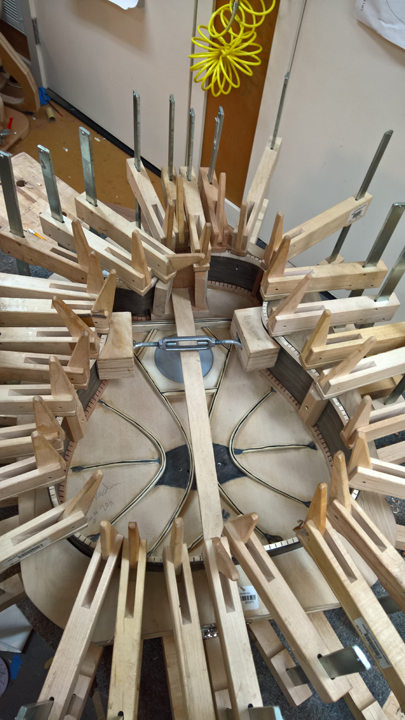
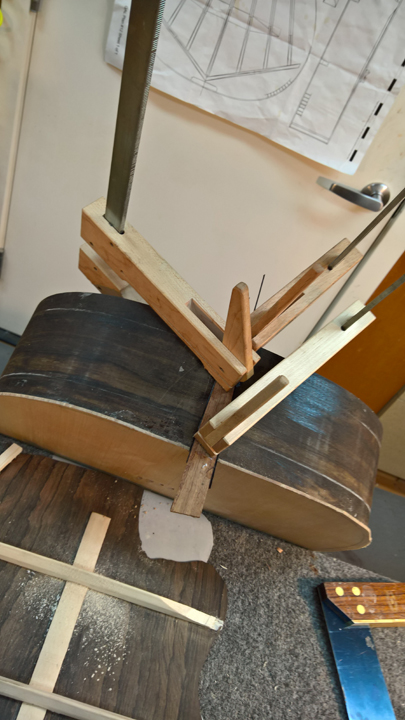
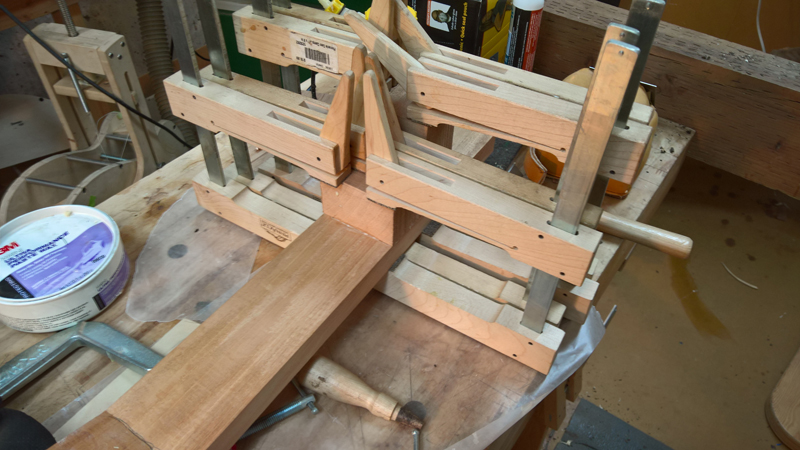
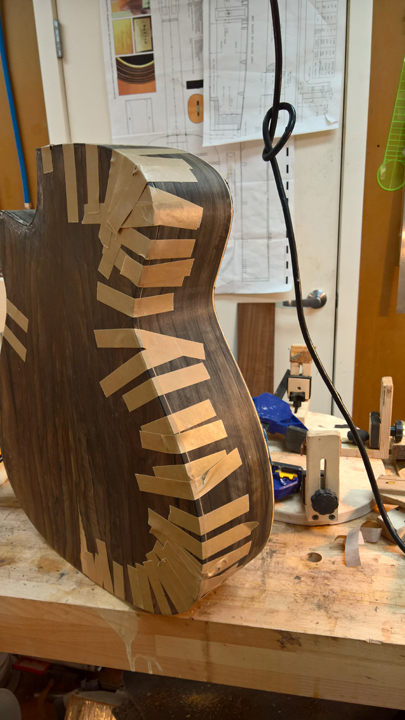
I used my vacuum box to glue the braces on the back.
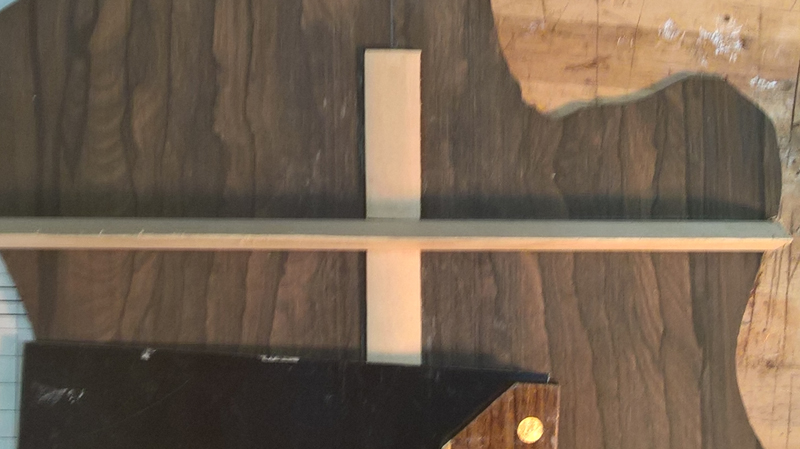
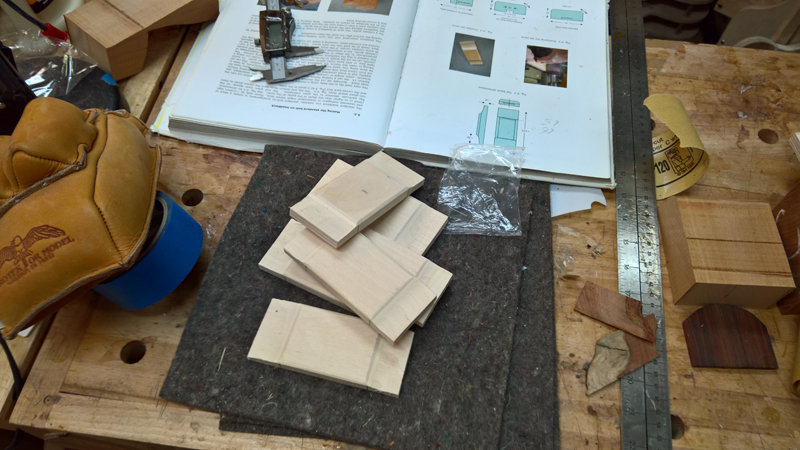
I finally made (it took all of thirty seconds) a small template to get the tails of the braces the correct thickness. Given how quickly I made it and the consistency of the brace ends, I felt bad I have not made it before. I just cut a slot into 1/8 plexiglass.

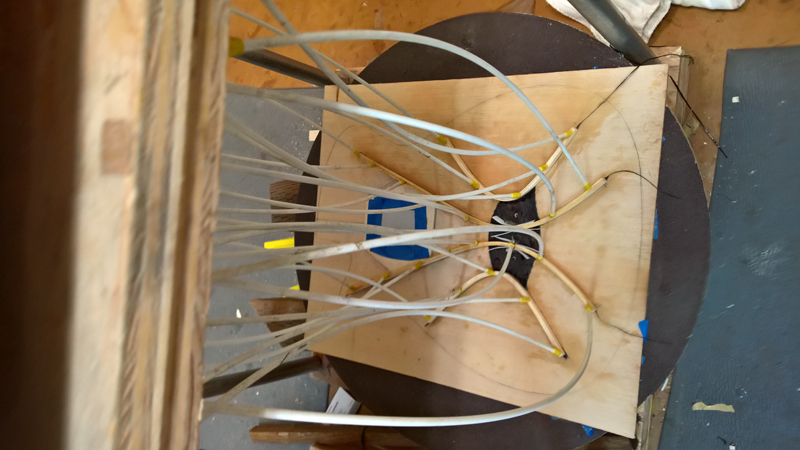
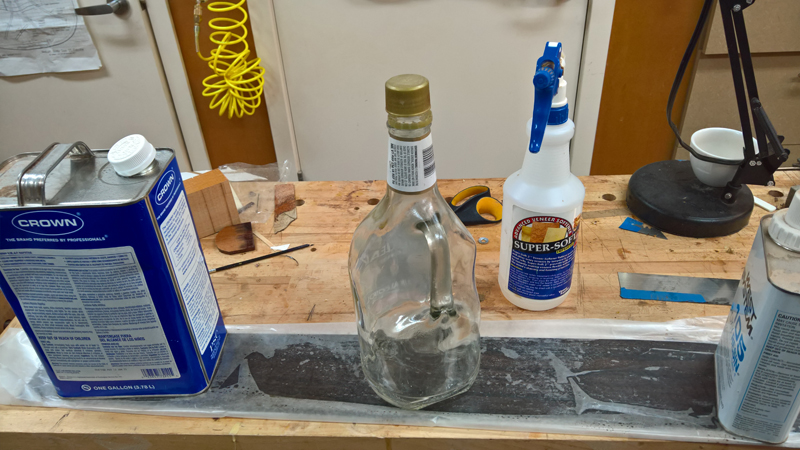
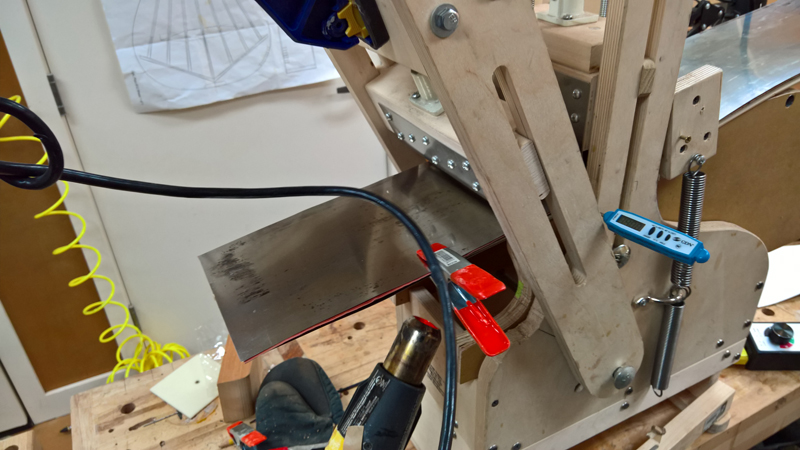
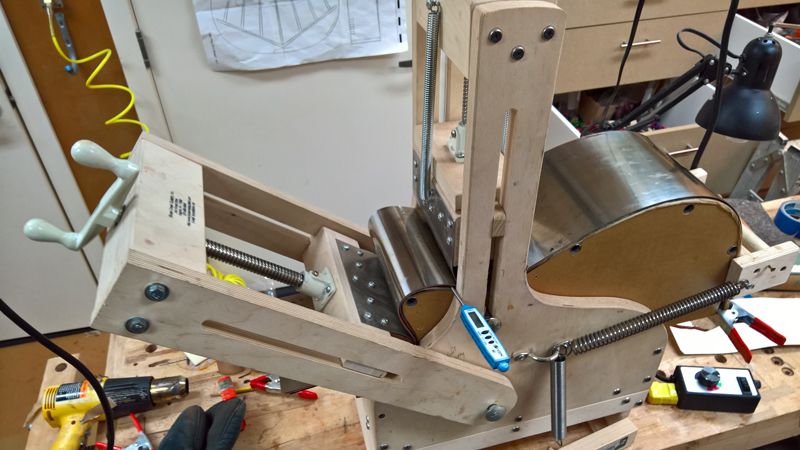
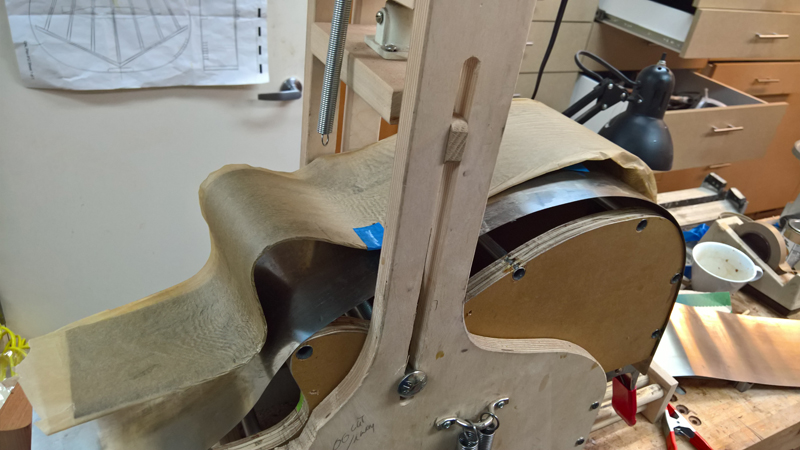
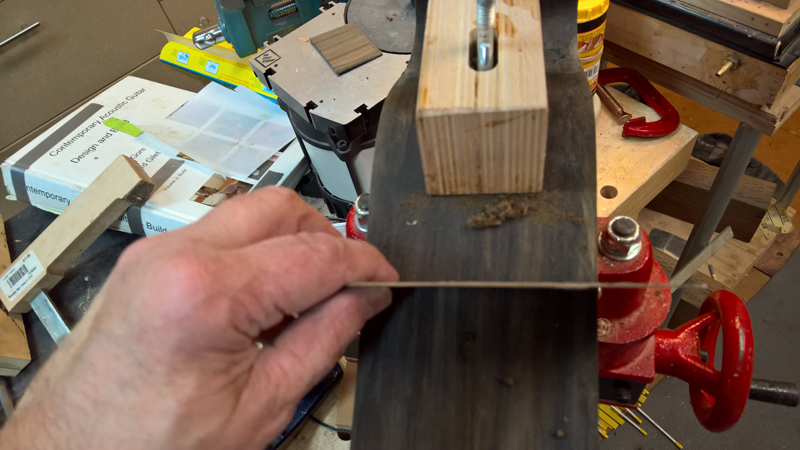
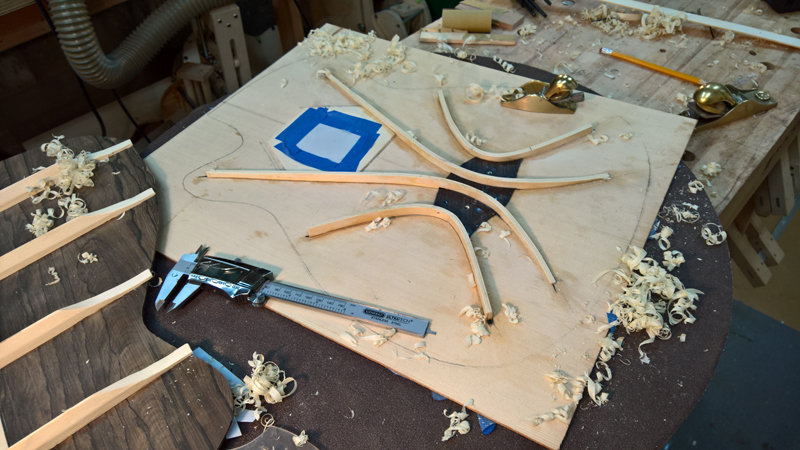
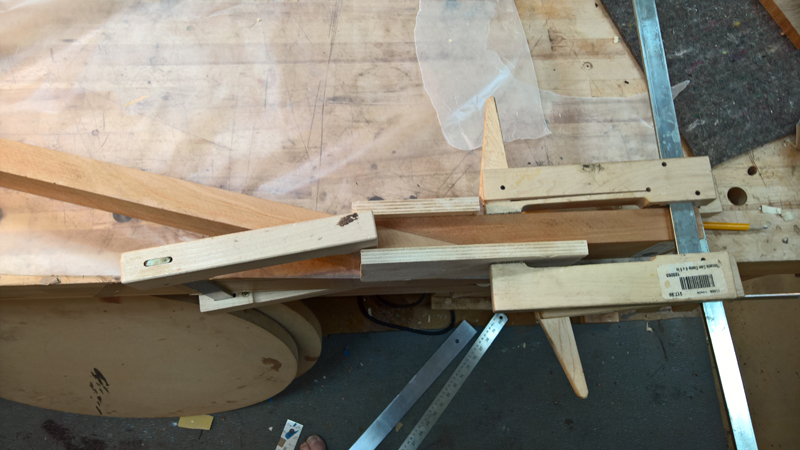
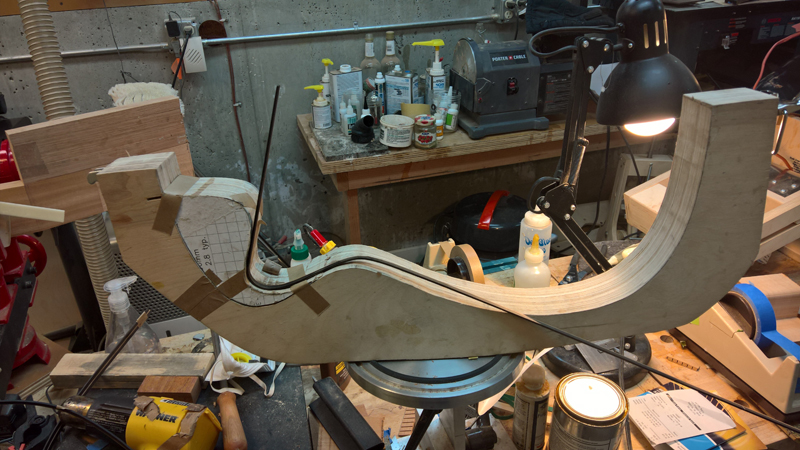
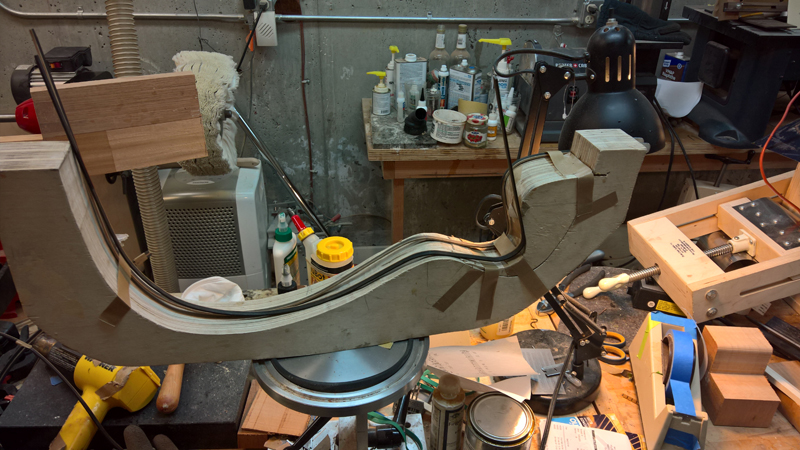
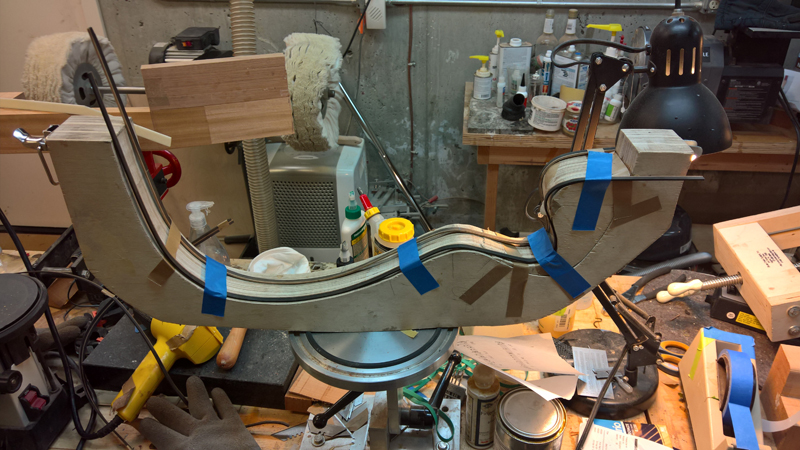
To make the laminated falcate braces with 1.7 mm spruce strips I first had to bend them close to size. I usually use Lutz or Englemann spruce with no problems. These strips are European spruce and they were hard to bend. I would get so far and it just would not want to bend. By hook and by crook, as well as a few cracked strips I got them all close enough to laminate on my forms

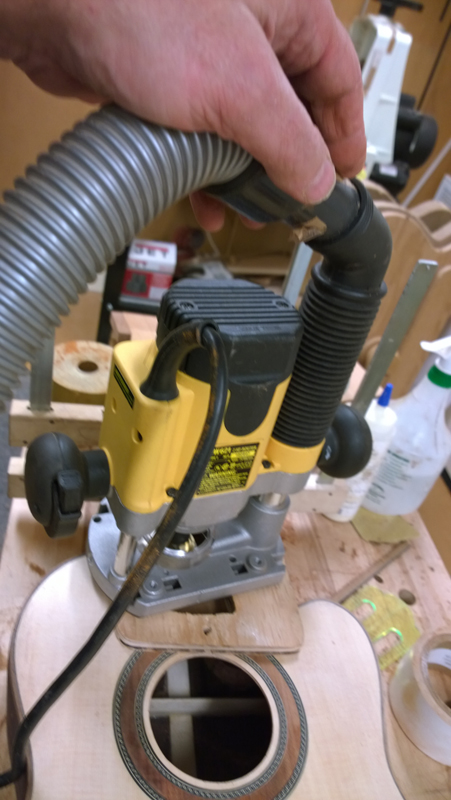
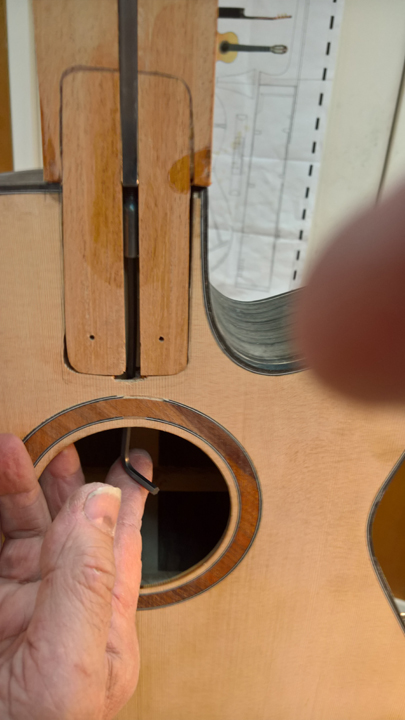
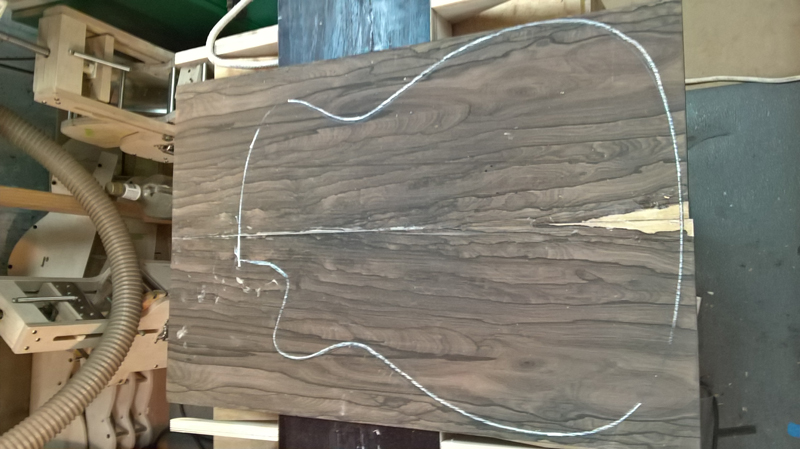
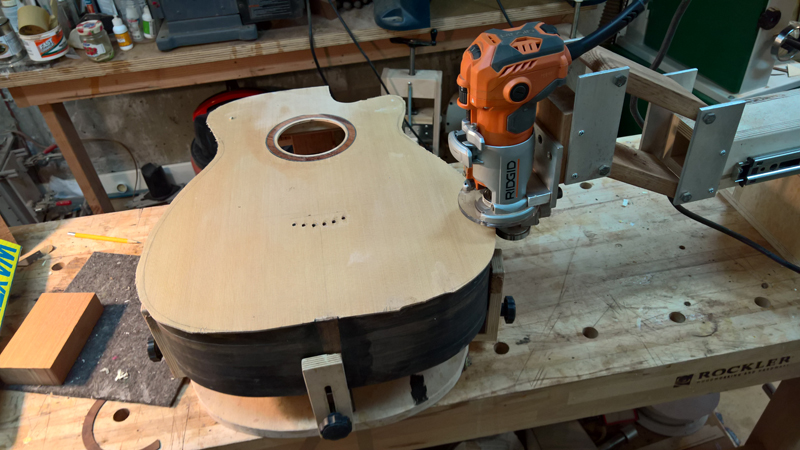
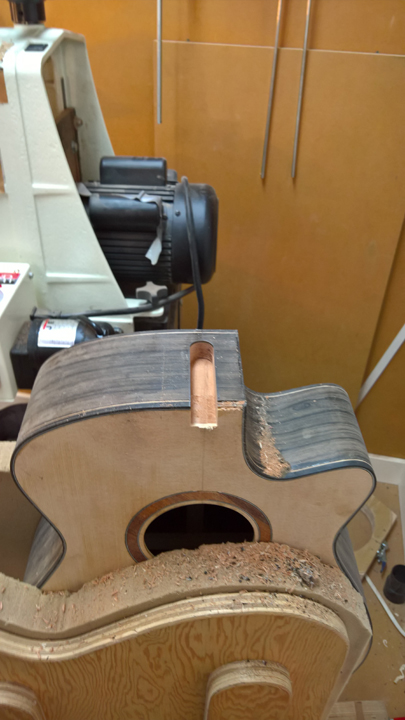
I laid out the braces, glued on the sound doubling patch and them routed out the sound hole. I stop routing when I still have a bit of wood left and tap out the waste.
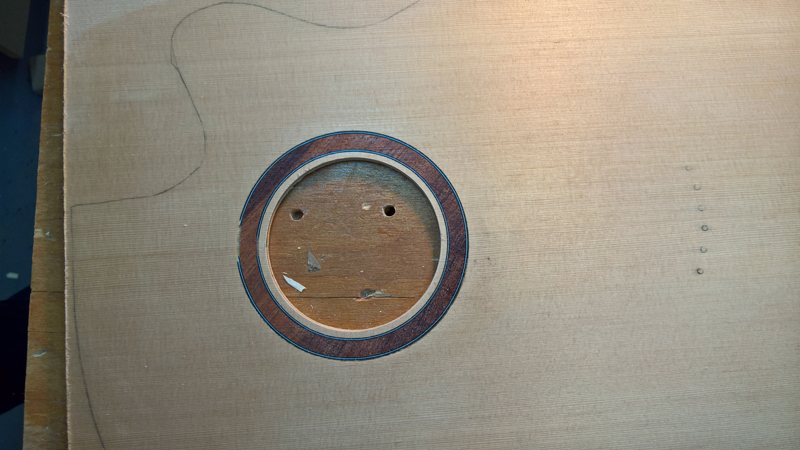
I chiseled out a bevel on the sound hole patch to clean up the look.

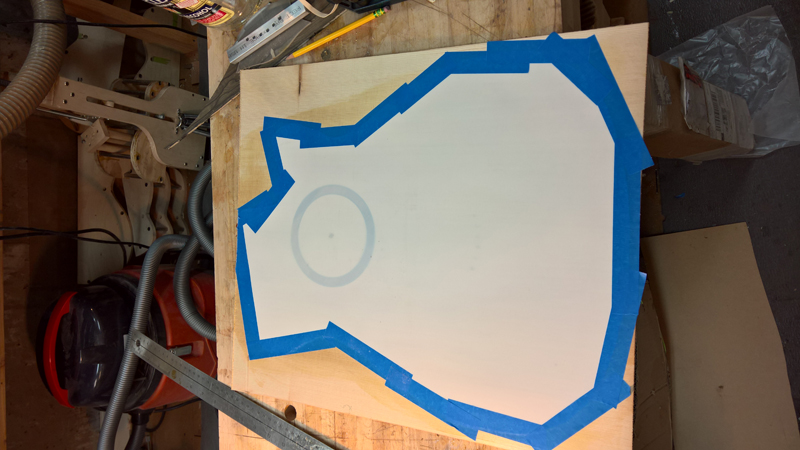
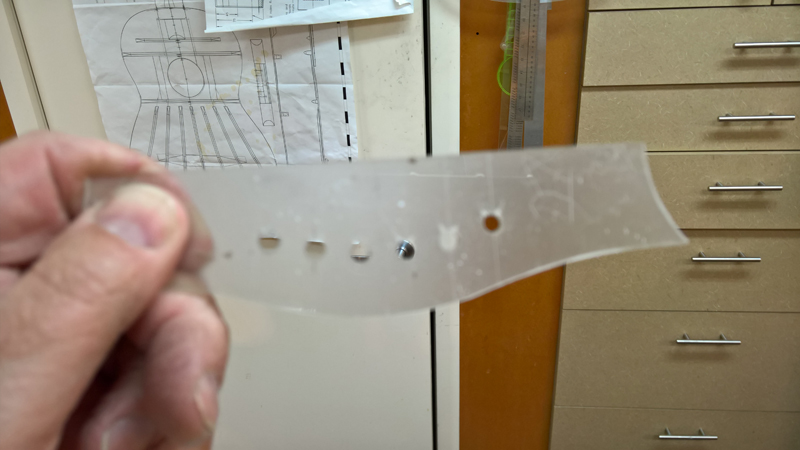
Also I decided to cut out a mylar template to protect the top before I started working with it.

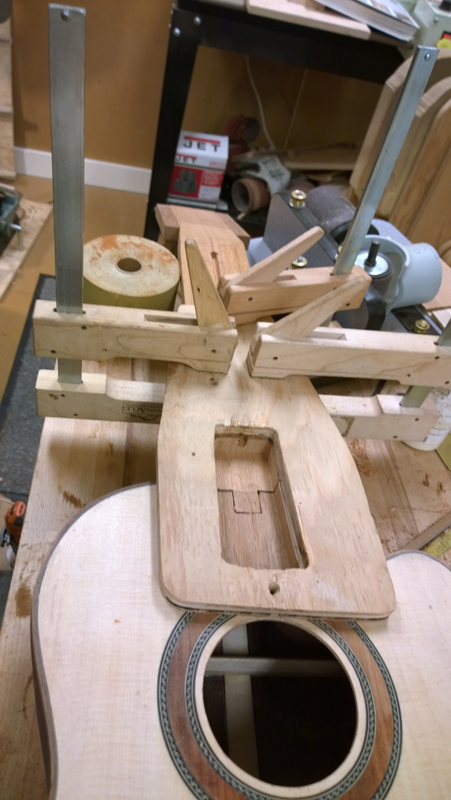
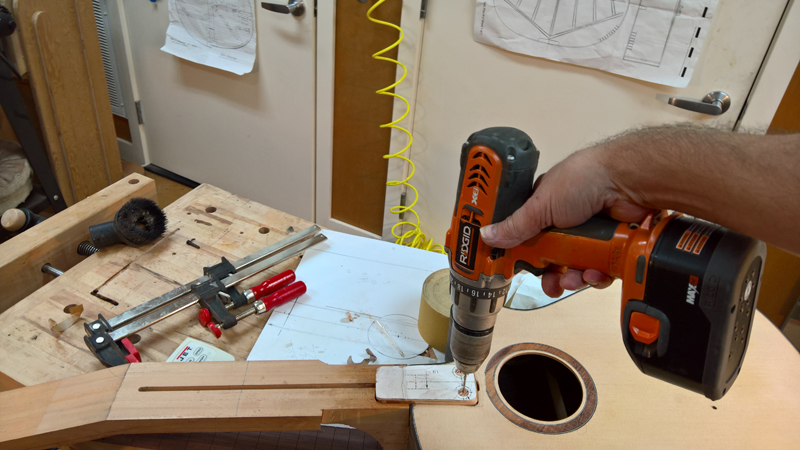
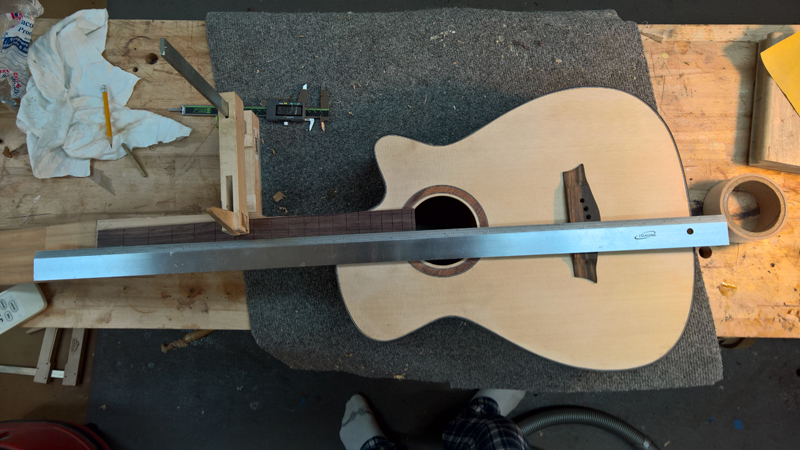
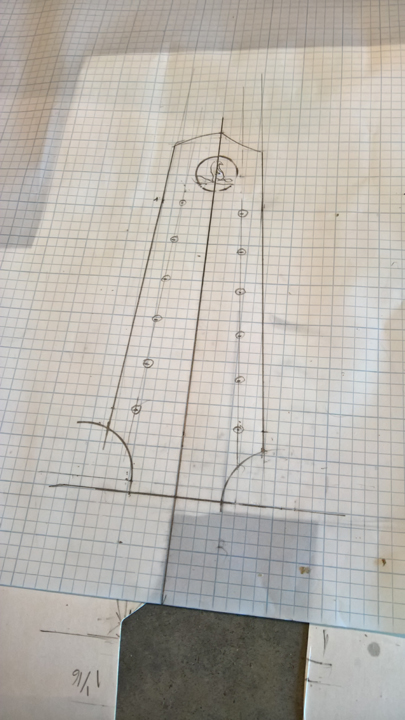
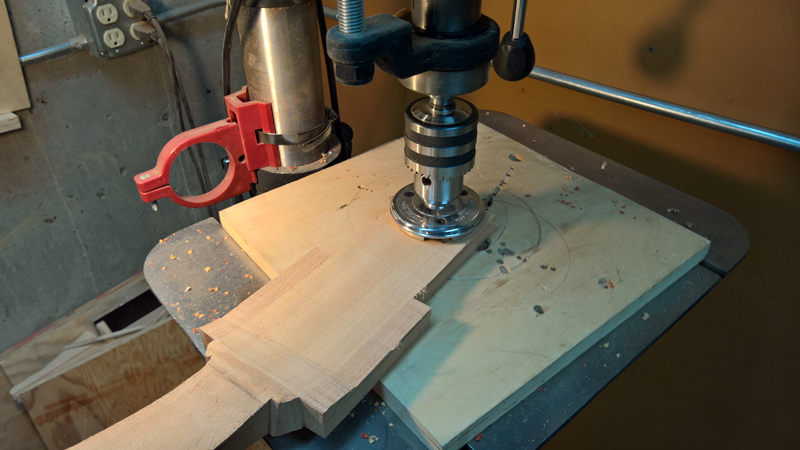
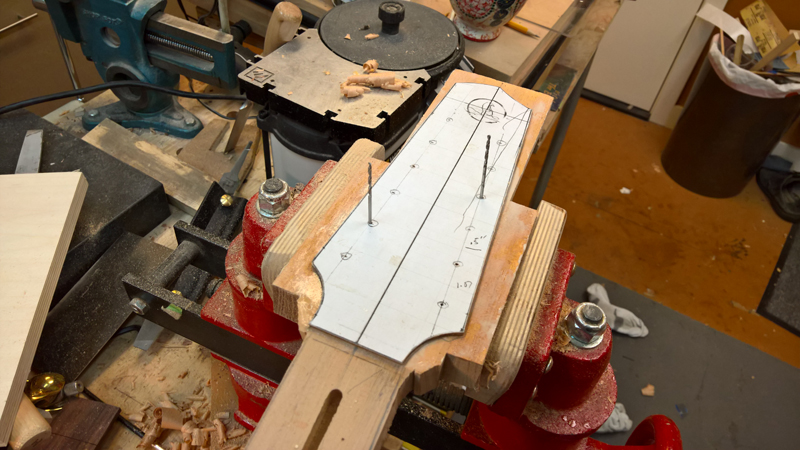
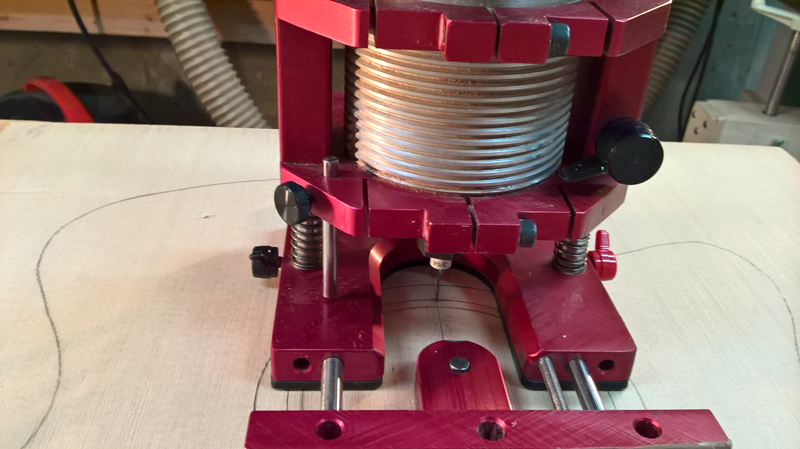
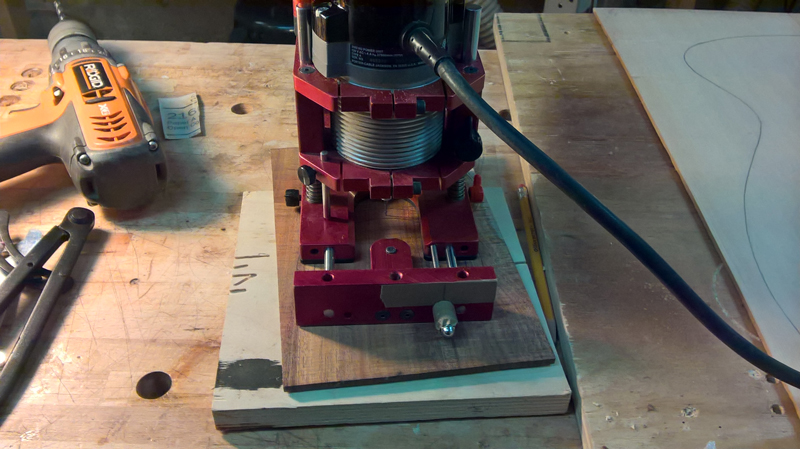
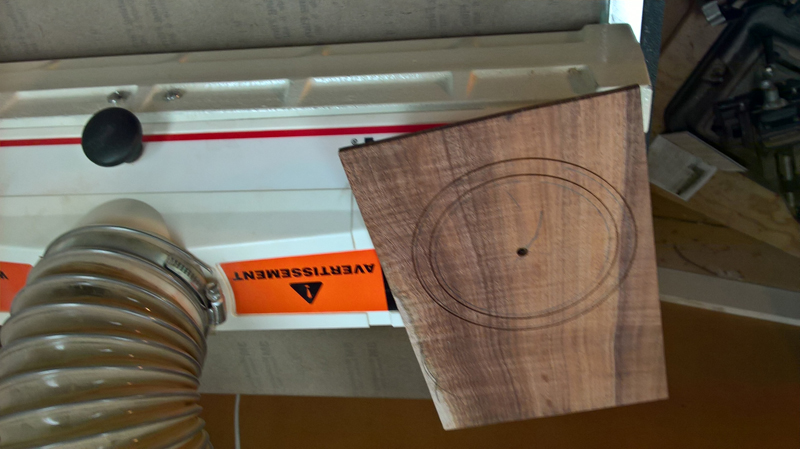
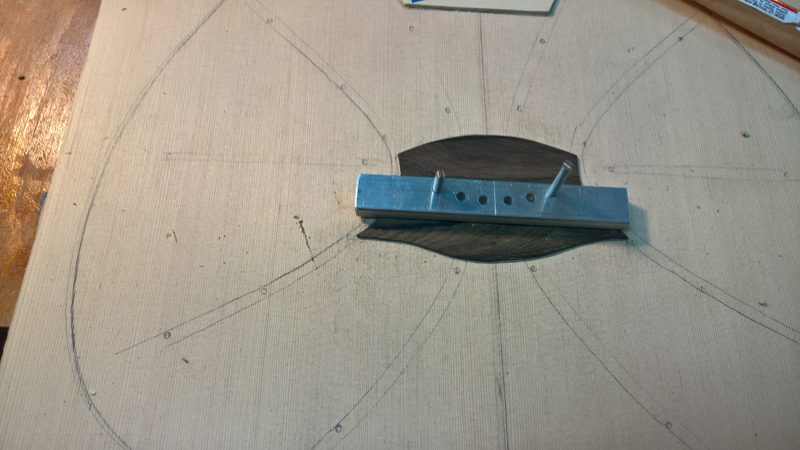
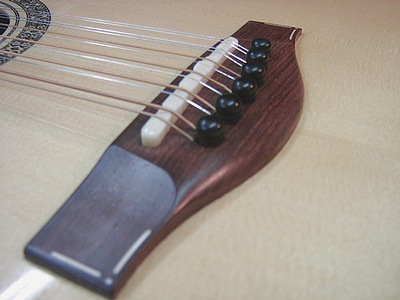
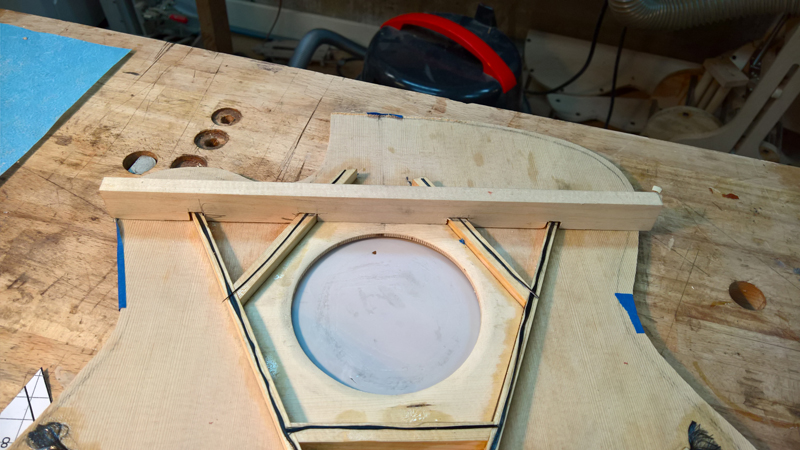
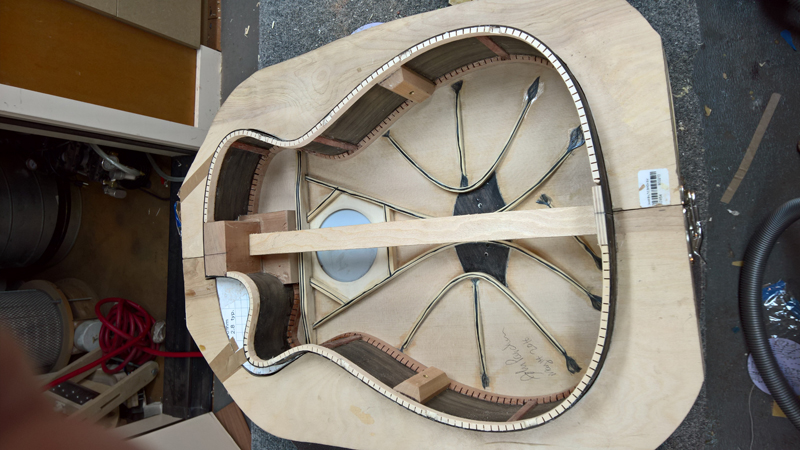
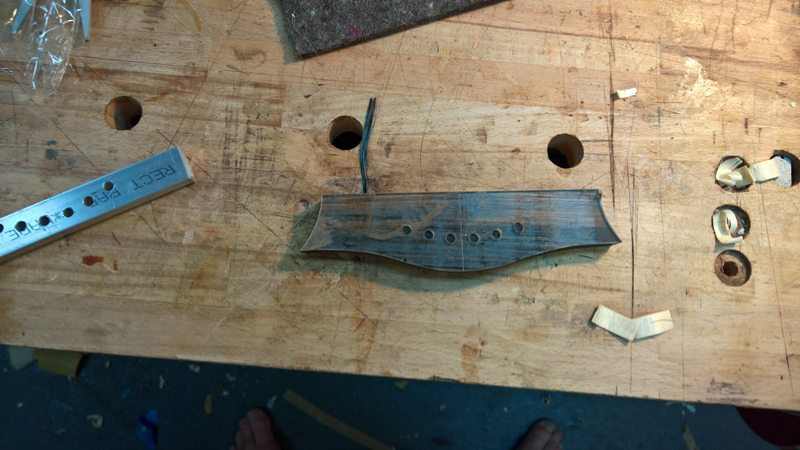
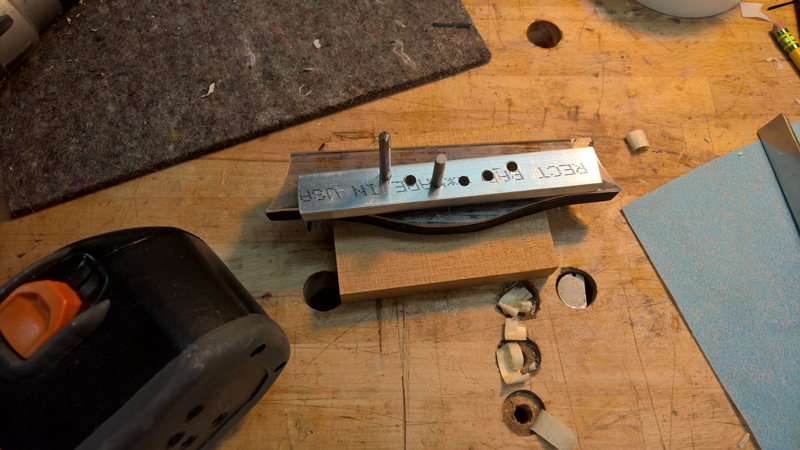
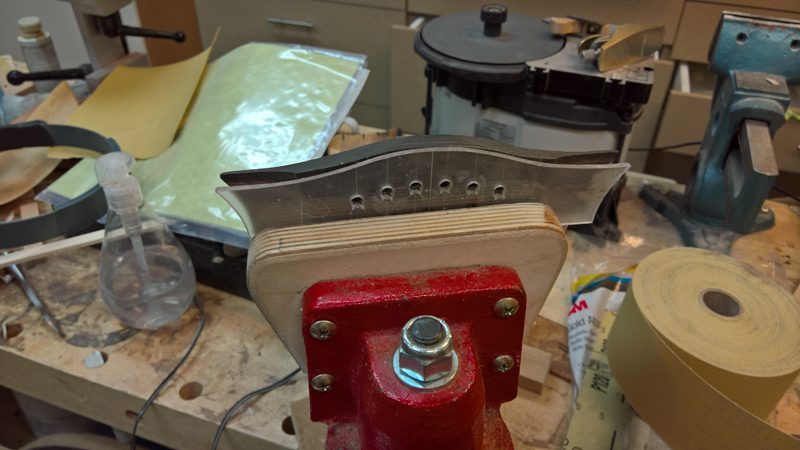
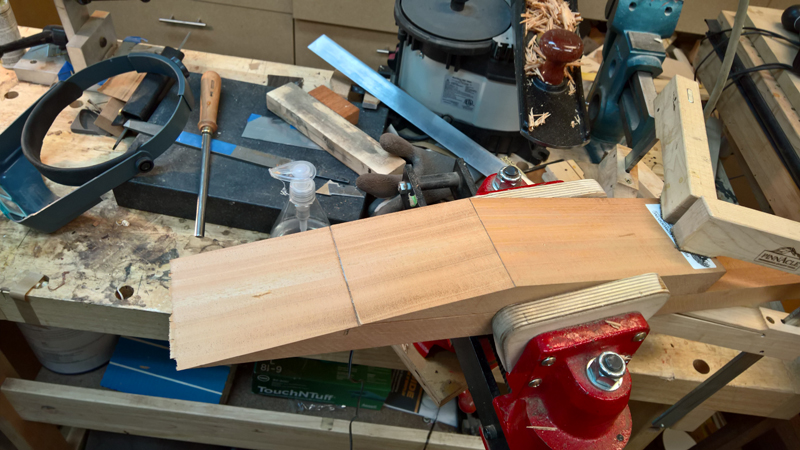
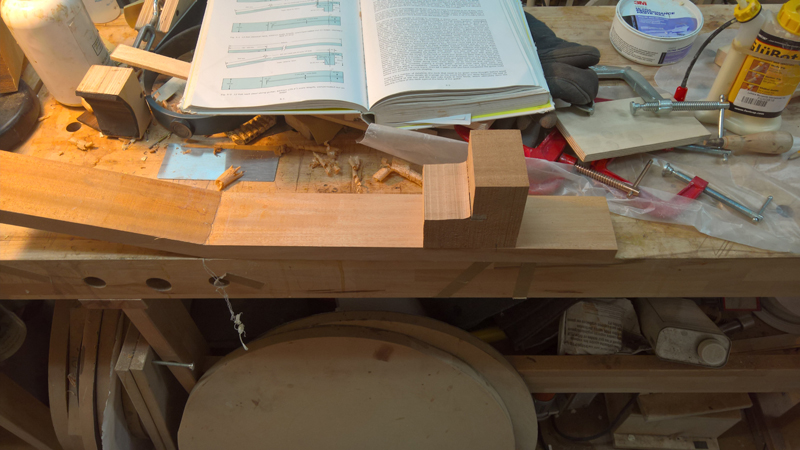
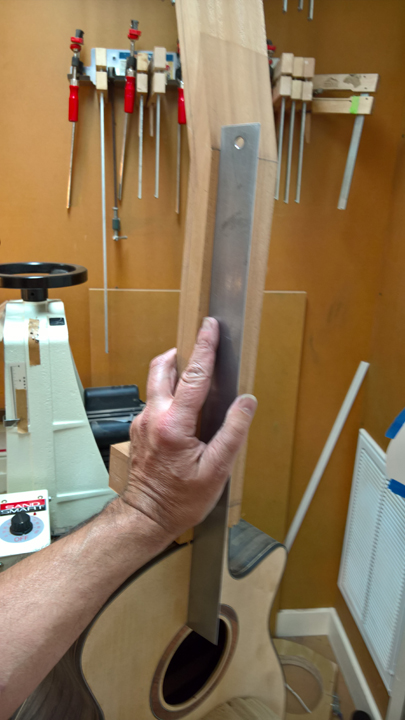
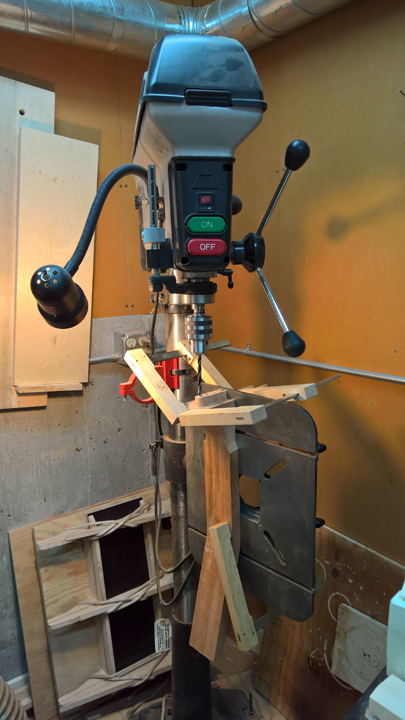
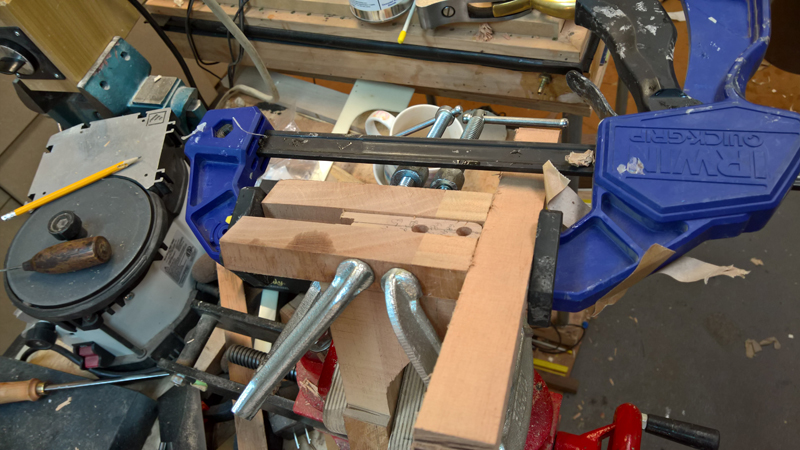
I need to locate and drill the bridge pin holes very early. The main falcate braces need to go between braces pins on a steel string guitar with a pinned bridge. I also bought a hole stack of aluminium bars last years, so I pulled one out and made a bridge pin drilling template using my existing bridge pad template.
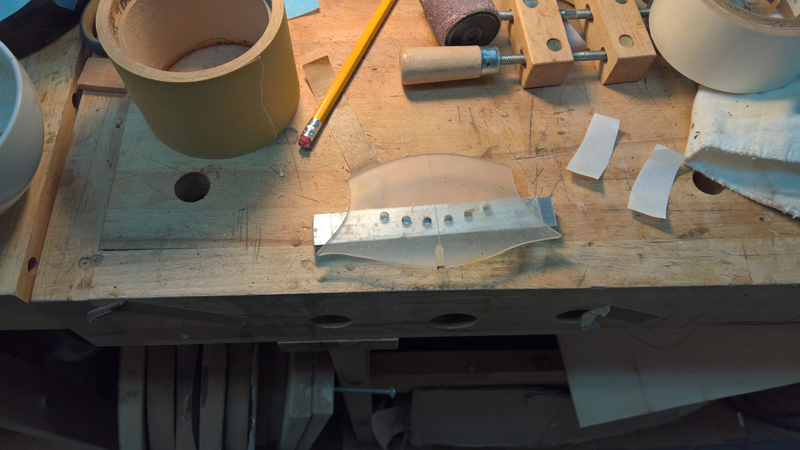
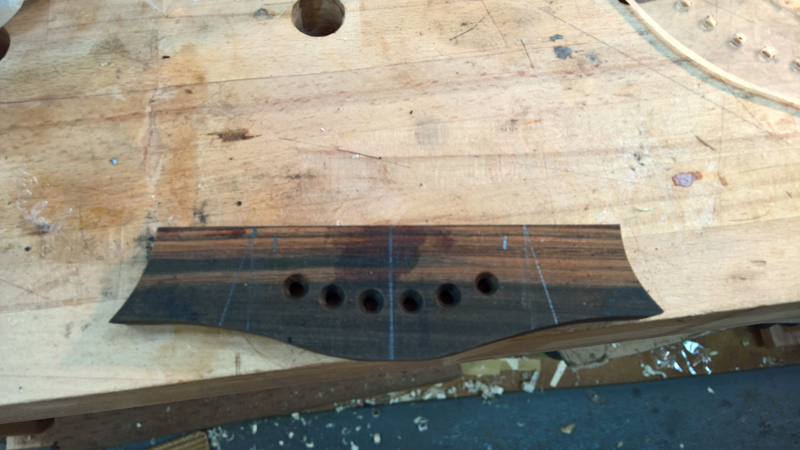
After some very careful alignment, I drilled one hole and pinned the top, bridge plate and hole template, I checked and rechecked the alignment and drilled a second hole and add a second pin. With the two pins I drilled the remaining four holes.
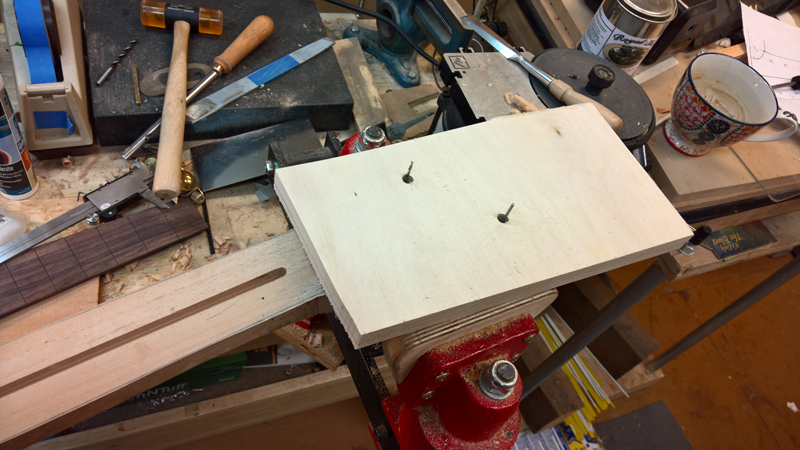
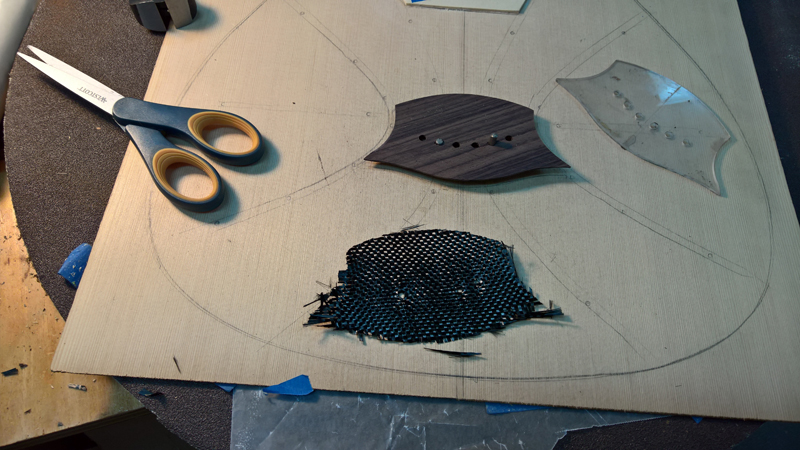
My radius board has the inside set of 4 holes so that I can work with the top pinned while epoxying the bridge plate and ultimately the braces. The bridge plate is epoxied on a cut out piece of carbon fiber fabric. I will use my template as the gluing caul.
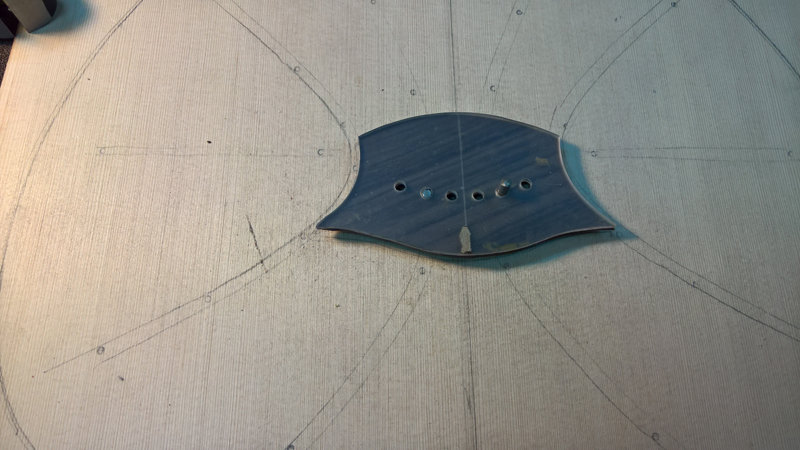
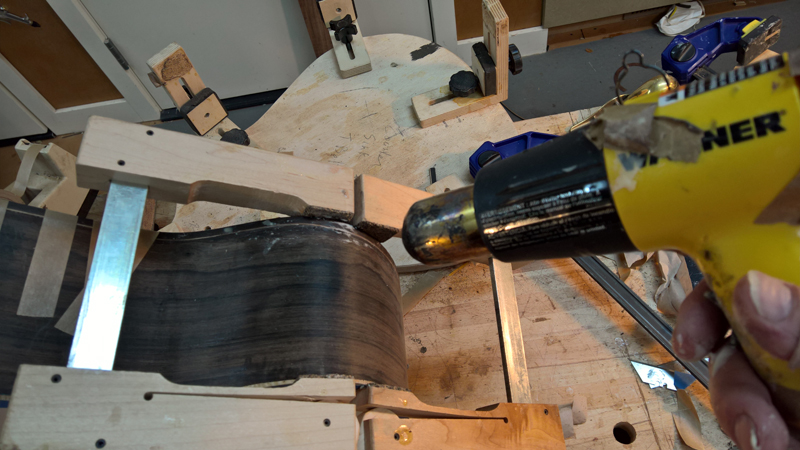
I mixed up some epoxy and put it all together.
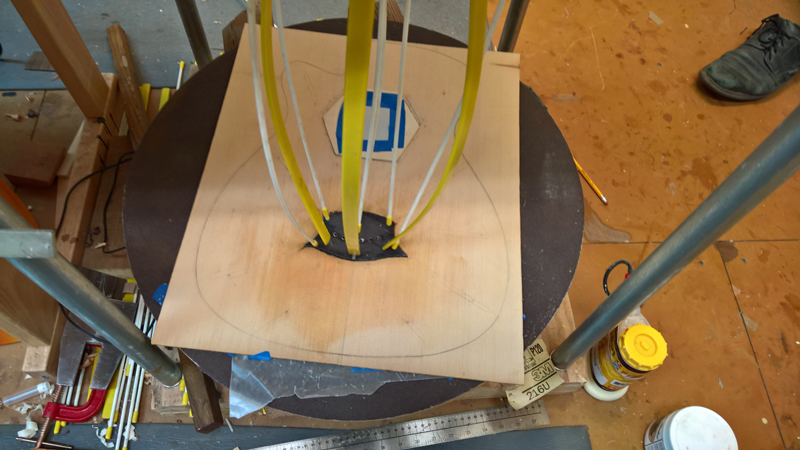
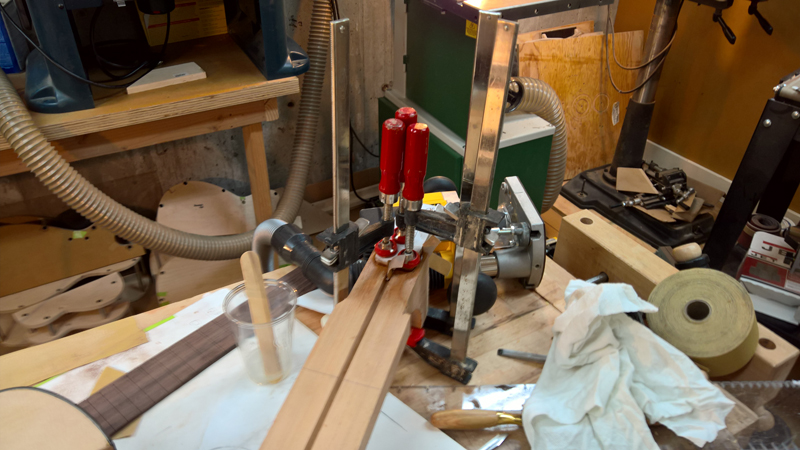
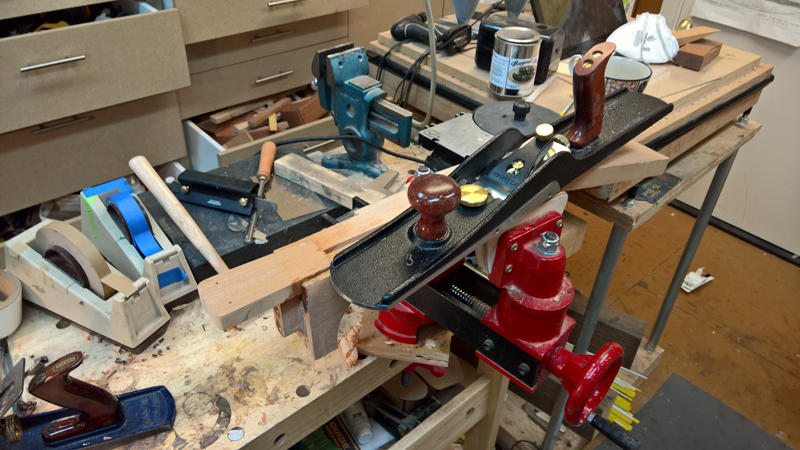
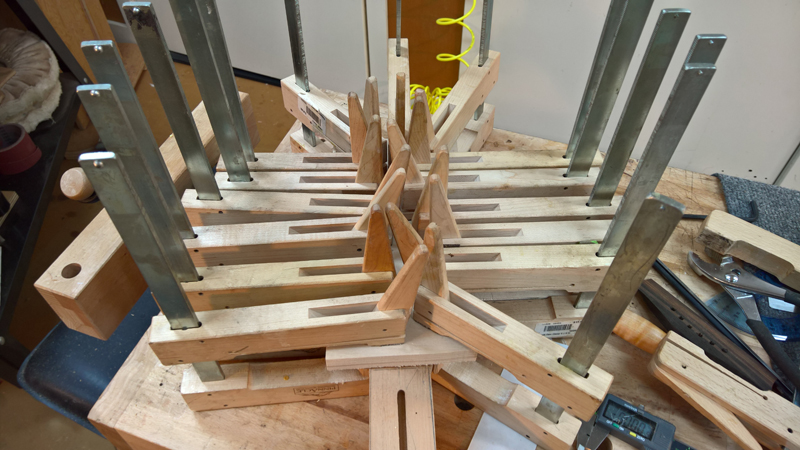
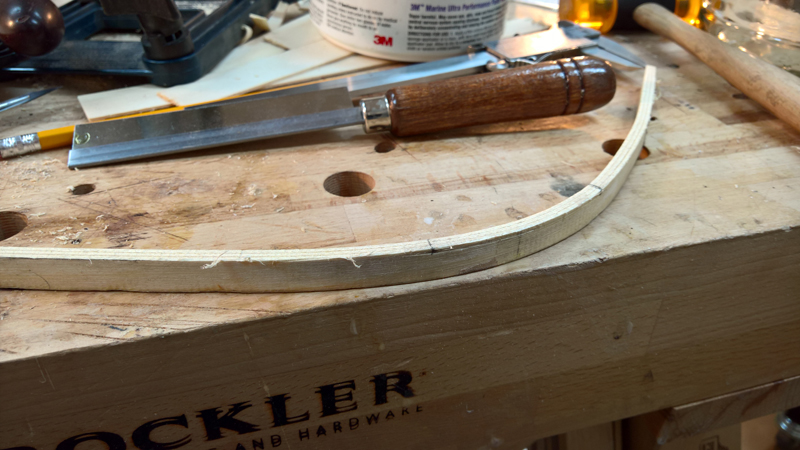
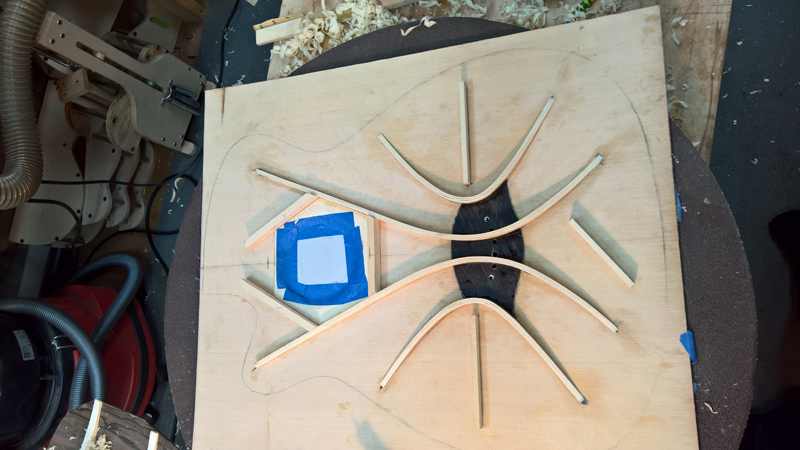
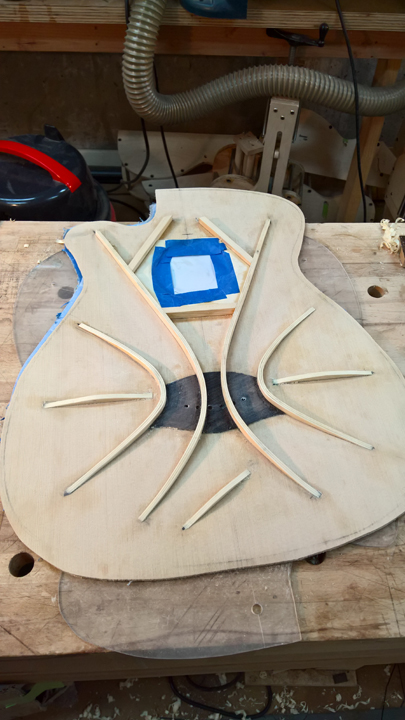
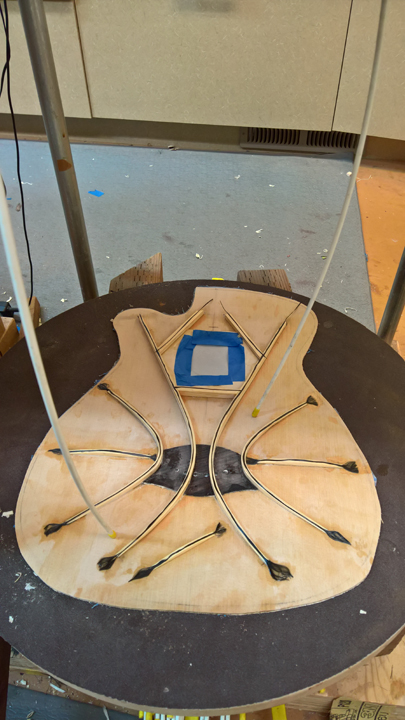
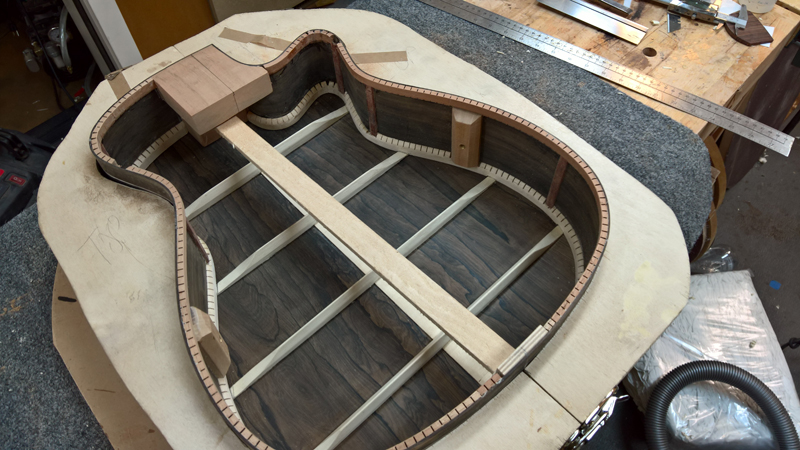
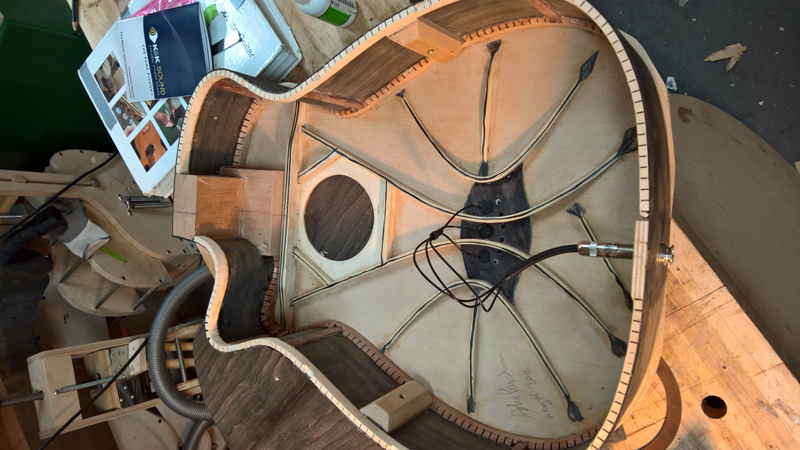
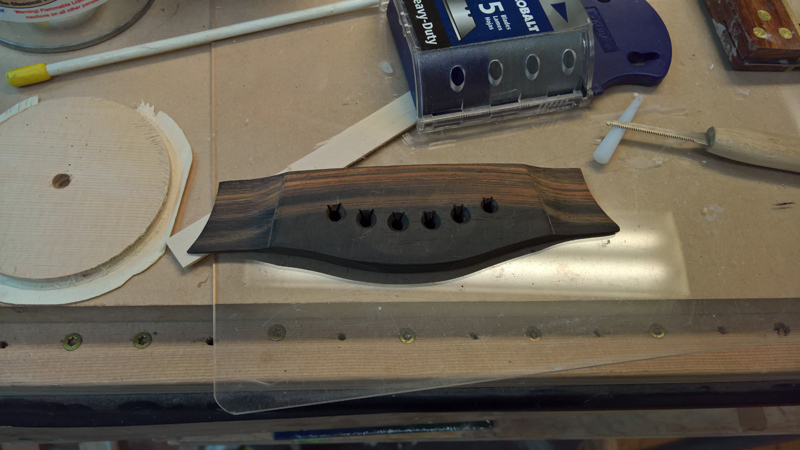
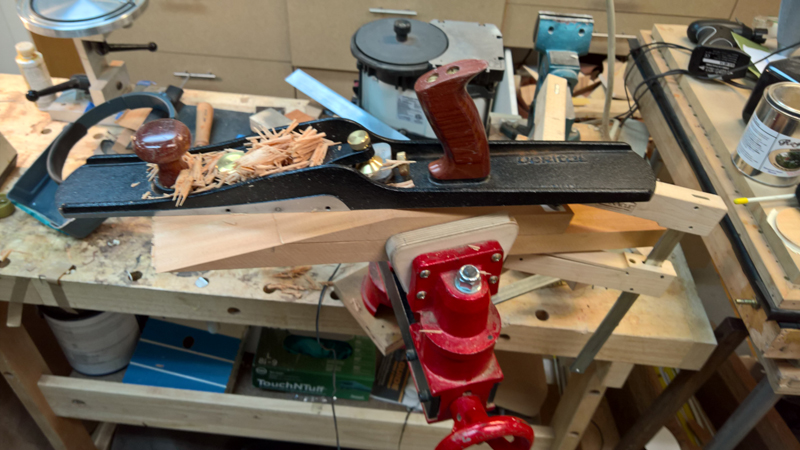
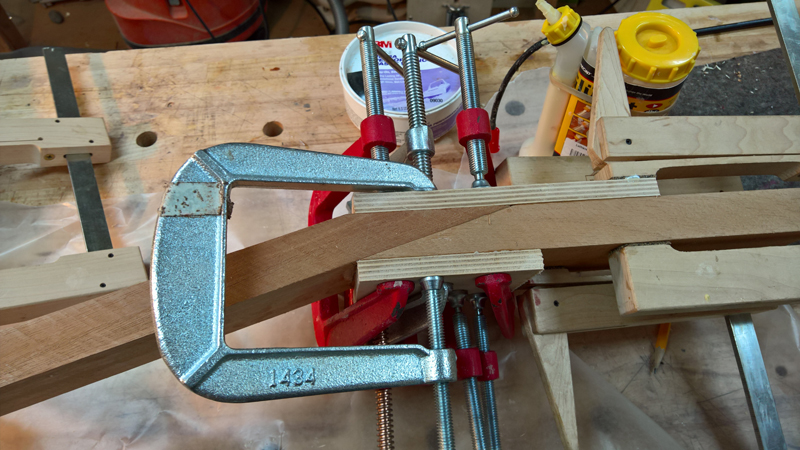
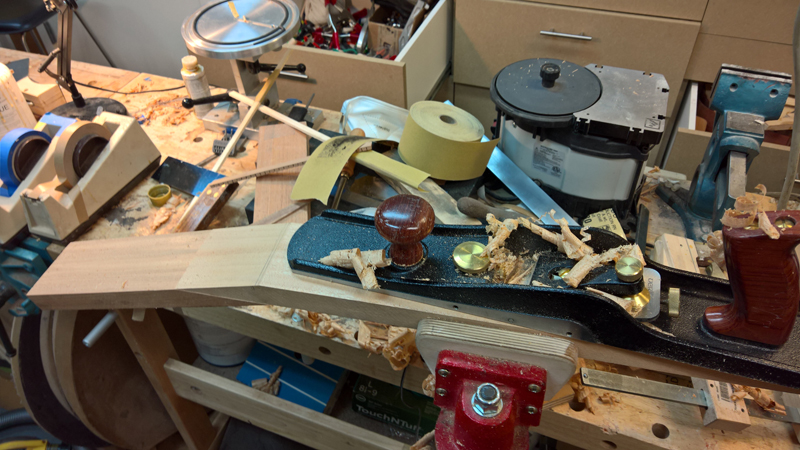
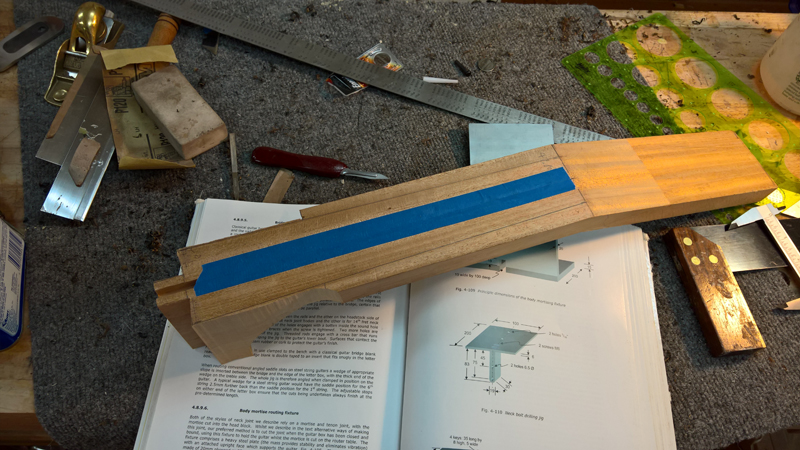
Finally I ripped, fitted and epoxied the falcate braces to the top.
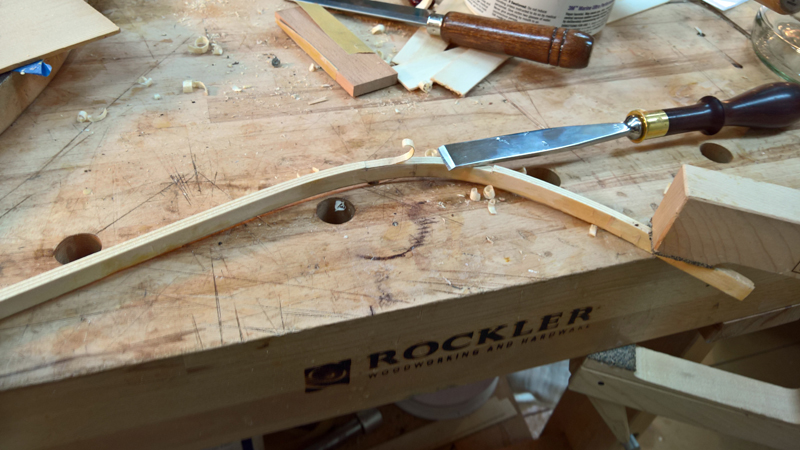
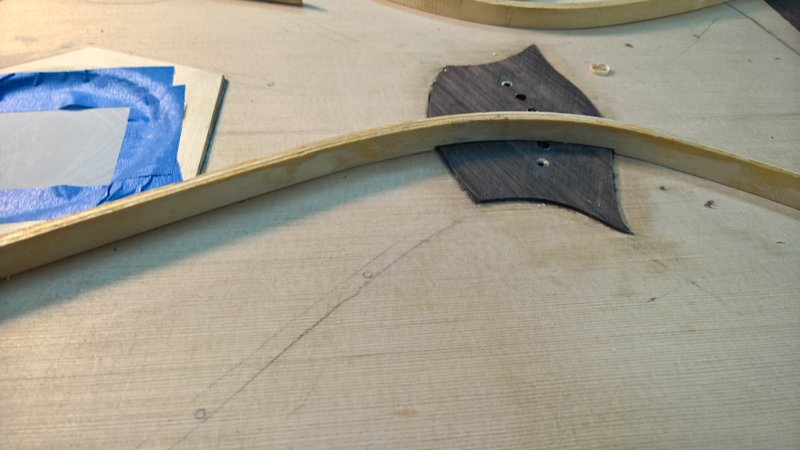
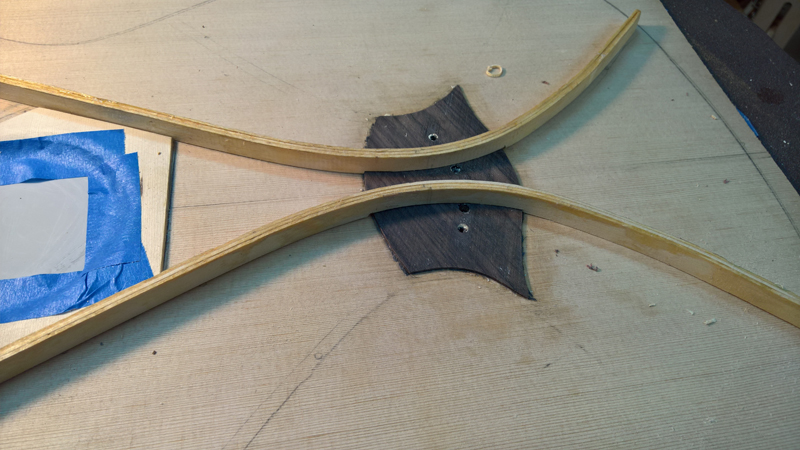
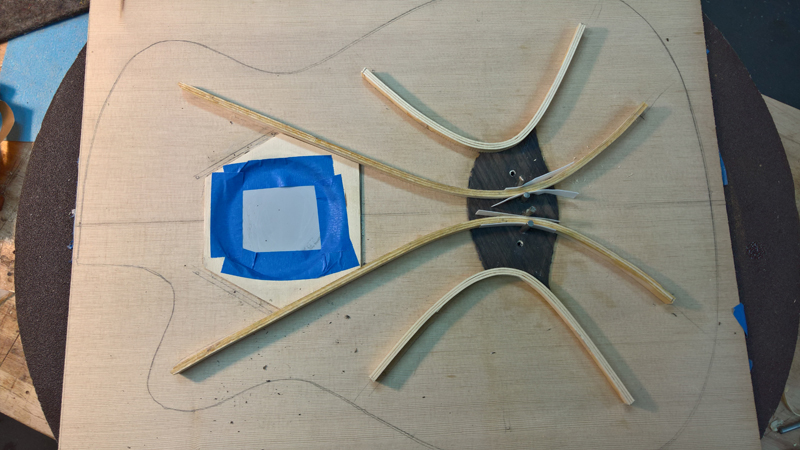
Note in the next picture the falcate braces are expoxied on top of a 3k 5.7 oz carbon fiber tow.. Also note the teflon strips used to properly space the falcate braces between the bridge pin holes.


 .
. .
. .
.
 .
. .
. .
.