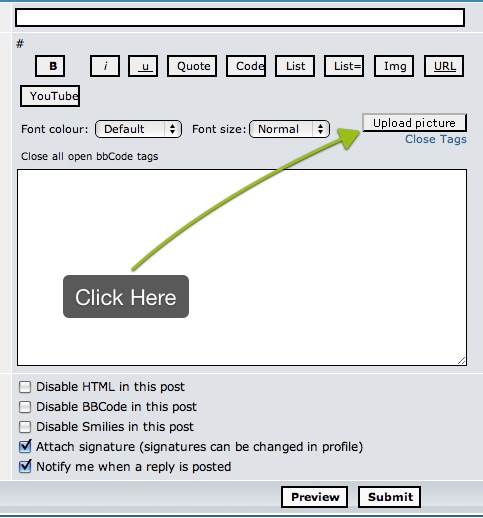
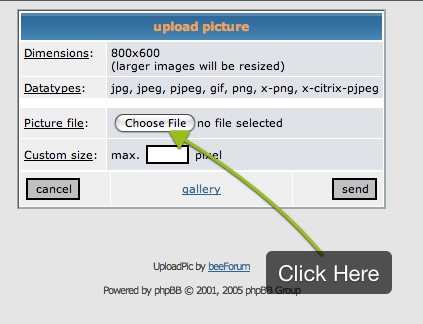
First off you click on the "Upload Picture" dialog box.
This will pop a window where you choose the picture file that you want to post. Remember that it must be in one of the formats listed. If it is not then this whole process is not going to work. The most common format for pictures is .jpg. or .gif Click on the "Choose File" dialog box.
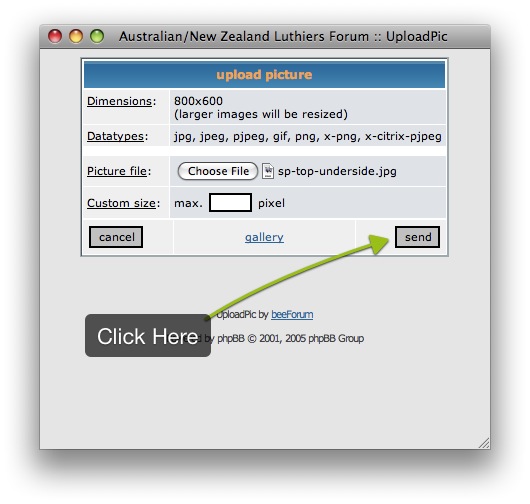
This will open a window where you can choose the picture from your computer that you want to upload. You must then hit the "Send" button.
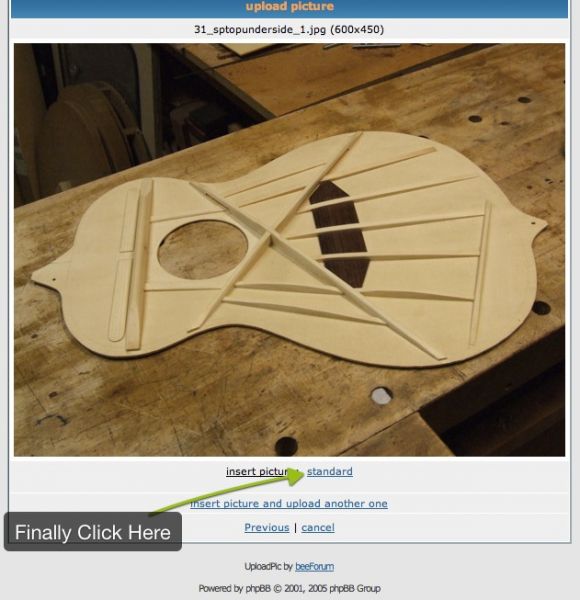
Depending on the size of the image and the speed of your connection, the image will be uploaded to the server and will display in this window for you. You must then hit the "Standard" button in order to insert the code that will display the image in the post, if all you are doing is posting one image. If you are posting more than one image, you can hit the "Insert image and upload another one".